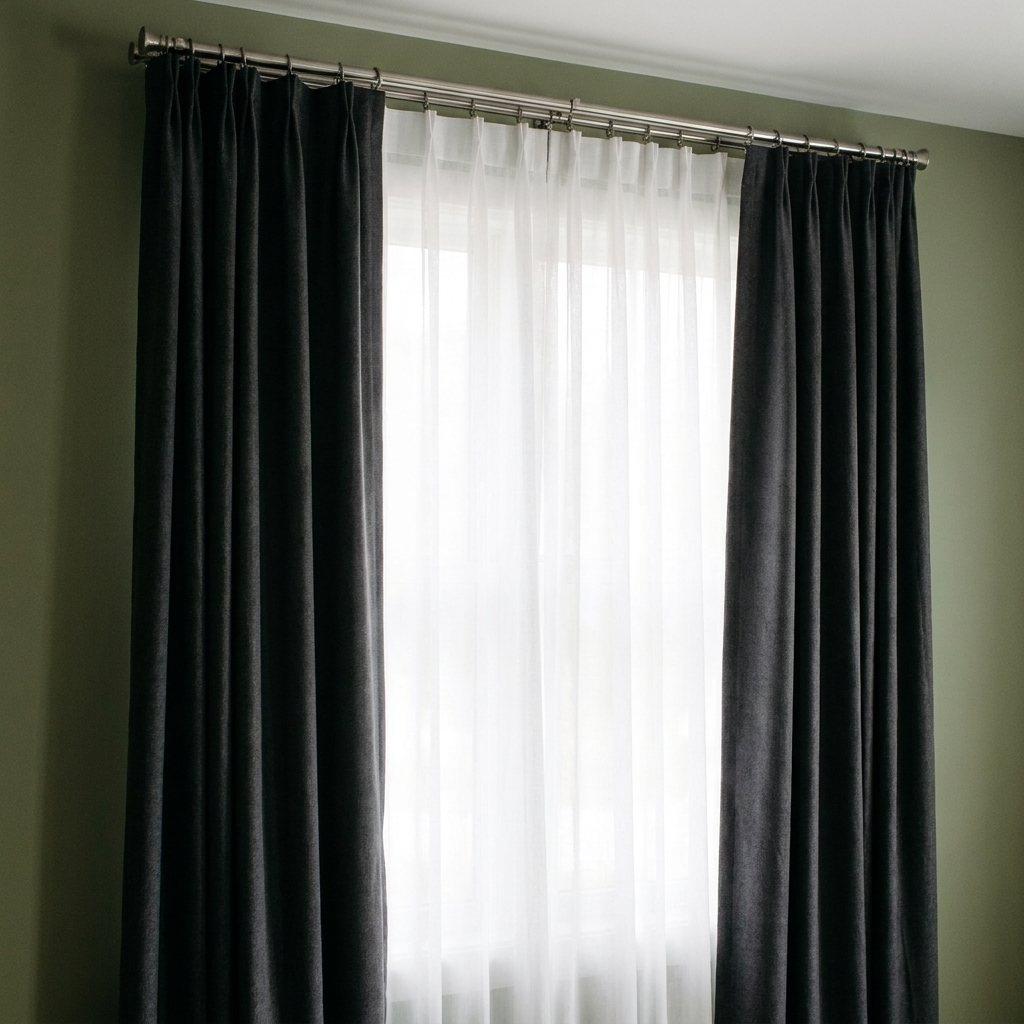
The first time I tried to hang “real” drapes in my 1970s split-level, I assumed the rod brackets would land on studs because that is what every confident person on TV seems to get. They did not. I used the tiny plastic anchors that came in the box anyway, cranked down the screws like I was tightening lug nuts, and felt like a hero until the whole setup slowly leaned forward like a tired sunflower.
If you are staring at a window where the studs are nowhere near where the brackets should go, you can still mount a heavy rod safely. The trick is matching the right drywall anchor to the real load, then installing it in a way that keeps the drywall paper face intact.
Know what “heavy” means
“Heavy drapes” is not just about fabric weight. It is about how much leverage the rod creates as it sits a few inches away from the wall.
- Rod + finials + rings can easily land anywhere from about 5 to 15 lb, depending on length and material.
- Thick drapes (lined, blackout, velvet) can run 10 to 25 lb for a pair, sometimes more for extra-wide panels.
- Daily opening and closing adds a yanking force that anchors must handle over and over.
If you do not have a scale handy, assume your setup is heavier than you think and choose an anchor style meant for shear (downward force) and pull-out (the bracket trying to peel away from the wall).
In curtain-rod reality, failures are often more about tilting forward than dropping straight down. The bracket becomes a little pry bar, and that is why stronger pull-out resistance matters.
Pick the right anchor
Most curtain rod kits include small expansion anchors that are fine for light rods and thin curtains. For heavy drapery, you want one of these three options.
Best overall: Toggle bolts
If I am hanging heavy drapes on standard 1/2 inch drywall with no stud, this is my go-to. A toggle spreads the load behind the drywall, so the drywall is not doing all the work at one tiny point.
- Pros: very strong in drywall, great pull-out resistance
- Cons: requires a larger hole, not ideal if you might move brackets later
- Where it shines: heavy rods, wide spans, kid or pet traffic where curtains get tugged
Very good and easier: Snap-toggle anchors
These are a modern variation that can be simpler to install than classic wing toggles, and they feel less fiddly once you have used them once.
- Pros: strong, consistent installation, easier screw removal and reinstallation
- Cons: still requires a larger hole, costs more
Okay for medium weight: Heavy-duty self-drilling anchors
These can work for medium-weight curtains and shorter rods, especially if you are using multiple bracket holes and a center support. I only trust the all-metal versions and only when the curtain weight is modest.
- Pros: small hole, quick install
- Cons: easier to over-tighten and strip the drywall, less margin for error on heavy drapes
Anchors I usually skip for heavy rods
- Small plastic expansion anchors (the common “kit anchor”): prone to loosening and wallowing out the hole over time.
- Molly bolts: they can be strong when correctly sized to drywall thickness and installed cleanly, but they are easier to mess up in real homes (over-crushed sleeves, spinning in the hole, or a weak bite in older, dusty drywall). For most DIY installs, toggles are simply more forgiving.
If you want a second opinion on planning your window setup before you drill, my measuring guide helps you confirm height and width so you do not end up relocating brackets later: /measure-for-curtains-before-you-shop/.
Tools and supplies
- Stud finder (still worth checking for a stud near one bracket)
- Tape measure and pencil
- Level (2 to 4 ft is ideal)
- Drill and bits (size the bit to your anchor)
- Screwdriver or driver bit
- Drywall anchors (toggle bolts or snap-toggles recommended)
- Curtain rod brackets
- Screws that match the anchor system (do not swap in random wood screws)
- Optional but helpful: painter’s tape, shop vac
Step by step
This method assumes your brackets are landing on drywall with no stud behind them.
1) Set bracket height and spacing
Most rods look best mounted higher and wider than the window frame, but do not guess. Hold the bracket up, stand back, and confirm the drapes will clear trim and any obstructions.
- Typical height: 4 to 8 inches above the window frame (higher can make ceilings look taller)
- Typical overhang: 3 to 6 inches beyond the window trim on each side so you can open curtains without blocking glass
Common mistake: mounting the brackets so close to the trim that the rings, grommets, or header bump the casing and bind every time you open the curtains. Give yourself a little breathing room.
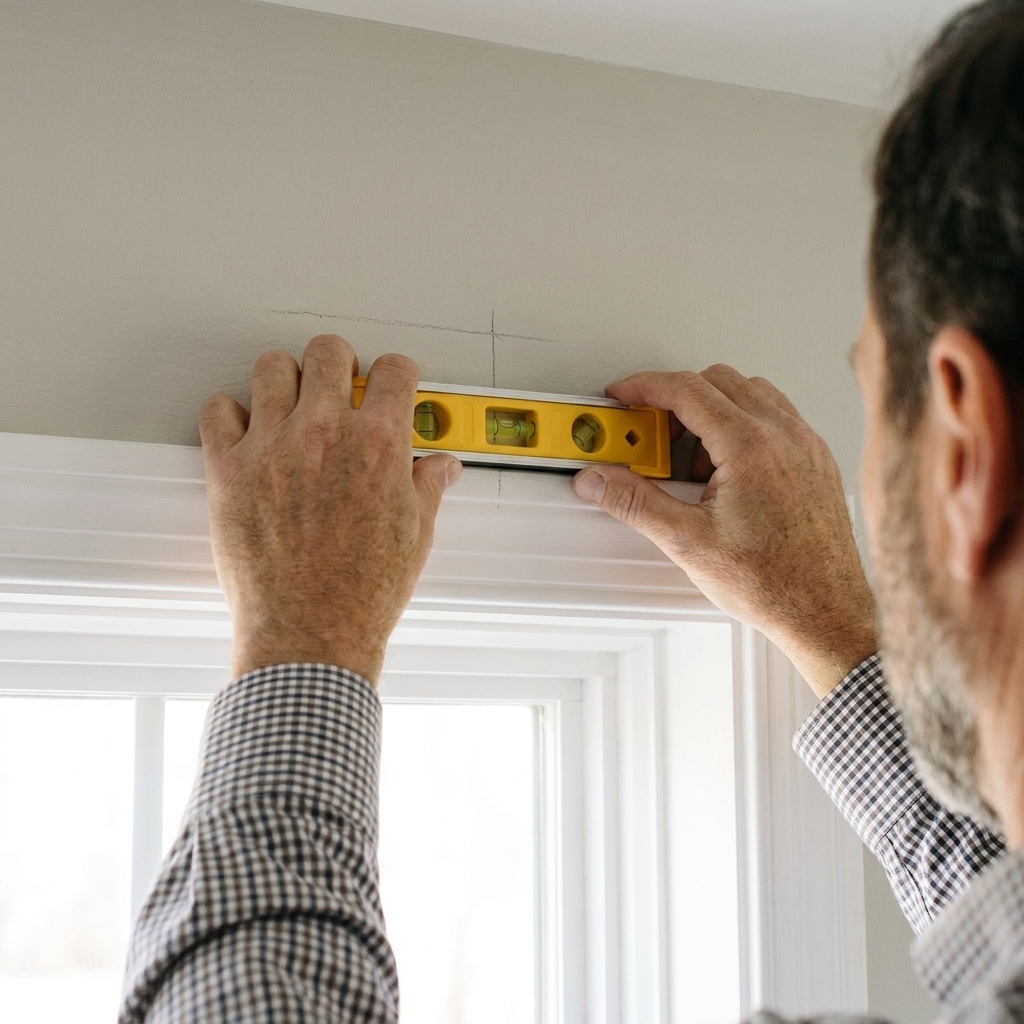
2) Mark holes with a level
Older houses, including mine, love to humble you here. Window trim can be slightly out of level. Use a level to set your bracket marks, not the trim line.
- Mark one bracket first.
- Measure across to the other side at the same height.
- Use a level (or laser) to match the first bracket’s height mark, then verify your spacing looks right.
3) Add a center support when needed
If your rod spans a wide window or sliding door, a center bracket is not optional. It reduces sag and reduces stress on the end anchors.
Rule of thumb: many rods need a center support somewhere around the 48 to 60 inch range, especially thinner rods. Beefier rods sometimes make it to around 6 feet. Either way, follow the rod manufacturer’s instructions if you have them, and add a center support sooner rather than later.
4) Check the wall type and cavity depth
Toggles and snap-toggles need open space behind the drywall for the wings or channel to flip and seat.
- Most interior walls: plenty of cavity depth, toggles work great.
- Shallow or solid backing: areas over masonry, furring strips, or certain fireplace and basement walls might not have enough room for toggles. In that case, a backer board into studs (or a different mounting location) is the safer route.
- Plaster walls: if you have plaster over lath, drilling is harder and the wall can crack if you rush it. I lean toward finding studs and using a backer board for truly heavy drapes.
5) Drill clean holes
Here is the biggest “make it last” tip: you want a clean, round hole so the anchor bears on solid drywall, not torn paper.
- Put a small square of painter’s tape over each mark to reduce paper fuzzing.
- Drill straight and slow.
- Use the exact bit size specified by your toggle or snap-toggle packaging.
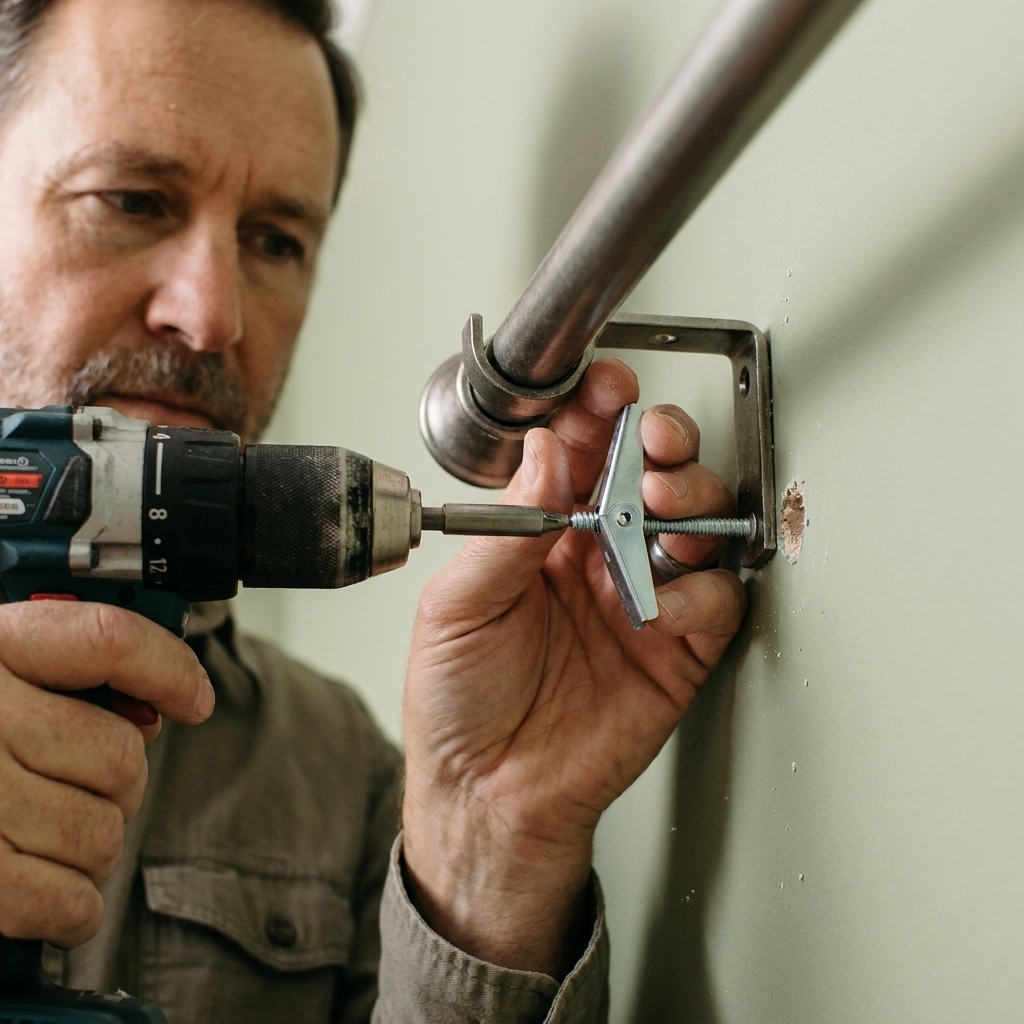
6) Install toggles
For classic wing toggles:
- Thread the toggle wings onto the screw a few turns (wings folded toward the screw head).
- Push the folded wings through the hole until they open behind the drywall.
- Pull back gently on the screw to seat the wings against the back side of the drywall.
- While maintaining light pull, tighten until snug.
For snap-toggle style anchors:
- Insert the metal channel through the hole.
- Pull the plastic straps to seat the channel behind the drywall.
- Snap off the straps per the product directions.
- Thread the matching machine screw through the bracket into the anchor and tighten.
One small but important detail: toggles and snap-toggles are built around specific machine screw sizes (often 1/4-20, but not always). Use the screws that match your anchor. Mixing and matching is how you end up with a wobbly bracket that never quite tightens.
7) Mount the bracket
The goal is snug, not “as tight as possible.” Over-tightening can crush drywall, strip the hole, or bend the bracket, which leads to loosening later.
I tighten until the bracket does not move when I wiggle it firmly by hand, then I stop.
8) Hang the rod and do a gentle test
Before you hang the expensive drapes, test the mount:
- Hang the rod.
- Apply moderate downward pressure with both hands near each bracket for 10 to 15 seconds.
- Watch for shifting, cracking sounds, or the bracket tilting forward.
You are not trying to see how strong you are. You are checking for movement. If anything shifts, take it down and fix it now. The wall will not “settle in” and get better.
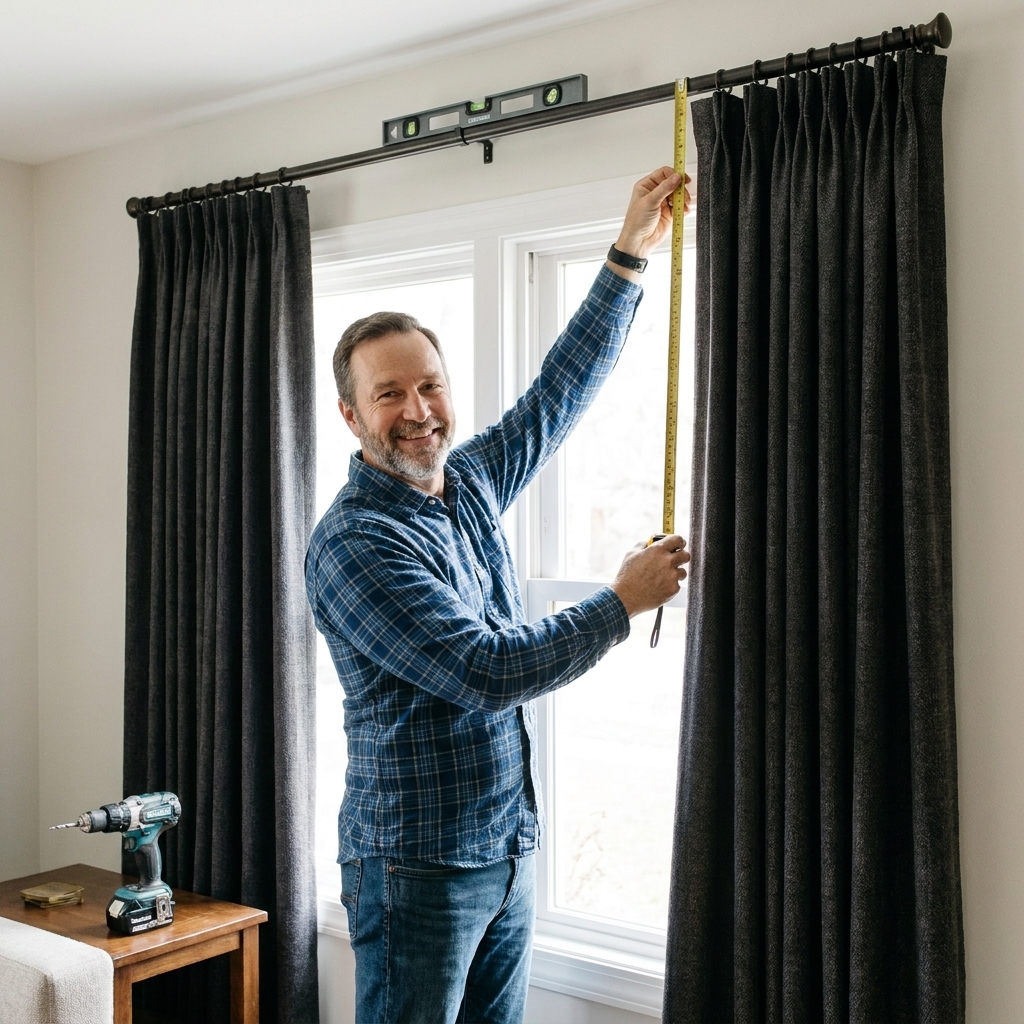
How many anchors?
Most brackets have two screw holes. For heavy drapes, use every hole the bracket gives you unless the bracket design says otherwise.
- Two-hole bracket: use two toggles or two snap-toggles.
- Three-hole bracket: use three anchors if they fit without overlapping behind the drywall.
If hole spacing is tight, snap-toggles often play nicer than wing toggles because the channel can sit flatter behind the wall.
Troubleshooting
The hole got too big
If you oversized the hole, do not try to “make it work” with a bigger screw and the same anchor. Step up to a toggle system that uses a larger hole anyway, or relocate the bracket slightly and patch the bad hole.
The drywall is crumbly
Anchors rely on drywall integrity. If the paper is torn or the gypsum is powdery, toggles are still your best shot, but you may need to relocate to sound drywall. In extreme cases, the best fix is a backer board (see below).
The bracket leans forward over time
This is almost always one of these:
- Anchor type too light for the load
- Over-tightened fasteners crushed the drywall
- No center support on a long rod
- Curtains are being yanked open and closed aggressively
I hit something while drilling
Stop. You might have found a stud, a metal corner bead, a pipe, or a guard plate protecting wiring or plumbing. If it is a stud, great, switch to wood screws into the stud. If you are not sure what it is, do not force a screw through it.
Strongest option: Backer board
If you are hanging very heavy drapes, or you just want the most bombproof setup possible, mount a painted 1x4 (or similar) horizontally above the window, anchored into studs that are farther out. Then mount the rod brackets to the wood backer wherever you need them.
It is not as “invisible” as pure drywall anchors, but it is incredibly strong, and it solves the stud-location problem completely.
Safety notes
- Do not mount into drywall that feels soft from moisture damage. Fix the moisture issue first.
- Keep anchor holes at least a couple inches from the edge of a drywall seam when possible.
- If this is over a bed or crib, be extra conservative. Use toggles or a backer board and a center support.