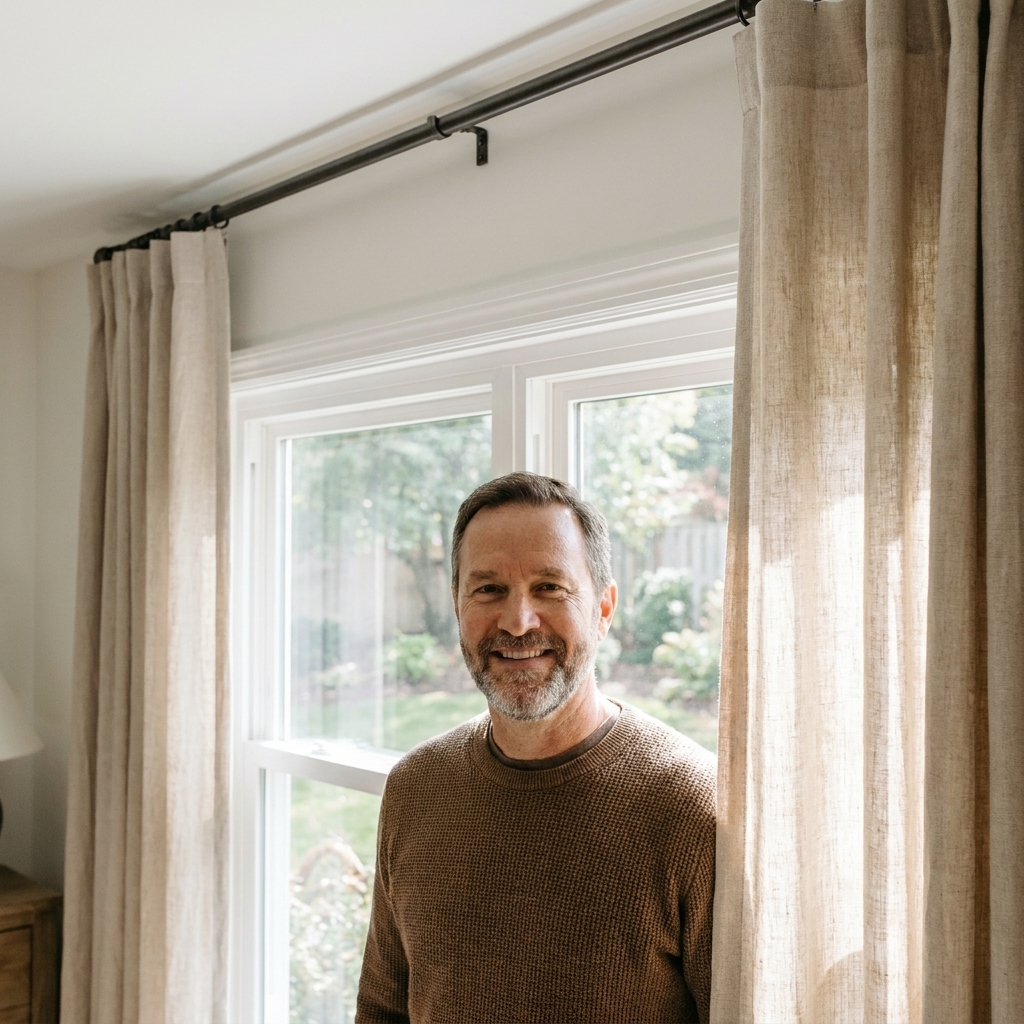
I learned the “hang them higher and wider” trick the hard way in my 1970s split-level. The windows weren’t tiny, but once I put curtains up the normal way, everything looked shorter and more cramped. When I moved the rod up near the ceiling and pushed the panels out past the trim, the whole wall looked bigger in a way that felt like cheating.
This guide gives you the exact measurement formulas I use now, plus a few gotchas so your curtains don’t end up blocking glass, dragging on the floor, or ripping out of drywall.
Why higher and wider works
Two simple illusions are doing all the work:
- Higher rod placement draws the eye up, so ceilings feel taller.
- Wider rod placement lets panels sit mostly on wall, not on glass, so the window reads wider and brighter.
The goal is for your curtains to frame the window, not shrink it.
The quick formulas
1) Rod height formula
Pick the highest option that still works with your space. You want it high, but not so high that the curtains hit the floor weirdly, collide with a radiator, or the hardware can’t operate smoothly.
- Best-looking most of the time: mount the brackets so the rod sits 2 to 3 inches below the ceiling (or below crown molding).
- If you cannot go that high: mount the rod halfway between the top of the window trim and the ceiling.
- If you have very little wall above the trim: mount the rod 4 to 6 inches above the top of the window trim.
Quick clearance check: leave enough space above the rod for rings or grommets to slide without rubbing the ceiling or crown, and make sure finials will not bump into a nearby wall.
2) Rod width formula
Measure your window trim width first.
Rod width = outside trim-to-trim width + (8 to 12 inches on each side)
- Use 8 inches per side for tight walls or nearby corners.
- Use 10 to 12 inches per side when you have wall space and want the biggest wow effect.
This spacing is what allows your panels to stack on the wall while leaving most of the glass uncovered when open.
3) Curtain panel width
For a finished look, you want enough fabric to look intentional when closed.
Total curtain fabric width = 2.0 to 2.5 × rod width
- 2.0× looks tailored (great for thicker fabrics or modern spaces).
- 2.5× looks fuller and softer (great for sheers or linen blends).
Example: If your rod is 80 inches wide, aim for 160 to 200 inches of total panel width (for example, two panels that are 84 to 100 inches wide each).
4) Curtain length formula
Decide your finish first, then measure from the exact point your curtain will hang from. That might be the ring eye, a clip, the top of the grommet, or the rod pocket seam. Do not measure from your pencil line or bracket height unless that is truly where the fabric will start.
- Just kissing the floor: curtain length = measured height minus 1/2 inch
- Floating (easy to vacuum): measured height minus 1 to 1 1/2 inches
- Puddling (decorative, dustier): measured height plus 2 to 4 inches
If you want to be extra precise, use the measuring method in Measure for Curtains Before You Shop.
Mark and mount the rod
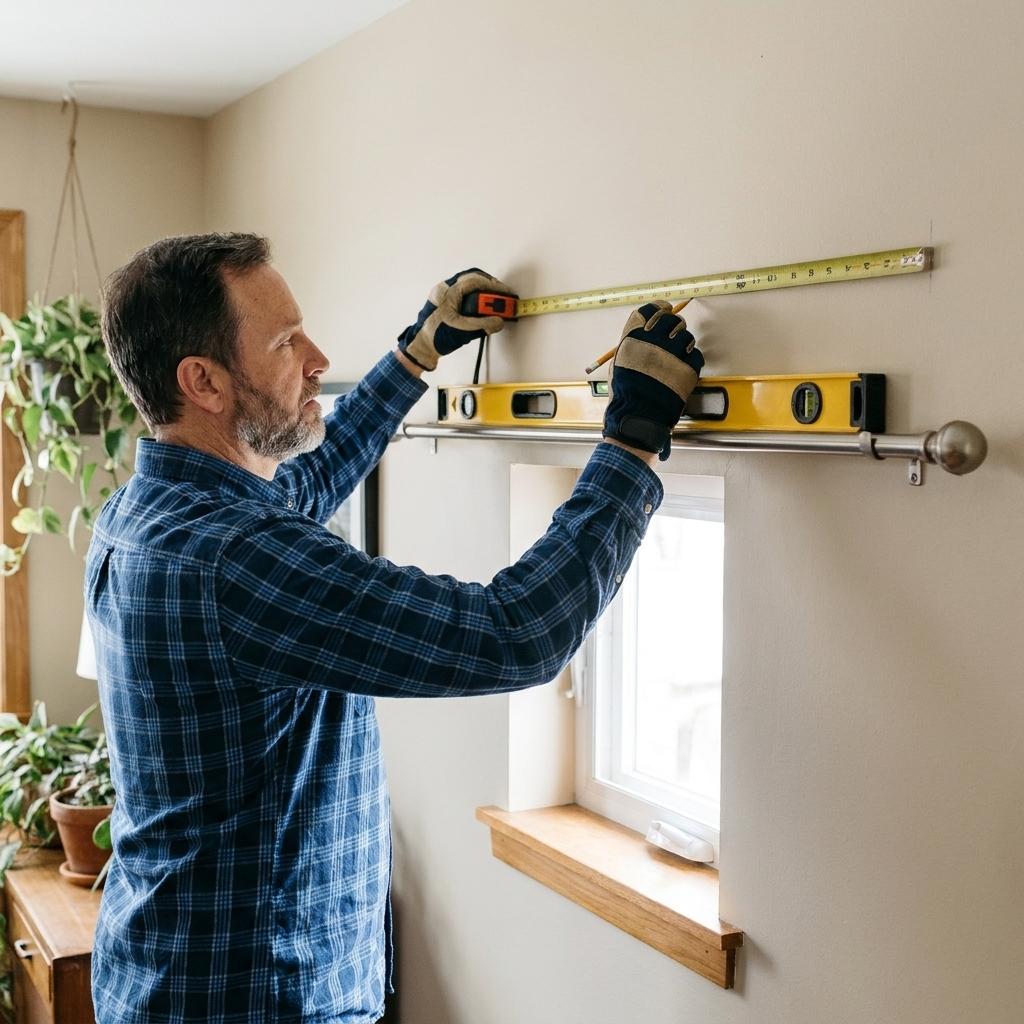
Tools and supplies
- Tape measure and pencil
- Level (or a laser level if you have one)
- Drill and driver bit
- Stud finder
- Appropriate anchors (if you miss studs)
- Curtain rod, brackets, rings or grommet panels
1) Choose your rod line
Lightly mark a level line where you want the rod to sit. If you are using rings, remember the rod sits a bit higher than the curtain header. If you are using grommets or a rod pocket, the fabric starts right at the rod. Keep the rod high, but make sure you have enough clearance so rings can glide and the curtains will still clear the floor the way you planned.
2) Mark bracket positions using your width formula
Measure your target rod width, then mark the bracket centers so your rod extends 8 to 12 inches past the trim on each side.
Tip: If the rod has decorative finials, account for them. Some rods measure between finials, others measure overall. Dry fit the parts on the floor once so you are not guessing on the wall.
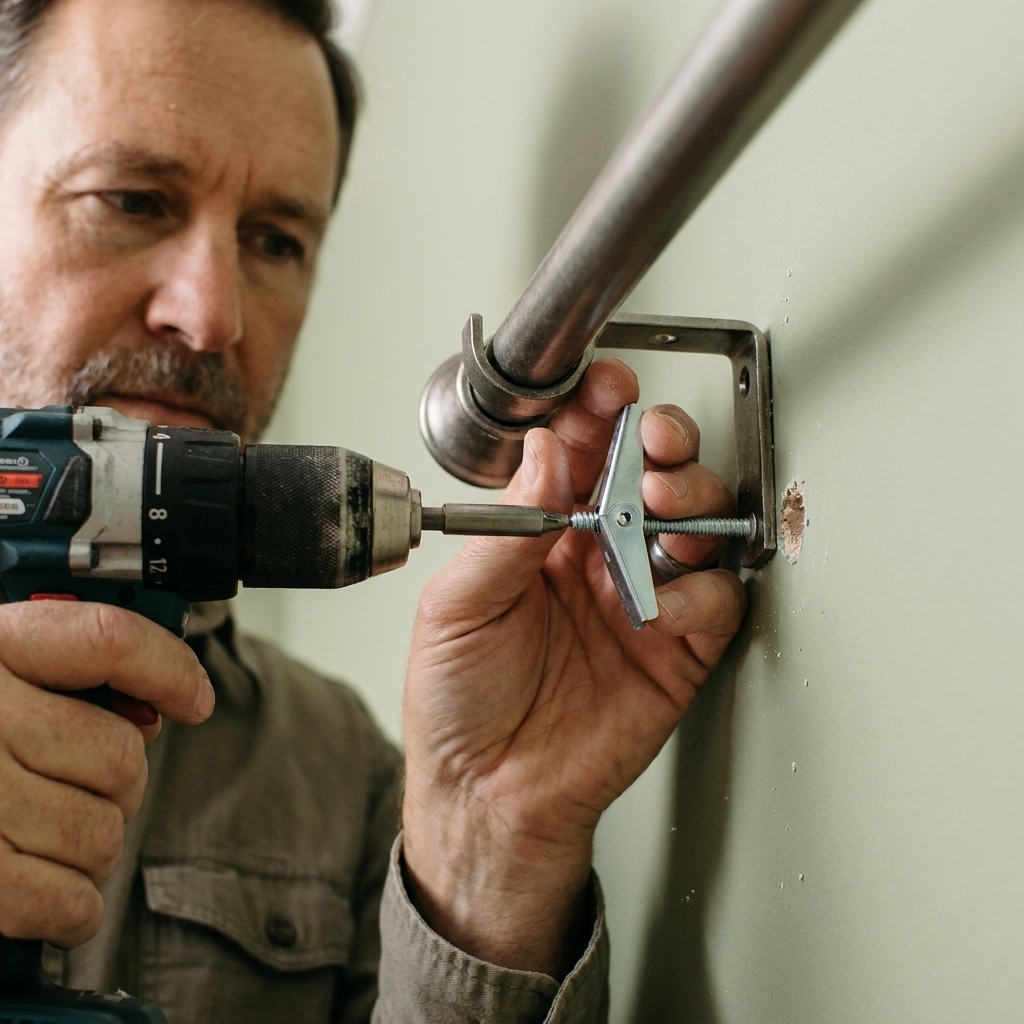
3) Hit studs when you can, anchor when you can’t
If a bracket lands over a stud, you are golden. If it doesn’t, use a wall anchor rated for the weight of your curtains.
If you are hanging heavy drapes, do not wing it with tiny plastic anchors. I walk through secure options in How to Hang Heavy Drapery Rods in Drywall Without a Stud.
4) Add a center support when the span gets long
Once spans get to roughly 60 inches (sometimes sooner, depending on rod material and curtain weight), a center bracket helps prevent sag. Many manufacturers call for support anywhere from about 48 to 72 inches, so treat 60 as a practical heads-up and follow your rod’s instructions if they are more specific. Many rods include a center bracket, but people skip it. Don’t.
5) Hang panels and train the folds
After you hang the curtains, spend a couple minutes shaping them:
- Make even folds with your hands.
- Loosely tie the curtains with a soft ribbon or fabric strip for 24 to 48 hours.
If you want a faster option, a quick pass with a handheld steamer can help the folds behave, too.
Small-window rules
Keep the glass clear when curtains are open
When the panels are open, you want them resting mostly on drywall. If your open curtains still cover several inches of glass on each side, the rod may not be wide enough for the look you want, or your curtains may have a lot of stack-back.
What is stack-back? It is the space the fabric takes up when pushed open, and it depends on fabric thickness, header style, ring size, and how many panels you are stacking onto one side.
Use the right header for your goal
- Rings with pleated panels: easiest way to get smooth, consistent folds and add a little height.
- Grommets: clean look, easy to slide, but the header tends to sit lower visually.
- Rod pocket: cozy and traditional, but can look heavy and is harder to open and close daily.
Choose a rod diameter that matches the fabric
A skinny rod with thick curtains can look out of proportion, and it can sag. For many standard panels, a 1 inch rod is a good starting point, but the right choice depends on rod material, bracket spacing, span length, and fabric weight. If you are hanging heavier drapes or spanning a wide wall, moving up to a thicker rod and adding supports usually looks better and performs better.
Panel count tip for wide rods
If your rod is long and your panels feel bulky when open, consider using four narrower panels instead of two extra-wide ones. You can stack two panels on each side, which often clears more glass and looks less bunched up.
Tricky layouts
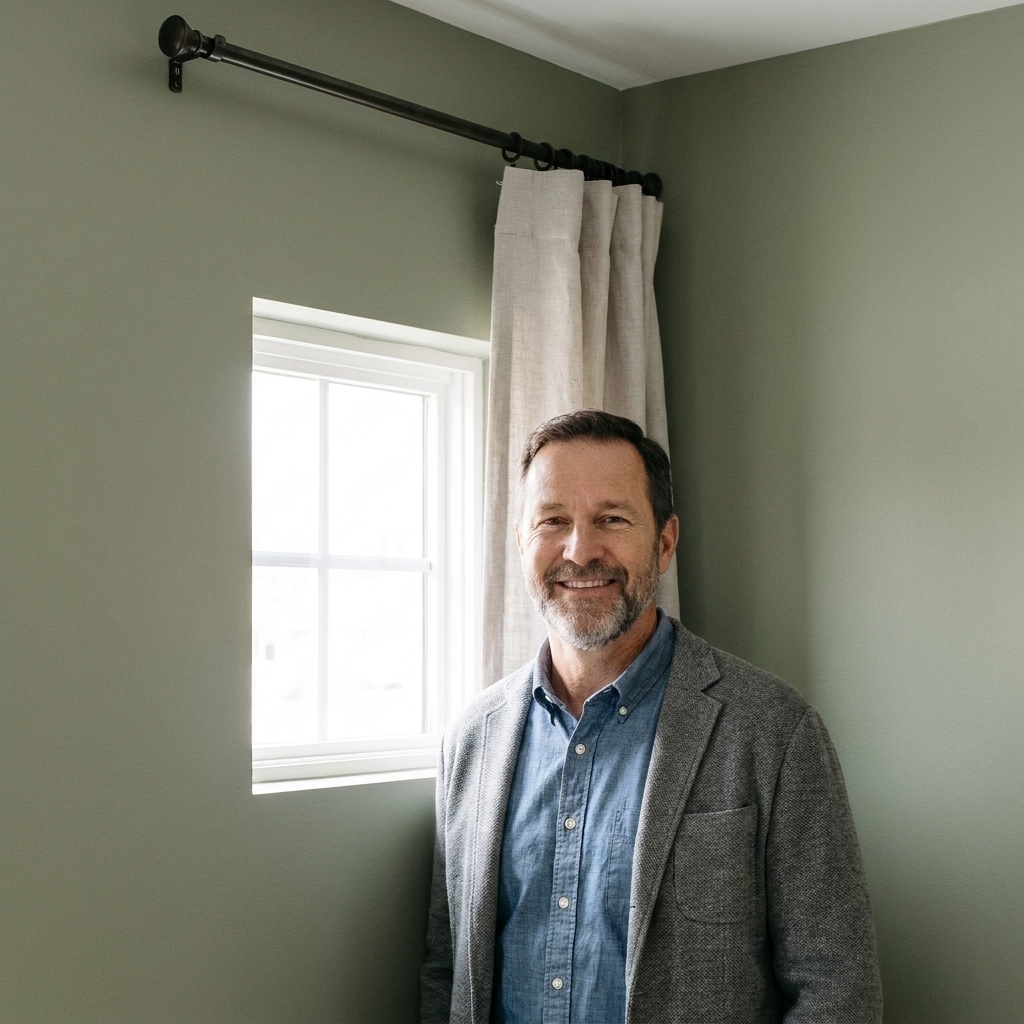
1) Window near a corner
If you cannot extend 8 to 12 inches on the corner side, extend as far as you can and make up the difference on the other side. Your eye reads the overall span.
2) Two windows close together
Treat them like one big unit: one long rod mounted high across both windows, with panels at the outer ends (and optionally a pair in the middle). This reads wider and less fussy than separate rods.
3) Window above a baseboard heater or vent
You can still mount the rod high and wide, but choose a length and setup that keeps fabric from blocking airflow or sitting against heat. Often that means a floating hem (1 to 1 1/2 inches off the floor), a shorter curtain, or using holdbacks to keep panels pulled clear when the heat is running.
Fast ways to shrink a window
- Mounting right on top of the trim when there is wall space above it. This caps the height visually.
- Using a rod that barely clears the trim. Open curtains still cover glass, making the window look narrow.
- Too-short curtains. They cut the wall in half and make ceilings feel lower.
- Skipping a center support on a long rod. Sag makes everything look sloppy.
- Panels that are too thin for the rod width. The curtain looks skimpy even if your placement is perfect.
My go-to setup
If you want a simple default that works in most homes, start here:
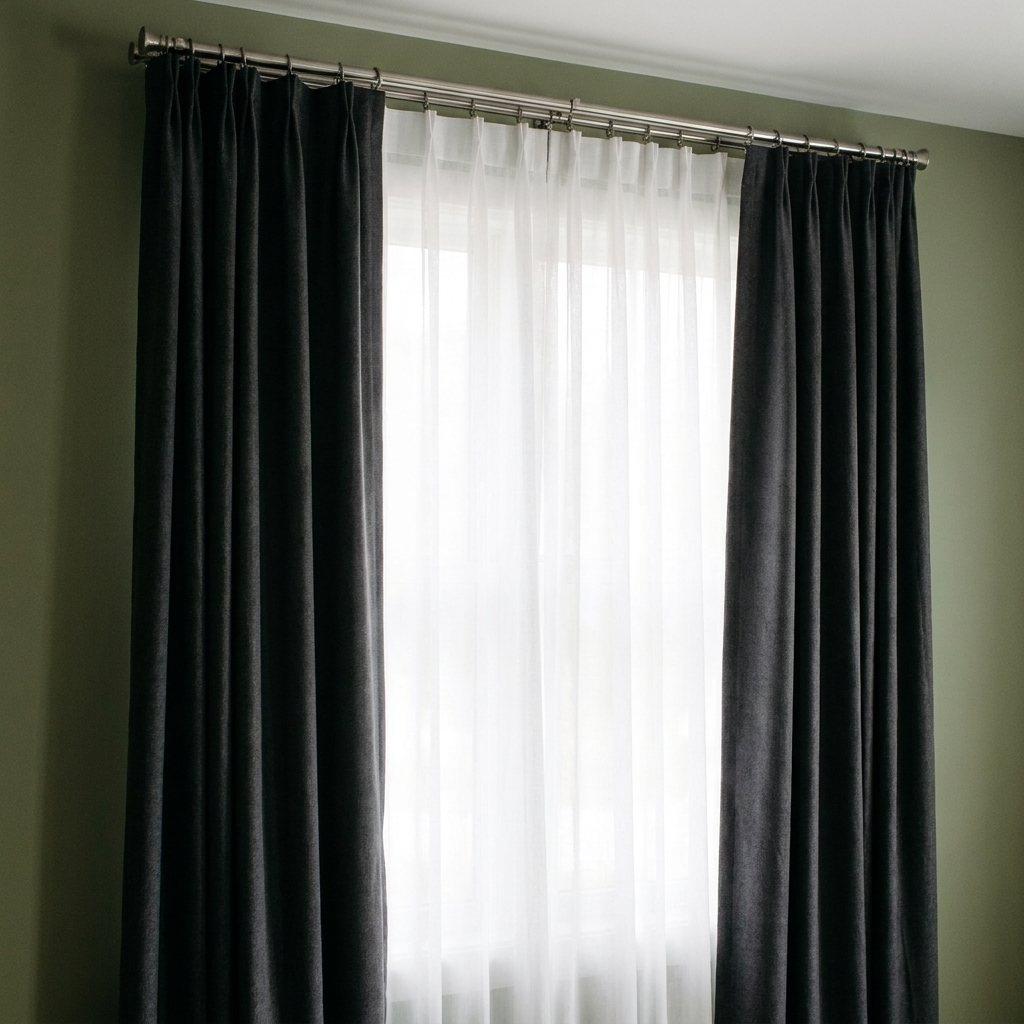
- Mount brackets so the rod sits 2 to 3 inches below the ceiling.
- Extend rod 10 inches past the trim on each side (reduce only if you hit a corner).
- Use curtain fabric width totaling 2.0 to 2.5× the rod width.
- Hem so curtains kiss the floor (or float 1 inch if you have pets and dust bunnies like I do).
FAQ
How high is too high for curtain rods?
If your curtains have to awkwardly clear crown molding, a ceiling fan, a soffit, or the rings cannot slide freely, it is too high. Otherwise, mounting the rod so it sits 2 to 3 inches below the ceiling is usually the sweet spot.
How wide should curtains be if I’m hanging the rod wider than the window?
Base it on the rod width, not the window. Aim for 2.0 to 2.5× rod width in total fabric so it still looks full when closed.
Will hanging curtains higher block light?
Not if you also hang them wider. The higher rod puts fabric above the glass line, and the wider rod lets open panels stack on wall instead of on the window.
What if I want privacy but still want the big-window look?
Layering is your friend: sheers for daytime privacy plus drapes for night. If you want to do that cleanly, see Layering Sheer Curtains With Blackout Drapes.