

The first time I hung a window planter box on my 1970s split-level, I did what a lot of optimistic DIYers do: I trusted “outdoor” screws, eyeballed the bracket spacing, and assumed the siding would forgive me. It did not. The box held for a while, then slowly sagged, and the wet soil stayed damp against the wall long enough to make a mess.
This guide is the version I wish I’d had that weekend. We’ll build a planter box that can handle real weight (wet soil is no joke), add drainage that doesn’t rot the bottom out, and mount it using hardware that carries the load without crushing or trapping water against your siding.
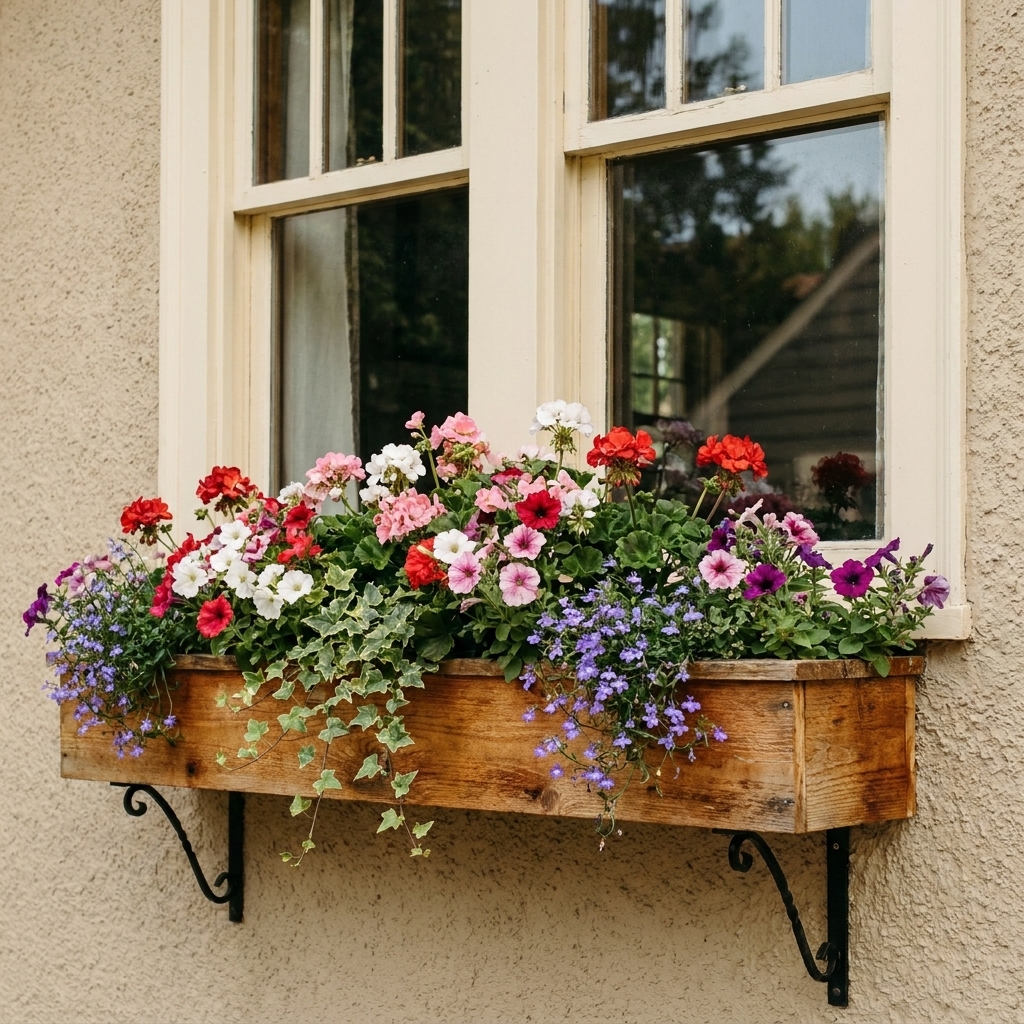
Before you start: safety and common sense checks
- Know what you’re fastening into. A “secure” planter box mount means the brackets are anchored into solid framing (wall studs, rim joist, masonry) or a properly installed mounting board that is itself anchored into structure.
- Keep clearance under the window. You want the box low enough that it doesn’t interfere with opening the sash, insect screen removal, or window drainage paths.
- Do not block weep holes. On many vinyl and aluminum windows, the lower frame has weep holes that let water out. Keep your box, brackets, and any sealant well clear of them.
- Plan for water. Your mounting method should not trap water against siding. Your box design should drain freely without constantly rinsing the wall.
- If you’re unsure about your exterior wall assembly, slow down. Water management mistakes are where “cute weekend project” turns into “mysterious rot.”
If your window area already shows soft wood or peeling paint, fix that first. This guide on repairing a rotted wood window sill is a good starting point before you add any extra moisture nearby.
How heavy is a “heavy” planter box?
Most failed installs happen because we underestimate wet weight. Soil holds water. Plants hold water. The box itself gets heavier when it stays damp.
A realistic weekend-DIY weight estimate
- Wet potting mix: can range widely, often around 35 to 55 lb per cubic foot depending on the mix (peat vs coco vs bark), compaction, and how saturated it gets
- Typical window box volume: 0.8 to 1.6 cubic feet for many common sizes
- Plants and mulch: 5 to 20 lb
- Wood box: 10 to 25 lb depending on lumber and size
It’s easy for a “medium” looking planter to land in the 60 to 120 lb range after a good rain. For mounting hardware, I treat it like a mini deck ledger: use a healthy safety margin and assume weather will find every weak point.
Materials that last: rot-resistant wood and fasteners
Best wood choices
- Cedar (western red cedar): My go-to for the balance of rot resistance, weight, and workability.
- Redwood: Excellent outdoors if it’s available and the cost makes sense in your area.
- Cypress: Another strong outdoor option.
- Paint-grade exterior lumber: Can work if properly primed and sealed, but it’s less forgiving if water gets trapped.
- Pressure-treated lumber: Durable, but heavier and often wetter when purchased. If you use it, let it dry before painting and avoid direct soil contact without a liner.
What I avoid: untreated pine and interior-grade plywood. Even with paint, they tend to fail from the inside out once water and soil stay in contact.
Fasteners and hardware that won’t stain your siding
- Stainless steel screws are the gold standard outdoors.
- Hot-dipped galvanized is usually fine for exterior brackets and fasteners (verify compatibility if you mix metals).
- Exterior-rated construction adhesive is optional and not a substitute for mechanical fasteners, but it can help for trim details.
If you live near salt air or you water heavily, stainless is worth the extra cost.
Box design that drains and dries
A window box should do two things at the same time: hold soil securely and let excess water escape quickly. Standing water is what rots bottoms, loosens joints, and creates that constant damp stripe on the wall below.
Simple, strong dimensions
For most windows, a practical depth is 7 to 9 inches. Deeper boxes look great but get heavy fast.
- Length: window width minus 2 to 6 inches (so it doesn’t look cramped against trim)
- Height: 7 to 8 inches is plenty for many annuals
- Depth (front to back): 7 to 9 inches
Build option A: solid bottom with drainage holes (my default)
This is the easiest build that still lasts when you do the details right.
- Use 3/4-inch thick boards for the bottom (not 1/2-inch).
- Drill 3/8-inch to 1/2-inch drainage holes every 4 to 6 inches along the bottom, set back about 1 inch from edges.
- Add a thin layer of plastic mesh or landscape fabric inside to keep soil from washing out. Do not seal the holes with caulk.
Build option B: slatted bottom for maximum drying
Slats dry faster and drain better, but they can drip more onto siding if you mount the box too tight to the wall.
- Leave 1/4-inch gaps between slats.
- Use a liner or trough insert inside if you want to reduce wall splash.
Liners that help (without creating a swamp)
If you use a plastic liner or insert, treat it like a second “box” that still needs drainage.
- Drain it: drill liner holes that align with the wood box’s holes (or at least let water exit in the same zones).
- Do not let it sit flat in a puddle: set the liner on thin ribs, small plastic shims, or a few squares of composite material so water can move under it to the holes.
- Avoid trapping moisture at the back: keep the liner from folding tightly against the back wall where water can sit.
How to keep the back from staying wet
The back face of the box is where moisture likes to linger because it’s shaded and close to the wall.
- Leave an air gap between the box and siding (more on that in mounting).
- Seal end grain aggressively. I brush on exterior primer or a wood sealer at every cut end before assembly.
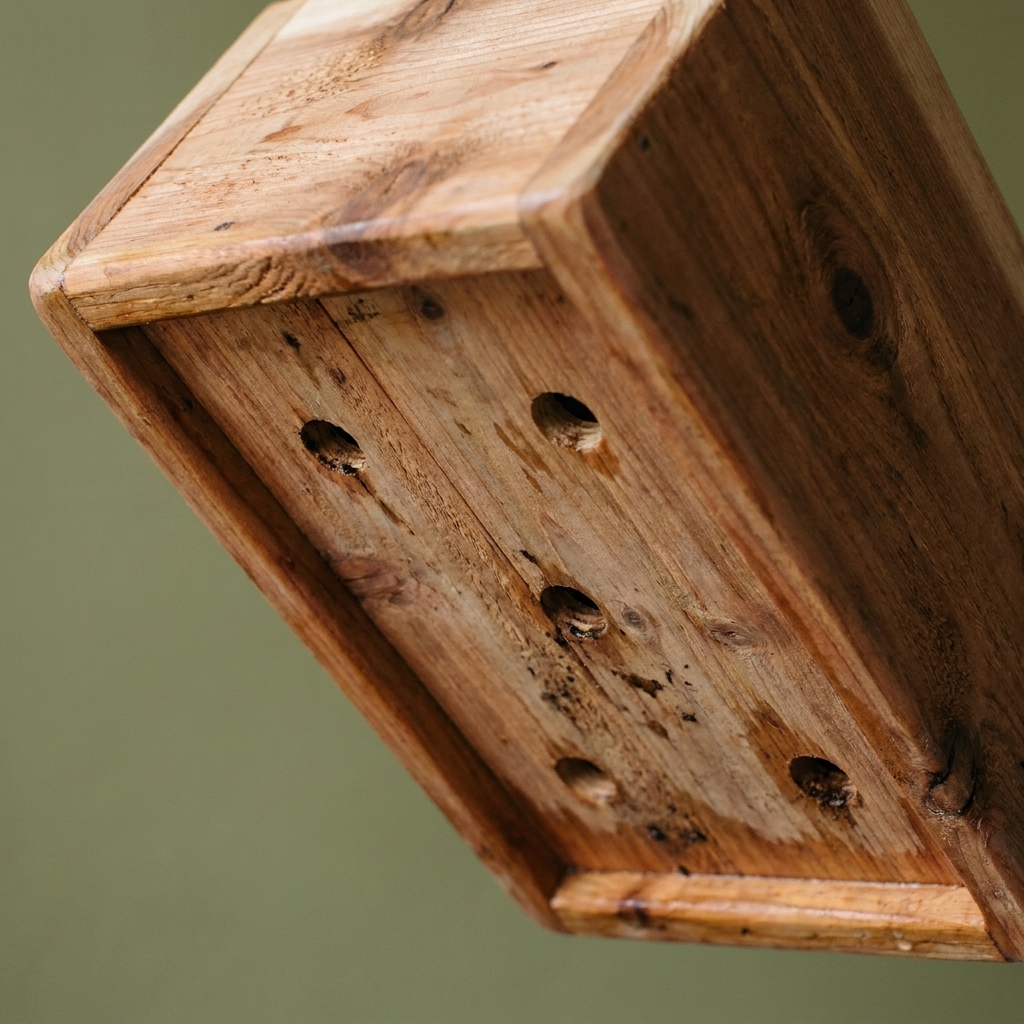
Weekend build: box construction
This build assumes a straightforward rectangular box that sits on brackets. Adjust dimensions to your window, but keep the assembly approach.
Tools
- Miter saw or circular saw
- Drill and drill bits (including 3/8-inch to 1/2-inch for drainage)
- Driver bit for screws
- Clamps (helpful, not mandatory)
- Measuring tape and square
- Orbital sander or sanding block
Cut list (example: 36-inch long box)
- Front: 1 board, 36 inches
- Back: 1 board, 36 inches
- Ends: 2 boards, 8 inches (match your chosen depth)
- Bottom: 1 board panel assembled from 1 or more boards to fit inside the box footprint
- Optional top trim cap: 2 long pieces and 2 short pieces (for a thicker look and extra stiffness)
Assembly steps
- Dry fit everything. Make sure the bottom will sit flat and the ends are square.
- Pre-seal end grain. Any cut end gets primer or exterior wood sealer before you bury it inside a joint.
- Pre-drill and countersink. This prevents splits and makes the box look cleaner.
- Screw the box sides together. I use two to three screws per corner, depending on height.
- Install the bottom. Set it in place and fasten it so it can’t sag. If your box is long, add a center support cleat under the bottom.
- Drill drainage holes. If you didn’t drill them earlier, do it now and lightly sand the edges.
- Sand and soften edges. A small round-over keeps paint from failing immediately and saves your hands later.
Finish options
- Exterior paint: Prime first, then two coats. Paint buys you time, but only if drainage is good.
- Exterior oil or stain: Looks natural, but plan for maintenance coats. Cedar looks great with a penetrating oil, but it still benefits from end-grain sealing.
Tip from my own trial and error: if you paint, paint the inside too, but do not paint over standing water or damp wood. Trapped moisture shortens the life of any finish.
Mounting that protects your siding
Here’s the rule I work by: the brackets are not “holding the box to the house.” They are transferring weight into the structure behind your siding.
Choose brackets like you mean it
Look for heavy-duty steel shelf or planter brackets with a published load rating, and choose a rating comfortably above your estimated wet weight.
- Two brackets can work for short boxes (around 24 inches) if they are stout and properly anchored.
- Three brackets is smarter for 30 to 48 inches.
- Four brackets for extra-long runs or especially deep boxes.
One important caution: bracket ratings are usually based on ideal conditions (fastened flat to a solid surface, the right fasteners, clean vertical load). Spacers, uneven siding, wind, and people leaning on the box can change the forces. When in doubt, add a bracket and overbuild the connection to structure.
Create an air gap
You want a small space so water can drain and the wall can dry.
- Use 1/4-inch to 3/8-inch spacers behind bracket mounting points (nylon spacers, composite shims, or stacked stainless washers).
- Do not crush vinyl siding by tightening brackets directly onto it.
Best mounting methods
1) Mount to wall studs through flat siding or solid wood sheathing
This is the most straightforward situation. Find studs, confirm with a small test hole, then fasten brackets into studs using exterior structural screws.
- Use ledger or structural wood screws sized for your bracket holes and wall build-up, not drywall screws and not basic deck screws.
- Pre-drill if needed to avoid splitting wood framing.
- Add a high-quality exterior sealant at penetrations, applied behind the bracket base so it seals around the screw shank without creating a water dam.
2) Use a mounting board (good for uneven siding and alignment)
This is my favorite approach when siding is wavy, the stud layout is annoying, or you want a cleaner installation with fewer holes scattered around.
- Fasten a rot-resistant mounting board (like cedar or PVC trim) into studs with structural screws.
- Manage the top edge: flash it if you can, or run a neat bead of sealant along the top edge only so water sheds over the face. Leave the sides and bottom able to drain and dry.
- Attach your brackets to the mounting board.
3) Brick or masonry mounting
If your home is brick, use the right anchors and drill with a hammer drill. Brick veneer versus solid masonry can change how much load you can safely carry, so be conservative and follow anchor instructions.
- Use masonry anchors rated for exterior use and the weight you expect.
- Brick face vs mortar: follow the anchor manufacturer’s guidance. Some systems call for brick, others for mortar joints, and brick condition matters.
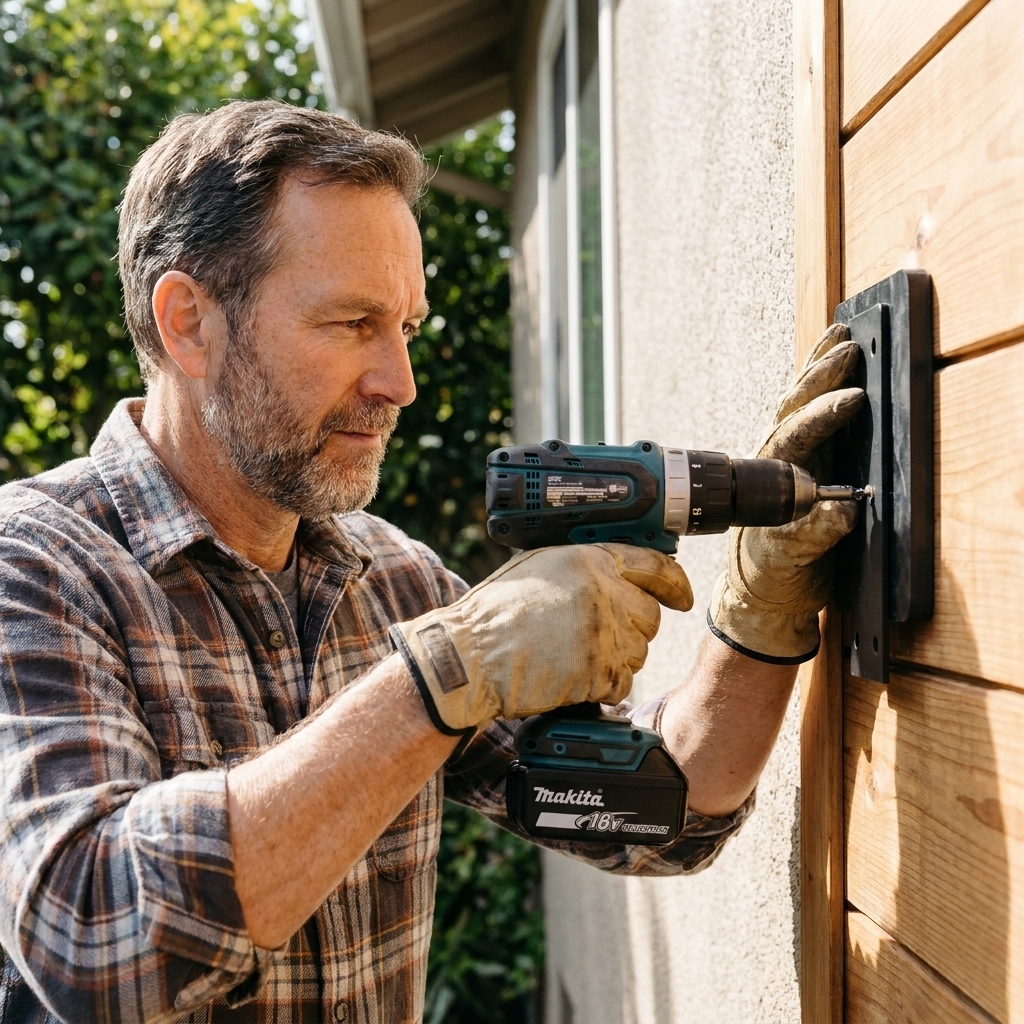
Install brackets: step by step
- Mark your box location. Hold the empty box up under the window, check the sight line, and confirm the window still opens comfortably.
- Find structure. Use a stud finder, then confirm by measuring from known framing or drilling a tiny pilot hole where it will be covered by the bracket.
- Lay out bracket spacing. Keep brackets in from the ends a few inches, and add a center bracket on longer boxes.
- Pre-drill bracket holes. Especially important near the edge of trim boards or studs.
- Add spacers. Set your 1/4-inch to 3/8-inch spacers at each mounting point so the bracket face is not pressed into the siding profile.
- Seal thoughtfully. Put a small bead of exterior sealant behind the bracket plate around the holes, then fasten. The goal is sealing the penetration, not gluing the whole bracket to your siding.
- Fasten brackets with structural screws. Tighten snug, not crushing. Re-check level across brackets.
- Add a slight forward pitch. If your bracket style allows it, tip the bracket tops back just a hair so the box naturally drains forward. Keep it subtle.
- Set the box on brackets. Confirm it sits flat, with a small air gap behind.
- Secure the box to brackets. Drive short exterior screws up through bracket holes into the box bottom, or use side screws depending on bracket style. Pre-drill to prevent splitting.
If you’ve never dealt with fastening something heavy to a wall and making it look tidy, the mindset is similar to hanging sturdy curtain hardware. This guide on hanging heavy drapery rods has the same theme: carry weight with structure, not hope.
Drainage that doesn’t stain your wall
Even with good drainage, water can leave streaks on siding. A few small decisions help a lot.
- Keep the planter slightly off the wall so water drips straight down instead of wicking onto the siding.
- Add a thin inner liner if you water aggressively, but make sure the liner drains and is not sitting in pooled water.
- Use a drip tray only if it can drain. A tray that overflows against siding is worse than no tray. Outdoors, I prefer no tray and better control over watering.
- Angle the box very slightly forward (a tiny amount). You’re not making a slide, you’re just encouraging water to leave the back edge alone.
Drip watering without a wet wall
If you run a drip line to a window box, the goal is neat routing that does not rub, kink, or wick water against the house.
- Route tubing to the side, not straight down the wall. I try to come in from one side of the box, then tuck the line under the front lip.
- Use small clips or straps on the bracket or mounting board so the tubing is supported without being pinned against siding.
- Keep emitters aimed into soil, not toward the back board. A slow drip right against the back wall keeps that shady area wet the longest.
Maintenance that keeps it solid
- Each spring: check bracket screws for tightness, look for rust, and inspect sealant at penetrations.
- Mid-season: make sure drainage holes are not clogged with roots or compacted soil.
- Each fall: empty and clean the box if you have freezing winters. Wet soil freezing solid is hard on wood joints.
If the box starts to smell swampy or stays wet for days, it’s usually a drainage or airflow issue. Fix that first before you repaint.
Troubleshooting
My brackets are solid but the box wobbles
- Add screws through bracket holes into the box bottom.
- If the box bottom is thin, add an interior cleat or an extra bottom layer where brackets land.
The box is level but water runs down the siding
- Increase the air gap behind the box.
- Make sure drainage holes are not blocked and are set back from the rear edge.
- Water slower, less often, and deeper. Quick daily watering makes more runoff.
Vinyl siding looks crushed around the bracket
- Remove the bracket, add proper spacers, and re-mount into structure.
- If the siding is badly distorted, consider a mounting board to spread load and create a flat surface.
Wood is darkening at the bottom after a few months
- Check if the bottom is holding water because the box is perfectly flat. A slight forward pitch helps.
- Increase drainage hole size or add more holes.
- Confirm the box is not sitting in constant splash from sprinklers.
When to bring in a pro
If you have a tall install (second story), uncertain wall framing, crumbling masonry, or you simply can’t find solid structure where the planter needs to go, it’s worth hiring help. If you go that route, these questions to ask before hiring a contractor translate well to any exterior project where water and structure matter.
Quick checklist
- Rot-resistant wood (cedar, redwood, cypress) and exterior-grade fasteners
- Drainage holes every 4 to 6 inches, plus mesh to retain soil
- Heavy-duty steel brackets with a comfortable safety margin
- Brackets anchored into structure (studs, rim, or masonry), not just siding
- Spacers to create an air gap and avoid crushing siding
- Sealed penetrations that block leaks without trapping water
- If using a liner or drip irrigation, make sure both drain and do not keep the back wall wet
Build it once, mount it once, and then the only work you should be doing is planting, watering, and enjoying the view.