

The first time I tried frosted privacy film, I treated it like a sticker. I rushed, I eyeballed the cuts, and I ended up with a corner that kept lifting like a bad bandage. The good news is that static-cling frosted film is forgiving, as long as you slow down and get the prep and measurements right.
This guide walks you through measuring, cutting, and applying static-cling frosted film for bathroom windows, sidelights, and front door glass. You will get privacy without turning your room into a cave.
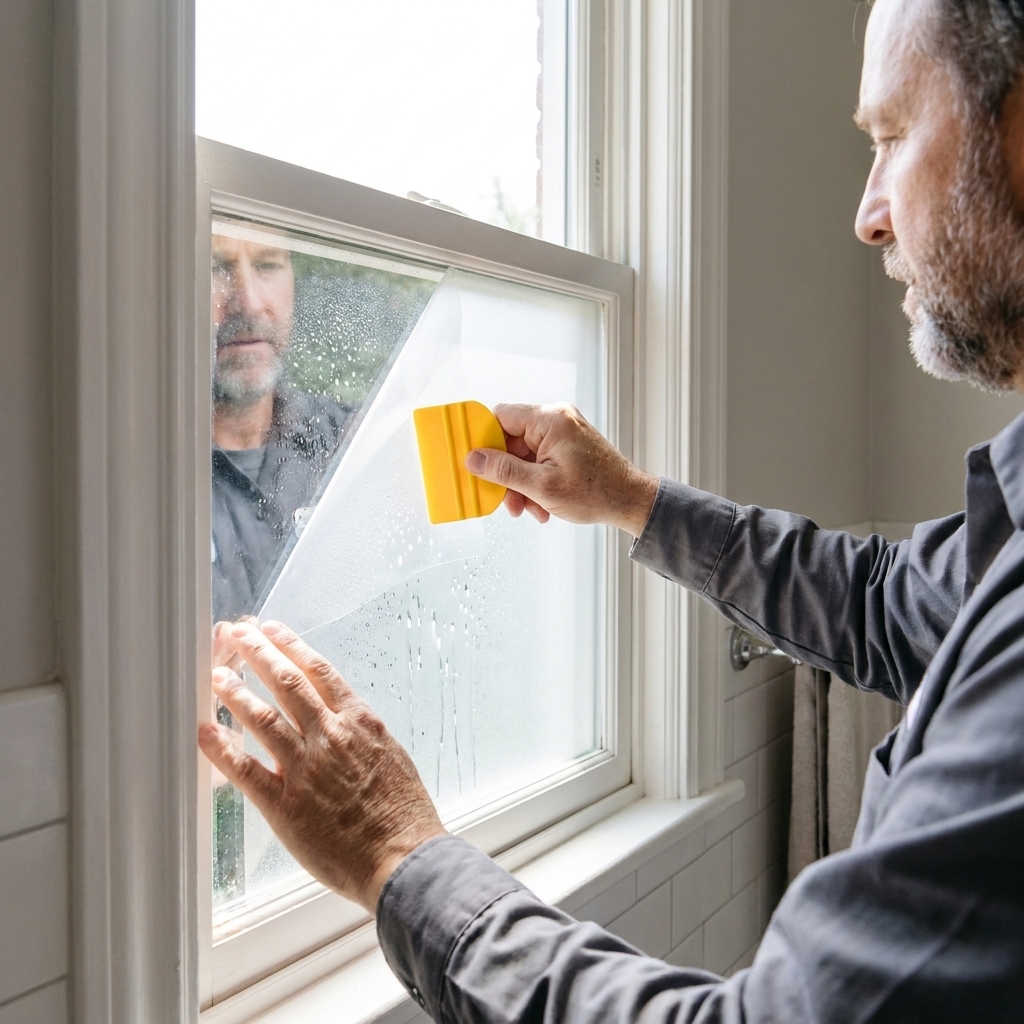
Before you start: pick the right film
There are two common categories of privacy film:
- Static-cling film: no adhesive. It adheres without glue and installs best on a wet pane so you can slide and position it. This is the beginner-friendly option and the focus of this guide.
- Adhesive film: has glue. It can be great, but it is less forgiving and removal is messier.
Also check the texture (frosted, etched, reeded) and the privacy level. Most frosted films block clear detail, but silhouettes can still show when a light is on behind the glass at night. If you need total nighttime privacy, plan on pairing film with a shade or curtain.
Pattern tip: If the film has a directional pattern (like reeded lines), decide whether you want it vertical or horizontal before you cut. Once it is on the glass, “rotating” usually means starting over.
Tools and materials
- Static-cling frosted window film (a little extra for practice cuts)
- Spray bottle with water plus 1 to 2 drops of dish soap
- Glass cleaner that leaves no residue, or plain rubbing alcohol and a microfiber cloth
- Lint-free paper towels or microfiber towels
- Plastic squeegee, soft window film applicator, or an old gift card wrapped in a microfiber cloth
- Sharp utility knife with fresh blades
- Metal straightedge or ruler
- Tape measure
- Optional: small scraper for paint specks, and a hair dryer (only for gentle warming, not heat shrinking)
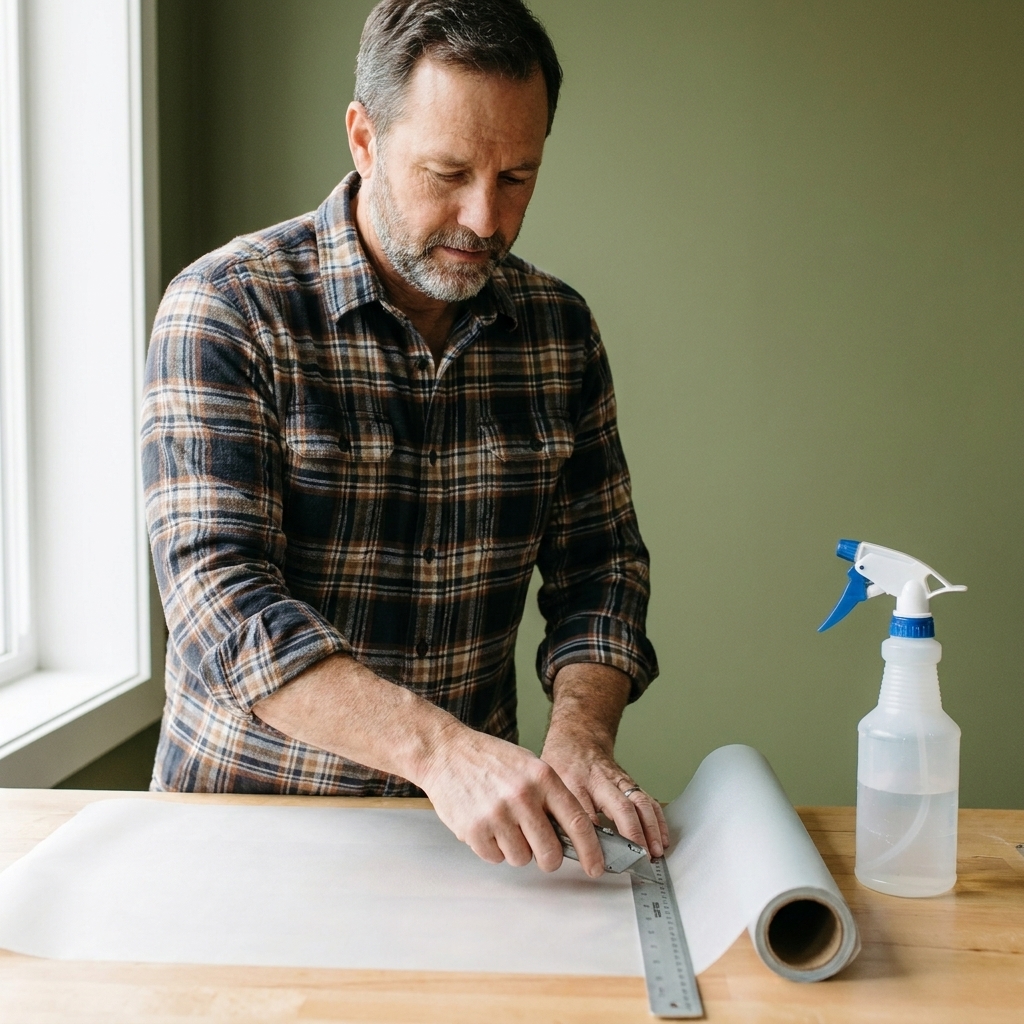
Measure the glass the right way
Measure the visible glass, not the whole sash or frame. On many doors and windows, there is a gasket or trim that overlaps the glass slightly. You want the film to stop just short of that edge, so it does not bunch up or lift.
Step-by-step measuring
- Measure width in three spots: top, middle, bottom. Use the smallest number.
- Measure height in three spots: left, center, right. Use the smallest number.
- Decide your edge gap: I aim for a 1/16 inch to 1/8 inch gap from the film to the edge trim or gasket. This tiny reveal helps prevent lifting.
If your project includes curtains too, our measuring guide can help you avoid common sizing mistakes: Measure for Curtains Before You Shop.
Cut the film cleanly
You have two beginner-friendly cutting approaches. I have used both. Choose the one that fits your comfort level.
Option A: rough cut, then trim on the glass
This is my go-to for odd sizes and door glass.
- Cut a piece that is about 1 inch larger than the glass in both directions.
- Apply it using the steps below, then use a straightedge and a sharp blade to trim to final size.
Option B: final cut on a flat surface
This is great for small, simple rectangles like a bathroom window.
- Mark the backing liner using your measured width and height.
- Cut using a metal straightedge.
My cutting rules
- New blade: if you hesitate and saw, you will tear the film. Fresh blades are cheaper than redoing a panel.
- One confident pass: light pressure, steady motion.
- Clean corners: trim square and neat. If corners keep lifting, round them very slightly. It is not noticeable, and it helps.
Surface prep: where installs win or lose
Static-cling film sticks to clean, smooth glass. Any grit becomes a bubble you can never unsee.
- Clean the glass with a residue-free cleaner or rubbing alcohol.
- Scrape specks carefully with a razor scraper held flat, especially paint flecks and dried caulk crumbs.
- Wipe again with a microfiber cloth.
- Clean the frame edge: run a damp cloth along the gasket or trim line so you are not trapping dust at the border.
Safety note: Keep blades and scrapers flat to the glass, work slowly, and cut away from your hands. Avoid digging into soft vinyl gaskets or painted trim.
Bathroom tip: If you have been showering, let the room dry out first. Steam can make prep feel easier, but it also carries lint and droplets that like to land on the glass right when you are trying to apply film.
Temperature tip: Room-temperature glass is easiest. Very cold panes can feel stubborn, and very hot panes (especially in direct sun on a door) can make the film grab before you are ready. If the sun is blasting the glass, wait for shade.
How to apply static-cling frosted film
This method works for bathroom windows, sidelights, and most front door glass panels.
1) Mix your slip solution
Fill a spray bottle with water and add 1 to 2 drops of dish soap. You want the film to slide for positioning, not turn into a bubble bath.
2) Wet the glass generously
Spray the glass until it is evenly wet. Do not mist lightly. A wet surface buys you working time.
3) Peel the backing liner
Peel a few inches at first, then continue as you place the film. If it keeps sticking to itself, lightly mist the exposed cling side with your solution as you go.
4) Set the film in place
Lay the film against the wet glass and slide it until your borders look even. If you rough-cut oversized, center it with a little overhang on all sides.
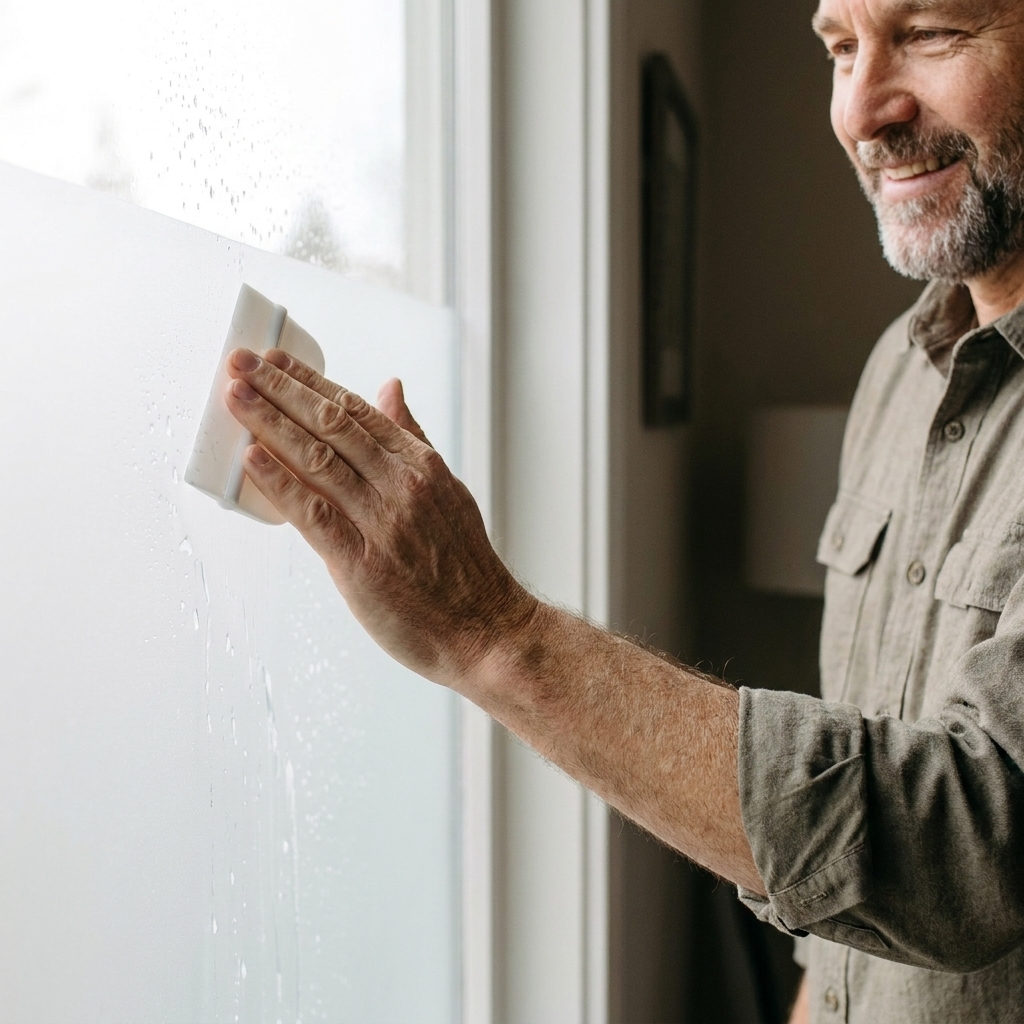
5) Squeegee from the center outward
Start in the middle and push water and air to the edges using overlapping strokes. Wipe the blade often with a towel so you are not dragging water back under the film.
6) Trim (if needed), then squeegee again
If you are trimming on the glass, hold a metal straightedge near the edge and cut with a fresh blade. Then do a final squeegee pass, focusing on the perimeter.
7) Dry the edges
Run a dry microfiber cloth around the edges to pull out moisture. This is where static-cling film earns its reputation for lifting if you skip the finish work.
Special cases to watch
Front doors and sidelights
- Privacy check at night: turn on the foyer light after installation and step outside. Frosted film usually blocks detail, but silhouettes can still appear.
- Handle vibrations: doors get slammed. Leave that small 1/16 inch to 1/8 inch gap so the film is not rubbing a gasket.
- Textured or beveled glass: static-cling film needs a smooth surface. If the glass is heavily textured, it may not adhere well.
- Direct sun: if this glass bakes in afternoon sun, install when it is cool and shaded so you have time to position and squeegee.
Bathrooms
- Condensation is normal and usually not a problem, but keep an eye on edges the first week.
- Avoid harsh cleaners on the film. Mild soap and water is usually enough.
- Placement matters: If you only need privacy at eye level, you can film just the lower portion and keep a clear band up top for maximum light.
Grids and divided-light windows
If your window has raised grids or true divided lites, one big sheet of film will not lay flat over the bumps. You usually get better results cutting the film to fit each pane individually.
Common mistakes and fixes
Bubbles that will not squeegee out
- Cause: dust or grit trapped under the film.
- Fix: peel the film back to the spot, remove the speck with a piece of tape or a damp microfiber, mist, and lay it back down.
Milky or cloudy patches
- Cause: moisture trapped under the film. This is normal right after installation.
- Fix: give it time. Most static-cling installs clear up as water evaporates. A careful edge squeegee helps.
Edges lifting after a day or two
- Cause: film cut too tight to the trim, not enough final squeegee pressure, or residue on the edge.
- Fix: peel back the lifting area, clean the glass edge with alcohol, re-wet, reapply, and trim a hair smaller if needed.
The film slides down
- Cause: too much soap in the solution or not enough water pushed out.
- Fix: re-squeegee firmly from the center, then do a slow perimeter pass. If you used a lot of soap, redo with less.
Care and removal
For cleaning, I stick with a damp microfiber cloth and a small amount of mild dish soap. Avoid abrasive pads and harsh ammonia cleaners unless the film packaging specifically says they are safe.
To remove static-cling film, lift a corner with your fingernail and peel slowly. If it fights you, warm the area slightly with a hair dryer and try again. If any residue remains, clean it with glass cleaner or rubbing alcohol.
Quick FAQ
Can I install frosted film on double-pane windows?
Usually yes. Concerns about heat stress are more common with dark, reflective, or solar-control films than with typical frosted decorative films, but you should still follow the manufacturer’s guidance for your specific product, especially on insulated glass.
Should the film go on the inside or outside?
Almost always inside for residential privacy film. It stays cleaner, lasts longer, and is protected from weather.
How long does it take to set?
You will see results immediately, but trapped moisture can take a day or two to fully evaporate. Bathrooms can take longer because of humidity.
Will it ruin the glass?
Static-cling film is designed to be removable and is generally low risk when applied to clean, smooth glass. The biggest issue I see is residue or edge lift from rushed prep, not damage.
More beginner-friendly window projects
If you are building confidence with small, high-impact upgrades, start here: Command Line guides. For more hands-on projects around sealing, fixing, and improving windows, browse Window DIY.