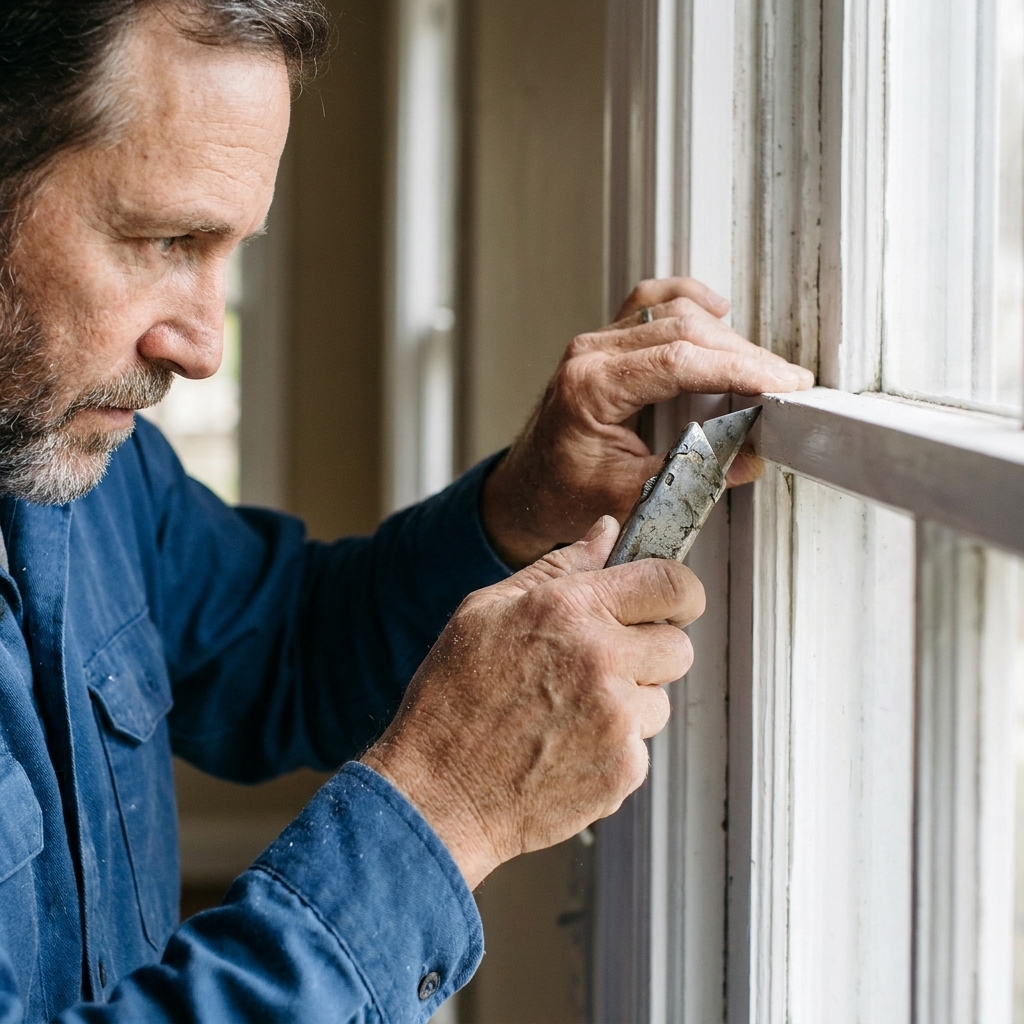
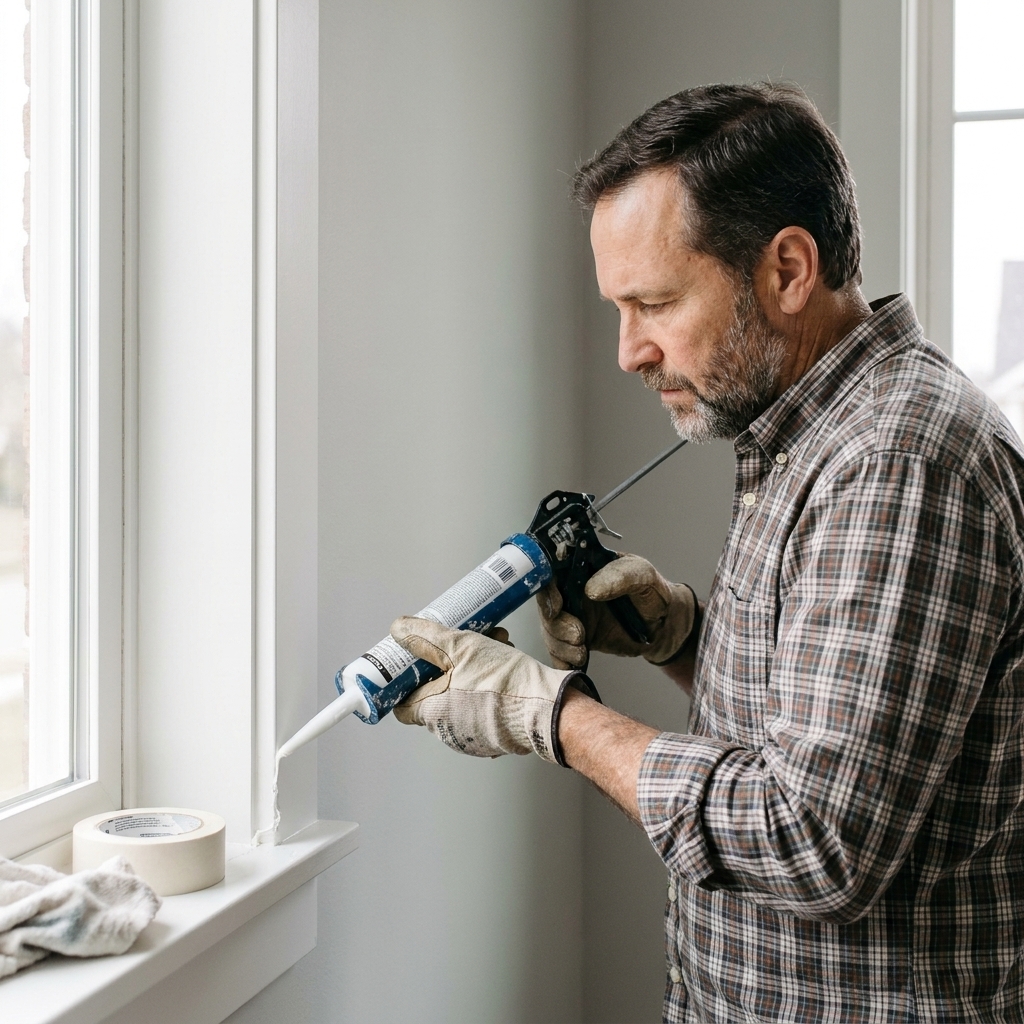
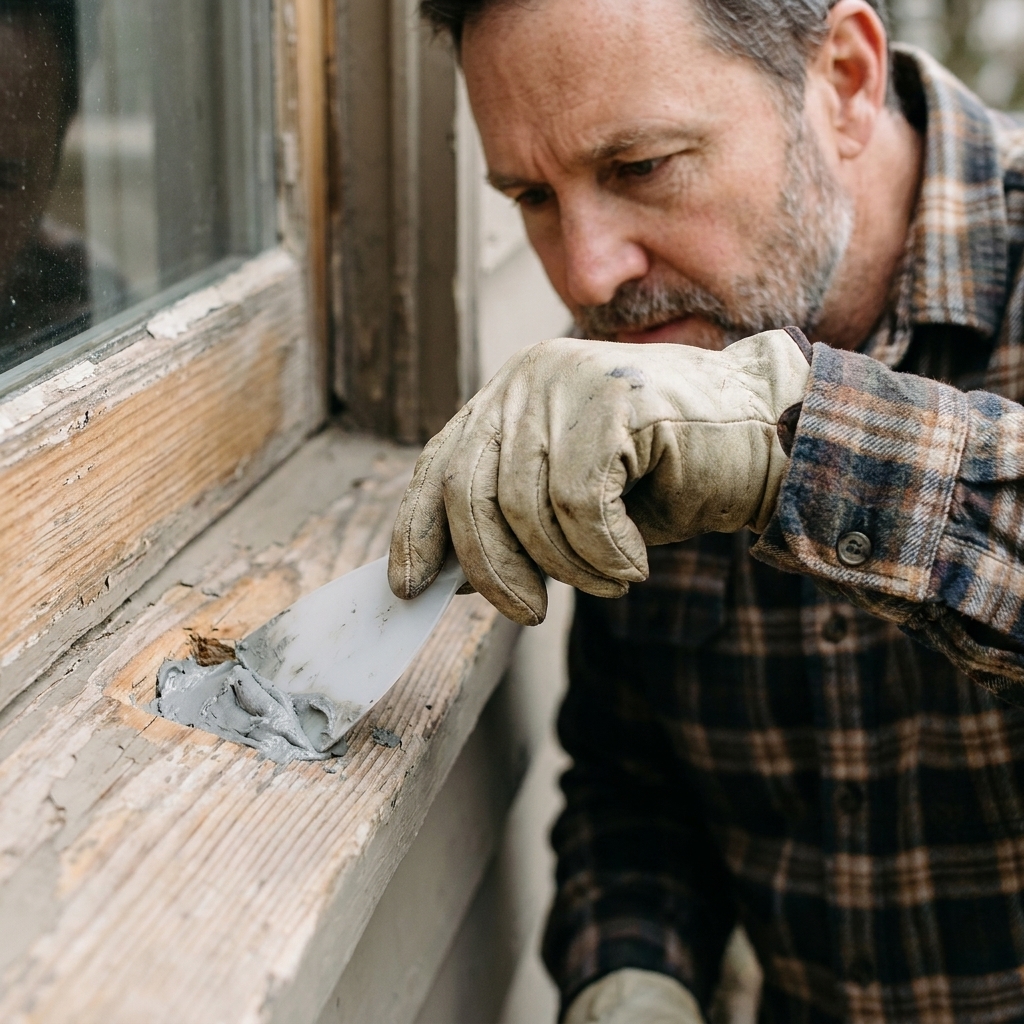
I learned to respect window grilles the hard way in my 1970s split-level: the first time I repainted a multi-pane sash, I spent more time taping tiny squares than I did actually painting. And even after all that, the tape still let paint creep in a few spots.
Liquid masking tape (sometimes called liquid mask) is the prep shortcut I wish I had earlier. You brush it on, let it dry into a rubbery film, paint like normal, then peel the mask off to reveal clean, straight lines. On complex grids, it can save hours.
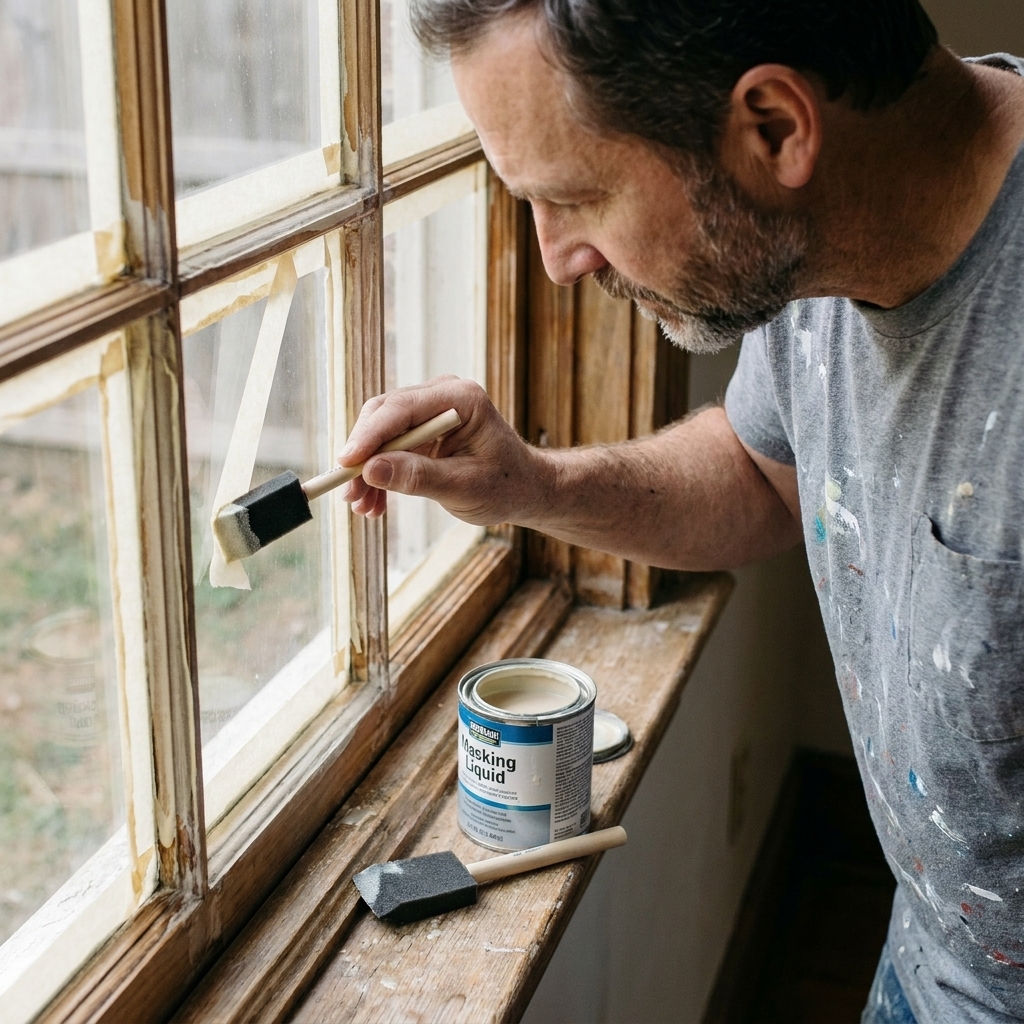
What liquid masking tape is
Liquid masking tape is a brush-on barrier that dries into a flexible film. It is meant to keep paint off surfaces you want to protect, most commonly glass.
It shines on:
- True divided-lite windows (real individual panes) and grille patterns where taping every edge is maddening
- French doors and multi-lite patio doors
- Interior grilles you are painting in place
A quick reality check before you commit: liquid mask formulas vary. Some are made specifically for glass and trim painting, others are aimed at crafts or airbrushing. Check the label for surface compatibility, removal timing, and whether it can sit in hot sun without baking on.
It is also not the best choice for every situation. If your window has removable snap-in grilles you can pop out and paint separately, do that instead. And if you are painting raw wood sash and need to stain-block or do heavy sanding, you might prefer traditional masking because dust can mess with adhesion.
Tools and materials
- Liquid masking tape (liquid mask)
- Small foam brush or cheap artist brush (dedicate it to masking)
- Quality sash brush for paint (angled 1 to 1.5 inch is my go-to)
- Your trim paint (interior enamel or exterior trim paint as appropriate)
- Clean rags and a bucket of warm water
- Razor scraper or plastic scraper for cleanup
- Mild glass cleaner or soap and water
- Optional: blue painter’s tape for the window frame edges, drop cloth
Tip from my own trial and error: treat the masking brush as disposable. Liquid mask can ruin a nice brush fast if you do not clean it immediately.
Another small thing that helps: I do not shake the bottle hard. Some products foam up and leave bubbles that dry into pinholes. A gentle stir is usually enough.
Prep that matters
1) Clean the glass like you mean it
Liquid mask sticks best to clean glass. Any oily film or dusty sanding residue can cause lifting in weird spots.
- Wash glass with soap and water (or a degreasing glass cleaner).
- Rinse and dry fully.
- If you sanded the muntins or sash, wipe the glass again afterward.
2) Decide what you are protecting
Most DIYers use liquid mask to protect glass while painting muntins or grilles. You can also protect hardware, weatherstripping edges, or other details, but glass is where it pays off.
If you have vinyl frames, plastic stops, or rubber weatherstripping near where you are working, do a quick test dab first. Some masks can leave residue on plastics, and I would rather find that out on a hidden corner than the whole sash.
3) Fix the paint ridge problem first
If your window already has old paint overlapping onto the glass, you may be relying on that ridge without realizing it. When you peel the mask later, that ridge can tear or flake.
If you see a noticeable ridge of paint on the glass, lightly score it with a razor scraper along the muntin edge (gentle pressure), then clean the glass. This helps the new paint line look intentional instead of layered.
If you are dealing with a sticky painted shut double-hung window, do that repair first so you are not fighting the sash while paint is fresh. This guide can help: /how-to-unstick-a-painted-or-swollen-double-hung-window/.
How to apply liquid mask
Step 0: Test one pane
Before I commit to an entire grid, I like to do one pane end-to-end: mask, paint, peel. It confirms three things fast: the mask actually releases from your glass, your paint edge looks good, and you have a feel for the best peel timing in your room’s temperature and humidity.
Step 1: Brush the mask onto the glass
Load a small foam brush and paint the liquid mask onto the glass right up to the muntins. I purposely overlap onto the grille or muntin about 1/16 to 1/8 inch. That overlap is what prevents little pinholes and wavy edges.
For each pane, I aim for a mask border about 1/2 inch wide around the perimeter of the glass. You can cover the whole pane too, but borders are usually enough and peel faster.
If you are spraying instead of brushing, I would lean toward covering more of the pane (sometimes the whole pane). Overspray finds every gap.
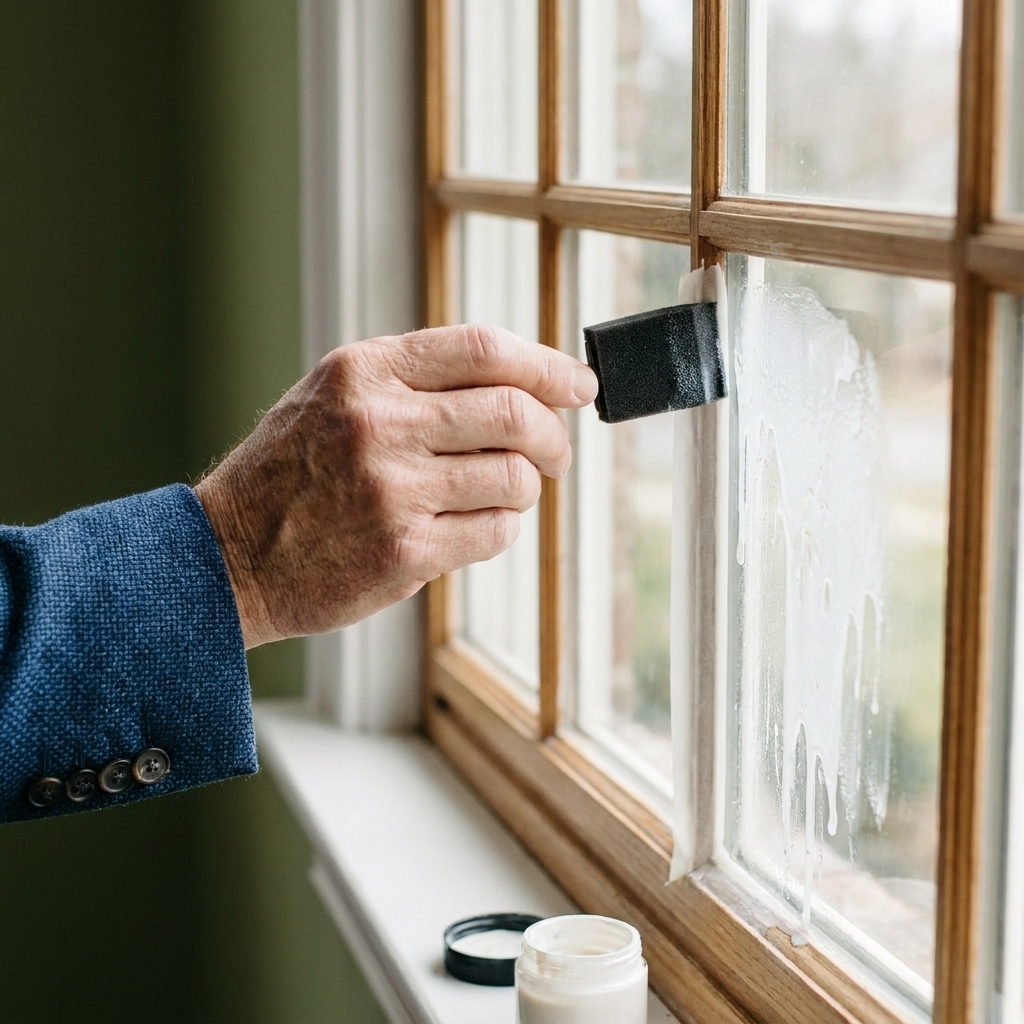
Step 2: Add a second coat if you see thin spots
Most liquid masks peel best when they dry into a slightly thicker film. If you see thin missed spots (painters call them “holidays”) or streaky areas, add a second coat after the first turns clear and tack-free.
Step 3: Let it dry fully
Dry time depends on product thickness and humidity, but the rule is simple: if it is still milky or soft, wait. Painting too soon can smear it into the paint line or glue it to your brush.
Paint the grilles fast
Use less paint than you think
Multi-pane windows reward a dry brush approach. Too much paint is what causes drips, blobs at intersections, and paint creeping where you do not want it.
- Load the brush, then lightly wipe one side on the can rim.
- Pull smooth strokes down the muntin length.
- At intersections, feather the paint out instead of dabbing.
Do two thin coats
Thick paint bridges over the mask and makes peeling harder. Two thin coats dry faster, look smoother, and peel cleaner.
Work in a pattern
I go left-to-right, top-to-bottom, hitting all verticals first and then horizontals. On big grids, a pattern prevents missed spots and keeps you from brushing against wet paint.
Best time to peel
The sweet spot is usually after the final coat sets up but before it fully cures. Timing is highly variable by paint, film thickness, airflow, temperature, and humidity, so I do not treat the clock like gospel. Instead, I test one pane.
Here is what I look for:
- The paint is dry to the touch and not smearing.
- The paint edge still feels a little flexible, not brittle.
- When I lift a corner of mask, the paint line stays put instead of chipping.
As a rough guide, with many latex trim paints that can be somewhere around 45 to 120 minutes after the last coat, but your window may want sooner or later.
How to peel without tearing
- Start in a corner with your fingernail or a plastic scraper.
- Pull back slowly at a low angle, almost parallel to the glass.
- If you feel resistance, stop and score the paint edge lightly with a razor scraper, then continue.
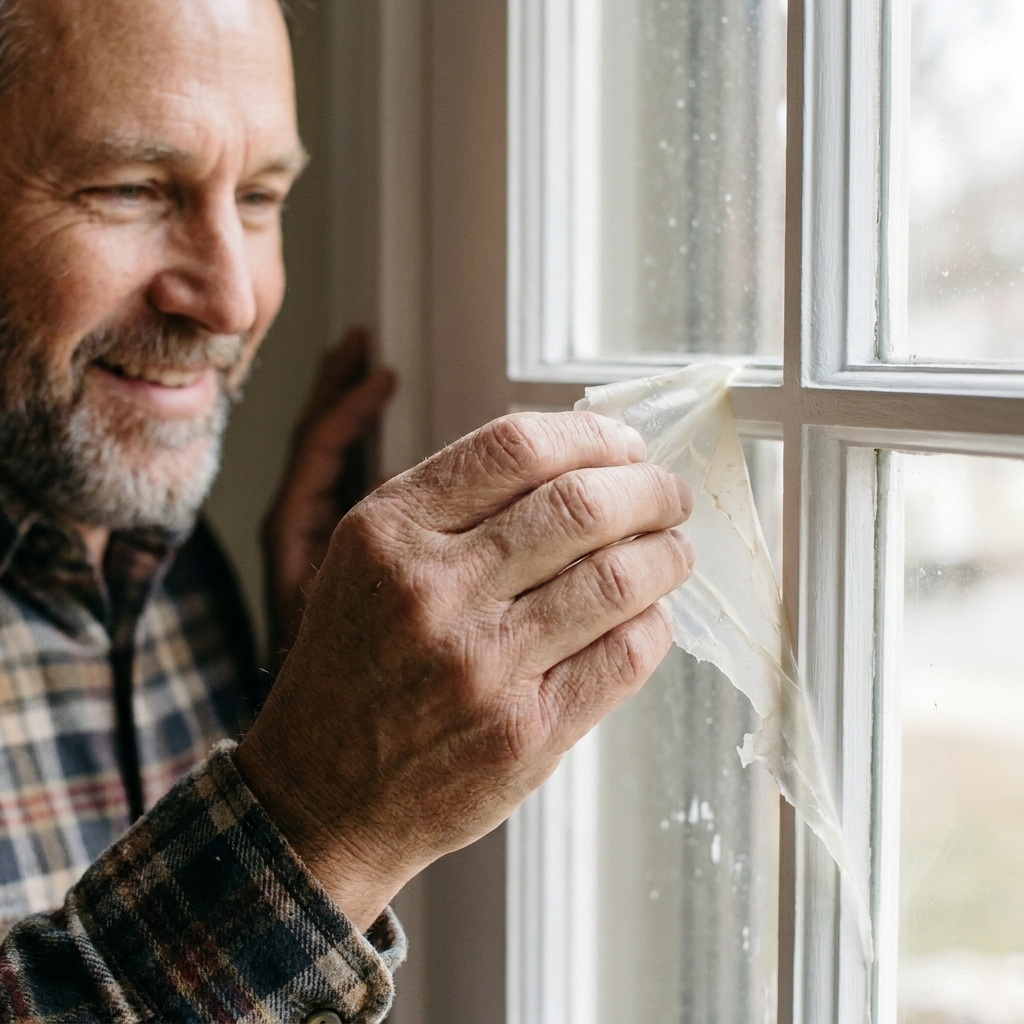
My rule: if you wait until tomorrow, you are more likely to get chipping. Same-day peeling is the safer bet for sharp lines.
Cleanup and touch-ups
Clean the glass
After peeling, you will sometimes have tiny specks or a faint residue line. A razor scraper held at a shallow angle takes care of it quickly. Finish with glass cleaner.
If the mask tears into confetti
This usually means the mask went on too thin or you waited too long. What works for me:
- Use a plastic scraper to lift the fragments.
- If the product label allows water reactivation, a damp cloth can help loosen stubborn bits.
- When I am really stuck, I apply a fresh coat of mask over the leftover fragments, let it dry, then peel again so it comes off in one sheet. Only do this if your mask’s instructions allow re-coating and removal like that.
Fix tiny bleeds
If paint sneaks under the mask in one spot, do not panic.
- Wait until the paint is dry to the touch.
- Use a razor scraper to shave the bleed off the glass.
- If the line itself looks jagged, touch up the muntin with a small artist brush.
Avoid painted-shut windows
If you are painting operable sashes, open and close them gently once the paint is dry to the touch so you do not glue weatherstripping or stops together. If drafts are part of why you are painting, pairing this project with fresh sealing makes a noticeable difference. See: /weatherstripping-vs-caulking-for-drafty-windows/.
Common mistakes
Masking dirty glass
It will lift, tear, or leave residue. Clean first, always.
Putting it on too thin
Thin mask breaks into bits when you peel it. If it looks streaky, add a second coat.
Waiting too long to peel
Cured paint wants to chip along the edge. Peel sooner, and score the edge if needed.
Using it on porous surfaces
Liquid mask is generally happiest on non-porous surfaces like glass. If it gets into raw wood grain, it can be difficult to remove cleanly. Keep it on the glass, with only a tiny overlap onto already-painted muntins.
Assuming it is safe on every plastic
Some masks can leave residue on vinyl, rubber, or certain factory coatings. If your sash or grilles are vinyl-clad, test an out-of-sight spot first.
Liquid mask vs tape
| Method | Best for | Pros | Cons |
|---|---|---|---|
| Liquid masking tape | Multi-pane windows, tight grille patterns | Much faster prep, no tiny tape cuts, clean lines when peeled at the right time | Must dry fully, peel timing matters, can tear if applied too thin |
| Painter’s tape | Large simple edges, straight runs on trim | Predictable, easy to remove, good on frames and walls | Slow on small panes, lots of seams where paint can creep |
Safety notes
- Older homes: If your home was built before 1978, assume old paint could contain lead. Disturbing paint with sanding or scraping can create hazardous dust. Use lead-safe practices and consider professional testing and guidance.
- Ventilation: Open windows when possible and run a fan, especially with oil or alkyd paints.
- Scrapers: Keep the blade flat and use light pressure to avoid scratching glass. Also be cautious with insulated windows that may have coatings (such as low-E) on interior surfaces of the unit. If you are not sure what surface you are scraping, use a plastic scraper and a cleaner first.
FAQ
Will liquid masking tape damage glass?
On clean, intact glass, it is designed to peel off without damage. Problems usually come from leaving it on too long (especially in hot sun), applying it to dirty glass, or using it on a surface the label does not recommend.
Can I use it on exterior windows?
Yes, but be mindful of weather. Windblown dust sticks to wet mask, and hot direct sun can make both mask and paint skin over fast. Pick a mild day and work in shade when you can.
What about between-the-glass grilles?
If the grille is sealed between panes (no access), you cannot paint it. In that case, liquid mask is not the tool. You would paint the interior trim or sash instead.
Does it work with spray paint?
It can, but spraying increases the chance of building a thick paint ridge at the mask edge. Use light coats, consider masking more of the pane, and peel sooner.
If your grilles are removable
One last neighborly tip: some windows have snap-in grilles that pop out for cleaning. If yours do, you might be better off removing them and painting on sawhorses, or replacing them if they are warped or yellowed. If you are not sure what you have, it is worth looking closely before you commit to painting in place.
And if you reach the point where the window is drafty, hard to operate, and the finish is failing, painting may be a short-term win, not a long-term fix. Here are a few signs it might be time to step up to replacement: /7-signs-its-time-to-replace-your-homes-windows/.