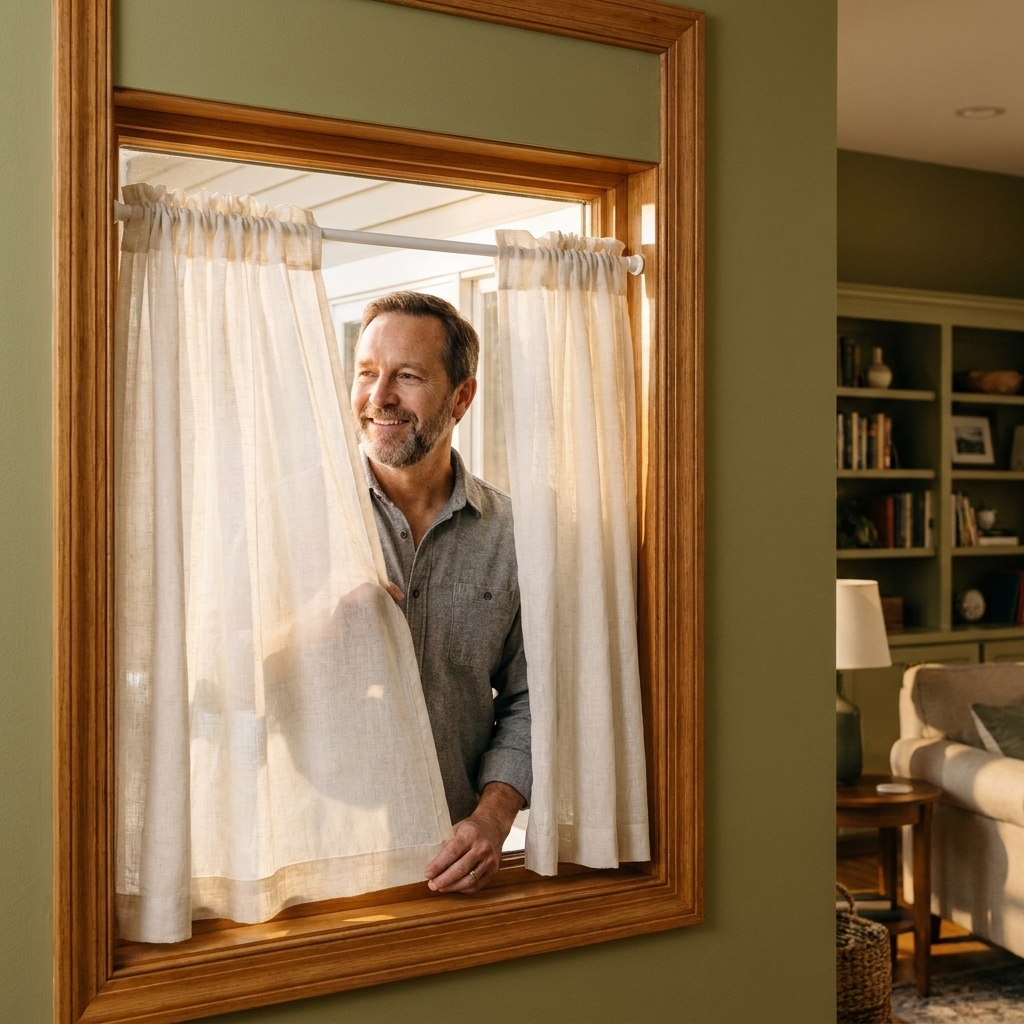
I learned to love curtain layering the hard way, in a bedroom that faced east and turned into a sunrise spotlight at 6 a.m. I hung “blackout curtains” and called it a day. Problem solved, right? Sort of. The room went cave-dark, but it also felt heavy and gloomy the rest of the time. The fix was adding sheers behind the blackout drapes on a double curtain rod, and suddenly the room could do both: soft daylight when I wanted it, real darkness when I needed it.
This guide walks you through getting that same setup looking intentional, working smoothly, and fitting your windows correctly.
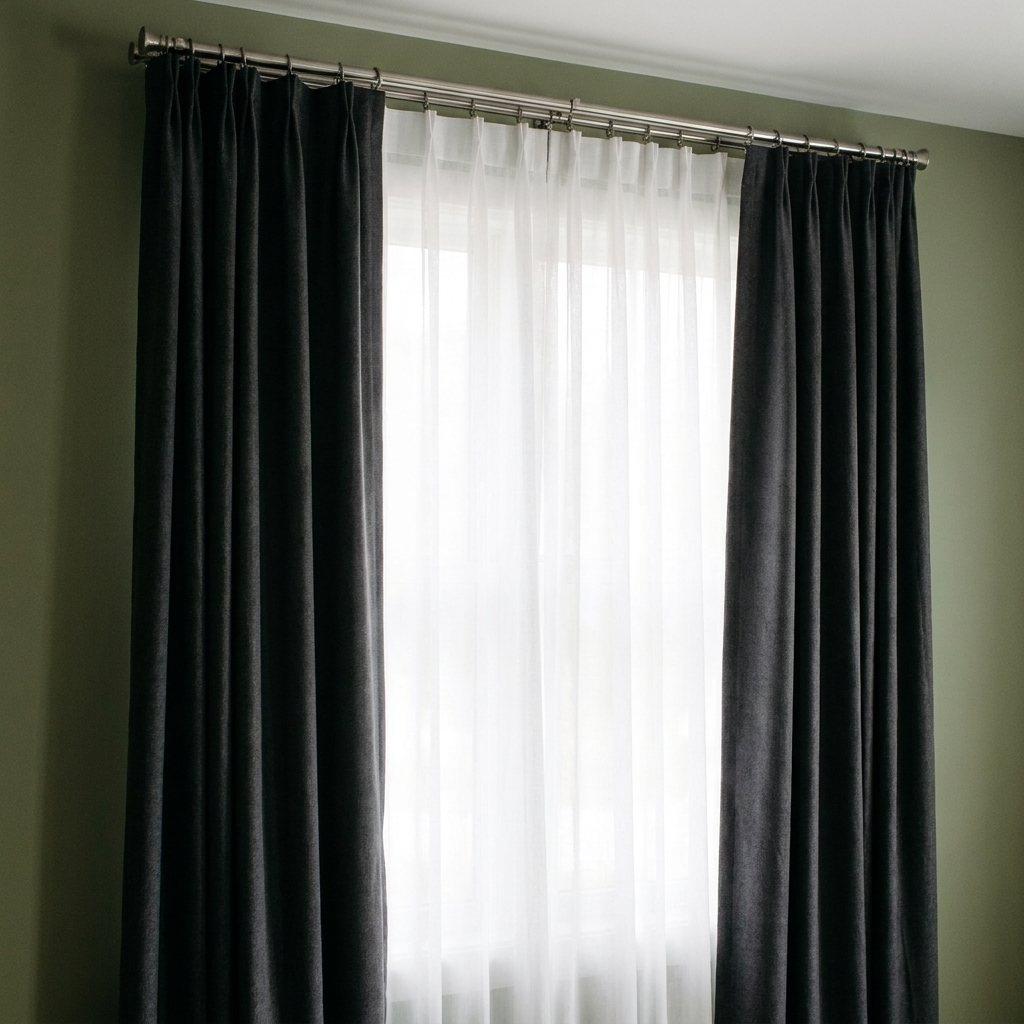
Why this combo works so well
Layering sheers with blackout drapes gives you a practical two-mode window treatment.
- Daytime: Sheers diffuse sunlight and reduce harsh glare while keeping the room bright.
- Evening: Blackout drapes add privacy and block light for sleep, screen time, or shift-work schedules.
- Year-round comfort: A thick drape layer can help reduce drafts and heat gain near the glass, but it is not a substitute for proper air sealing.
- A more finished look: The sheers add softness and depth so blackout panels do not look like a single flat slab of fabric.
If your goal is better light control overall (not just at the window), pair this with reflective tricks around the room. I cover a few easy wins in Strategic Mirror Placement for More Natural Light.
Pick the right hardware first
The rod setup makes or breaks the experience. If the curtains catch, snag, or sit too close to the wall, you will fight them every day.
Option A: A true double curtain rod (the easiest)
- Front rod: for blackout drapes
- Back rod: for sheers
This is the cleanest approach because the brackets are designed for two layers and the rods keep consistent spacing.
Option B: A combination rod (curtain rod plus inner tension rod)
If you already have a sturdy single rod for drapes, you can add a slim tension rod inside the window frame for sheers. This works best on windows with a deep jamb and smooth trim.
- Pros: budget-friendly, no new holes for the sheer layer
- Cons: tension rods can slip and they limit how wide your sheers can stack
Option C: Track for sheers + rod for drapes (smoothest operation)
In wide windows or patio doors, a ceiling or wall track for sheers glides beautifully, and a rod in front holds the blackout panels. It is also a great solution when you want sheers to draw and close often.
Don’t skip the bracket details
- Projection: Make sure the front rod sits far enough out that the blackout panels clear the sheer header and do not rub the window trim.
- Center support: If your rod spans a wide opening, a center bracket prevents sagging. If you plan to open and close curtains daily using rings, check that the center support will not block them. Tracks or traversing systems avoid this issue.
- Wall anchors: If you cannot hit studs, use proper anchors rated for the combined weight of two layers of fabric.
Fabric choices that actually layer well
Not all sheers and blackout panels play nicely together. I look for complementary behavior, not just color.
Sheers: what to look for
- Voile or light linen blend: airy, soft, and easy to stack
- Privacy sheers: a tighter weave for rooms that face neighbors
- Length and drape: avoid super stiff sheers that bunch up behind the drapes
Blackout drapes: true blackout vs room-darkening
- Room-darkening: reduces light but you will still see glow around edges and often through the fabric in bright sun.
- Blackout: uses a blackout lining or backing to block much more light.
One practical note: blackout fabric can feel bulky. If you want a softer look, choose drapes with a separate blackout lining rather than a stiff bonded backing.
Color pairing that looks intentional
- Safe classic: white or off-white sheers with solid blackout panels
- Warm modern: ivory sheers with oatmeal, clay, or deep olive drapes
- High contrast: bright white sheers with charcoal or navy blackout panels
If you are layering mostly for sleep, darker drapes can help if you are relying on room-darkening fabric. With true blackout linings, color matters far less than fit, overlap, and how well you seal the edges.
Headers and hanging styles
This is the unglamorous part that makes layered curtains feel effortless instead of clunky.
- Rings with clips or drapery pins: My favorite for the front blackout layer because they glide well and keep bulky fabric from bunching at the rod. They also make it easier to clear a center support if your rod has one.
- Grommets: Easy to slide, but they create big, evenly spaced folds that can look bulky in a two-layer setup. They also do not play well with some center supports.
- Back tabs and rod pockets: Often the worst for smooth movement, especially with heavier drapes. They can be fine for sheers that you rarely open and close.
- Pinch pleats: Classic and tailored. They usually need drapery pins and rings, which is part of why they operate so smoothly.
Measurements that prevent the most common mistakes
If curtains look skimpy, it is usually a width problem, not a fabric problem. Here are the sizing rules I use in my own house.
Rod width and placement
- Go wider than the window: extend the rod beyond the window frame so panels can stack off the glass.
- Hang higher: mounting the rod above the frame can make the window look taller and can reduce light leaking over the top when the panels overlap enough.
Curtain width: aim for fullness
- Sheers: total fabric width about 2x the rod width for a soft, gathered look.
- Blackout drapes: total fabric width about 1.5x to 2x the rod width. Closer to 2x looks more luxurious and helps cover edge gaps.
Quick example: If your rod is 60 inches wide, aim for about 120 inches total sheer width (for example, two 60-inch panels) and roughly 90 to 120 inches total blackout width (often two panels in the 50 to 60 inch range each).
Length: floor-kiss beats puddle for most homes
- Floor-kiss: hem just barely touching the floor, clean and easy to vacuum around.
- Slight break: about 1 inch longer, relaxed but not messy.
- Puddle: longer fabric on the floor, pretty in photos but a magnet for dust and pet hair.
If you want a refresher on measuring before you buy, I wrote a step-by-step guide here: Measure for Curtains Before You Shop.
How to layer on a double curtain rod
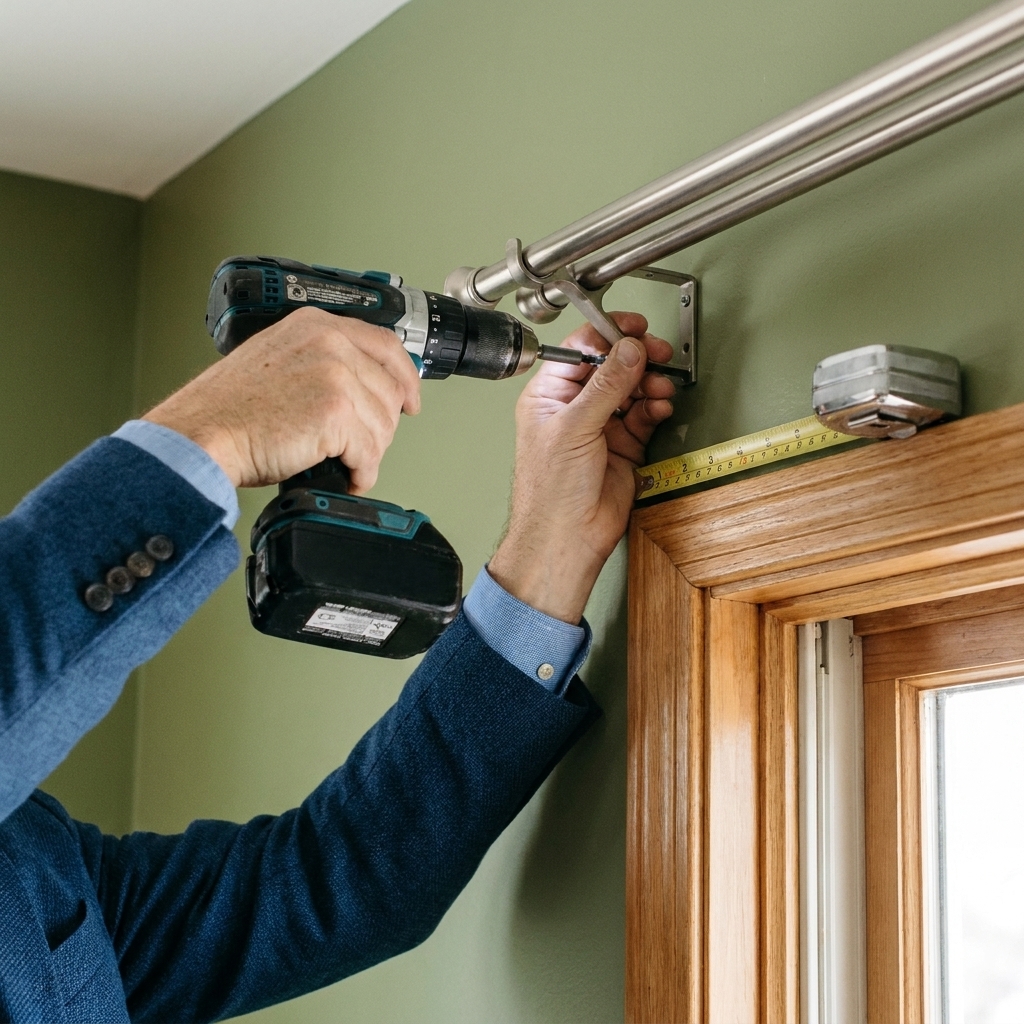
- Mark your bracket height and width. Decide how high and wide you want the rods, then mark both sides. Use a level so the brackets stay aligned and the rods sit level.
- Install brackets into studs if possible. Two curtain layers get heavy fast. If you must use anchors, choose ones rated for the load.
- Hang the sheer panels on the back rod first. This is the layer you want closest to the glass. Make sure they slide without catching on the bracket returns.
- Hang blackout drapes on the front rod. Check that the front panels clear the sheers cleanly when you open and close them.
- Adjust the stack on each side. Open both layers fully and confirm the glass is mostly unobstructed. If not, you may need a wider rod or fewer panels per side.
- Steam or lightly iron. Wrinkles make even expensive curtains look cheap. If you are dealing with synthetic blackout backings or coated linings, test heat or steam on an inconspicuous area first and follow the care label.
Better blackout without making it ugly
Even true blackout drapes can leak light around the edges. A few small tweaks help a lot.
Close the side gaps
- Use wider panels: fullness helps the fabric wrap toward the wall.
- Choose wraparound rods or return rods: they let panels curve back to the wall, cutting side glow.
- Place the rod wider: more overlap past the window frame reduces light at the edges.
Reduce top light spill
- Mount higher with enough overlap: less chance of a bright strip over the top edge, especially if your panels start above the frame.
- Keep the blackout layer close to the wall when you can: for the front rod only, a little less gap behind the blackout layer can reduce light leaks. Just make sure you still have enough projection for the blackout fabric to clear the sheer header and move smoothly.
- Add a simple fabric valance: optional, but effective if a streetlight hits the top edge.
Make the sheer layer do its job
Sheers are not just decoration, but they have limits. Even privacy sheers offer limited nighttime privacy if your interior lights are on. Fullness helps, but for true privacy at night, plan on closing the blackout drapes.
Room-by-room setups
Bedrooms
- Best pairing: privacy sheer + true blackout drape
- Rod tip: consider a return rod if you are sensitive to light
- Length: floor-kiss for a clean feel
Living rooms
- Best pairing: light-filtering sheer + room-darkening or lined drape
- Style tip: use the drapes to frame the window most days, and rely on the sheers for glare control
Nurseries and kids’ rooms
- Best pairing: privacy sheer + blackout
- Safety note: keep cords and tiebacks out of reach, and do not place cribs near curtain fabric
Home offices
- Best pairing: glare-cutting sheer + drape you can close for video calls
- Bonus: the drape layer can help with echo and outside noise a bit, but gaps around the window and air leaks are usually the bigger noise pathway
If noise is part of why you are adding heavier drapes, you may also like DIY Window Soundproofing That Works.
Common problems and quick fixes
My sheers bunch up and get stuck
- Use rings or a header style that slides easily, or switch to a smoother back rod.
- Check that the back rod is not too close to the wall or trim.
- Make sure the sheer header is not catching on a bracket.
The whole setup looks too bulky
- Choose a lighter sheer and a softer drape fabric with lining instead of stiff blackout backing.
- Use fewer panels and correct width, rather than extra panels to fake fullness.
- Pick a rod with a slimmer profile and brackets with good projection.
My blackout drapes still leak light
- Increase total drape width for better overlap.
- Widen the rod past the window frame.
- Consider return rods to close the side gaps.
It looks off but I can’t tell why
- Check that both rods are level.
- Make sure both layers are the same length, or intentionally different. Accidental differences look sloppy.
- Confirm the rod is centered on the window, not centered on the wall space.
Care and maintenance
Layered curtains collect dust faster than a single layer, especially in rooms with fans or pets.
- Weekly: vacuum with a soft brush attachment or shake out sheers outside.
- Seasonally: wash or dry clean according to the label. Many sheers can be gentle-washed and hung to dry.
- Wrinkle control: a handheld steamer is my favorite tool here because it is fast and forgiving.
If you notice moisture building up on the glass behind all that fabric in winter, address it early so you do not end up with musty hems. This can help: Why Windows Sweat in Winter and How to Stop It.
Quick checklist before you buy
- Decide your goal: daytime glow, nighttime blackout, or both.
- Pick hardware with enough projection and support for two layers.
- Plan rod width beyond the window frame so panels can stack off the glass.
- Buy enough fabric width for fullness, not just coverage.
- Choose a sheer that matches your privacy needs, not just your color palette.
Once you get the rod placement and sizing right, layering sheers with blackout drapes is one of those upgrades that feels high end but is totally doable on a normal homeowner budget and skill level. It is also the kind of project that makes you wonder why you waited.