

I grew up holding the flashlight for my grandpa while he did weekend fixes that always seemed a little magical, like turning a rattly old window into something that actually felt solid. Fast forward to me buying a neglected 1970s split-level, and winter taught me a hard lesson: even “pretty good” windows can leak heat like a sieve.
If you are not ready to replace your windows, a removable magnetic interior storm window can be one of the best bang-for-your-buck upgrades you can DIY. You are basically adding a second, draft-tight layer on the inside using clear acrylic and magnetic tape, which cuts drafts and creates an insulating air pocket. You can pop them off in spring, wipe them down, and store them safely so they do not get scratched.
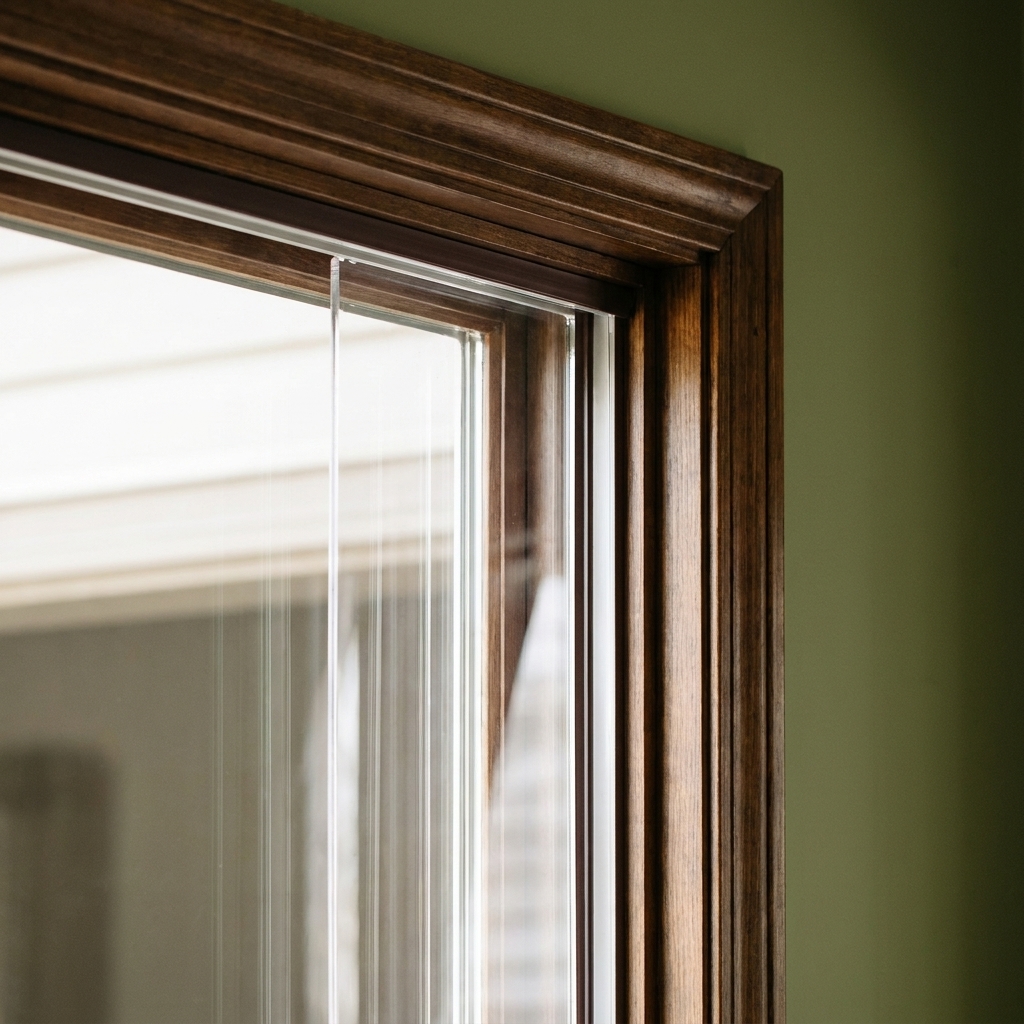
Why magnetic interior storms work
The big comfort gain is not just “more plastic.” It is air sealing. When you block interior air from washing across cold glass and leaky sash gaps, the room feels less drafty and the window area stops acting like a cold radiator.
- Draft control: a continuous magnetic seal can shut down tiny air leaks that curtains and rope caulk do not touch.
- Insulating air gap: the trapped air between your window and the acrylic acts as an extra layer of insulation.
- Condensation control: often improved, but not guaranteed. If your home is humid or your seal is leaky, you may still see moisture.
- Preserves original windows: great for older homes where you want to keep wood sash and trim.
If you are also chasing the root cause of drafts, pair this project with basic sealing work around the window. My go-to refresher is weatherstripping vs. caulking for drafty windows.
Budget reality check: what it costs
Prices vary a lot by region and what you already have. For a typical double-hung window, a DIY magnetic interior storm is often cheaper than a custom storm insert, especially if you are doing multiple windows and can buy longer rolls or larger sheets. It is also a nice “prototype first” project because the first one teaches you what thickness and magnet strength your house really needs.
- Lowest cost: thin acrylic and basic magnetic tape
- Mid-range and sturdier: thicker acrylic, better magnet tape, plus thin foam weatherstrip for a more forgiving seal
My advice: do one window first as a prototype. You will learn what thickness you like, how square your trim actually is, and how strong your magnets need to be.
Materials (what to buy and why)
Panel material
- Clear acrylic sheet: common, easy to find, easy to clean. Thickness matters.
- 0.060 in (about 1/16 in): cheapest, can flex or bow on larger windows.
- 0.093 in (about 3/32 in): my favorite balance for most residential windows.
- 0.118 in (about 1/8 in): stiffer, nicer feel, costs more.
- Clear polycarbonate (optional upgrade): tougher than acrylic and less likely to crack, but costs more and scratches differently.
Magnet and sealing system
- Magnetic tape, adhesive-backed: look for strong tape with reliable adhesive. Wider tape usually holds better.
- Steel “target” tape (sometimes called ferrous tape): if your trim is not metal, you can either put magnet tape on the panel and steel tape on the trim, or use magnet-to-magnet (works, but can be fussy to align).
- Thin foam weatherstrip (optional but recommended): creates a forgiving seal if your trim is wavy or out of square.
Tools
- Tape measure and pencil
- Straightedge and square
- Utility knife with fresh blades or acrylic scoring tool
- Clamps (helpful for clean cuts)
- Rubbing alcohol and clean rags (for adhesive prep)
- Optional: drill and step bit (for finger holes or pull tabs)
- Safety glasses (snapping and drilling acrylic is not the time to gamble)

Before you start: pick your mounting style
Option A: Mount to the window stop
You mount the panel to the interior stop trim that surrounds the sash. This is clean-looking and usually the easiest to seal.
Where the tape goes: run your steel or magnet tape on the flat face of the stop that the panel will land on, not on a rounded edge or a heavy paint ridge.
Option B: Mount to the casing face
Sometimes the stop is too skinny, too rounded, or too beat up. Mounting to the casing face can work, but the panel may sit more “proud” into the room.
Where the tape goes: make a clean rectangle on the casing face so the panel sits flat and does not rock on trim profiles.
Option C: Mount inside the jamb
This can look great, but it demands very square measurements and can interfere with locks or crank hardware.
Where the tape goes: place tape where it will not rub moving sash parts. On double-hungs, that usually means staying on the interior-most surface of the jamb and away from the track.
If you have older windows that are painted shut, fix the operation first. This guide can help: how to unstick a painted or swollen double-hung window.
Step 1: Measure like you actually want it to fit
Old houses teach humility here. Measure in three places for width (top, middle, bottom) and height (left, middle, right). Use the smallest number in each direction.
- If mounting to stops: measure the inside-to-inside opening where the panel will sit.
- Leave a tiny clearance: subtract about 1/16 in from width and height so the panel does not bind when you install it.
Pro tip from my own mistakes: write the final cut size right on painter’s tape stuck to the trim. It prevents the classic “I cut the second panel using the first window’s dimensions” moment.
Step 2: Cut the acrylic cleanly
Scoring and snapping
- Keep the protective film on the acrylic.
- Clamp a straightedge along your cut line.
- Score the line with multiple firm passes. On thin acrylic this is often 8 to 12 passes.
- Slide the sheet so the scored line sits right on the edge of a table, then snap downward.
Wear safety glasses for the snap. Acrylic usually behaves, but when it does not, it gets your attention fast.
Saw cutting
A fine-tooth blade and slow feed can work, but it is easier to chip edges. If you go this route, support the sheet well and test on scrap.
After cutting, lightly knock down sharp edges with fine sandpaper. You are not trying to reshape anything, just removing the “paper cut” edge that loves to find your knuckles.
Step 3: Dry-fit and check for clearance
Hold the panel in place and check for:
- Interference with window locks, lifts, or crank handles
- Trim bumps, nail heads, old paint drips
- Acrylic bowing on larger spans (a hint you want thicker material or more magnetic contact area)
Egress note: if this window is your bedroom emergency exit, make removal dead simple. A finger hole or a reliable pull tab is not optional.

Step 4: Prep the trim so adhesive sticks
Adhesive-backed magnet tape fails for predictable reasons: dust, cold surfaces, weak adhesive, and bad paint. Clean the trim contact area with rubbing alcohol and let it dry. If the room is chilly, warm the trim and tape with a hair dryer so the adhesive can grab.
- Wipe until the rag comes away clean.
- Do not stick tape over flaking paint. Scrape and touch up first if needed.
- If the trim is glossy, waxy, or has years of furniture polish on it, a light scuff sanding and another alcohol wipe can make a night-and-day difference.
After you apply tape, press firmly along the full length and give it some time to bond before you start repeatedly removing and reinstalling the panel. Wood also moves a little with humidity, so a system that is perfect on day one can loosen if the adhesive never got a fair shot.
Step 5: Install the magnetic frame
You need two mating surfaces: one on the window trim, and one on the panel. There are a few workable combinations.
Method I use most: magnet on the panel, steel tape on the trim
- Pros: easy alignment, strong hold, panel removes cleanly.
- Cons: steel tape is thin and can kink if you rush corners.
- Apply steel tape to the trim, keeping it straight and firmly pressed.
- Apply magnetic tape to the acrylic panel perimeter, positioned so it lands directly over the steel tape when installed.
Method II: magnet on trim and magnet on panel
This can work well if the product is designed as a paired set. If you are mixing brands, you may fight polarity and weak attraction. If you go magnet-to-magnet, do a quick test first and mark the mating sides with a pencil line before you peel any backing.
Corner tip
Instead of trying to bend one continuous strip around a corner, I usually cut each side separately with clean butt joints. It looks tidy and avoids wrinkles that create air gaps.
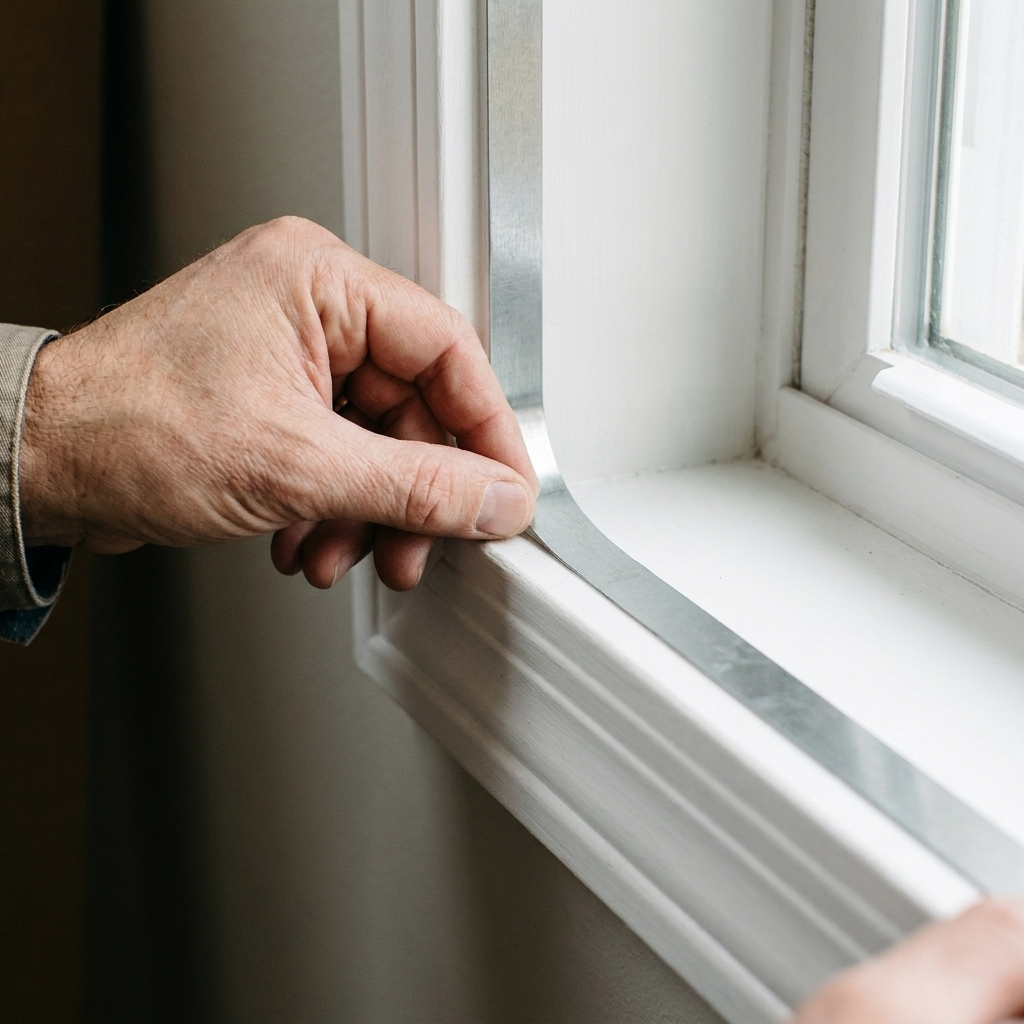
Step 6: Add a soft seal
If your window trim is uneven, a thin foam weatherstrip can turn a “pretty good” storm into a genuinely draft-tight one.
- Place foam on the trim just inside the steel tape, or on the acrylic just inside the magnet tape.
- You want light compression when the panel snaps into place. Too thick and the magnets will not hold.
Step 7: Make it easy to remove
A storm insert you hate removing will end up leaning against a wall all winter. Give yourself a simple pull point:
- Small finger hole: drill a hole near a corner using a step bit, go slow, and support the acrylic.
- Clear pull tab: a small tab of strong tape folded over itself at one corner can work for lighter panels.
Keep pull tabs modest. Big tabs become dust catchers and look messy.
Condensation and moisture: what to watch for
Interior storms can reduce condensation, but they can also trap it if warm, humid air gets into the gap and cannot escape. And one counterintuitive thing: because the insert reduces room heat reaching the original window, the original glass can run colder. If you have even a small air leak into the cavity, condensation or frost can show up on the original glass inside the gap where you might not notice it right away.
A few practical guardrails:
- If you see moisture building up: pull the panel, dry everything, and look for where air is leaking into the cavity.
- Manage indoor humidity: bathrooms, kitchens, and humidifiers can push windows over the edge.
- Do not seal over active water problems: if the sill or casing shows rot or staining, fix that first. This guide can help with one common issue: repair a rotted wood window sill with epoxy putty.
If you want the deeper “why,” I wrote up the mechanics here: why windows sweat in winter and how to stop it.
How to store them without scratches
- Leave the protective film on as long as you can, especially if you are building a batch.
- Store panels upright like records, not stacked like pancakes.
- If you must store them flat, separate every panel with a soft cloth or kraft paper and keep the stack supported so nothing bows.
- Label each panel lightly on the protective film or on a small piece of tape at the edge (Room and orientation).
Troubleshooting quick fixes
The panel will not stay up
- Use wider magnetic tape or switch to magnet-plus-steel (often stronger and more consistent).
- Clean the surfaces again. Adhesive hates dust and oily trim polish.
- Add more contact area. A magnet that only touches in a few spots will peel away over time.
There is still a draft
- Check corners first. Corners are where air loves to sneak through.
- Add a thin foam seal.
- Make sure the surrounding trim is sealed to the wall. Interior storms help, but they cannot fix a big gap behind casing.
Acrylic bows inward or outward
- Go thicker on acrylic for larger windows.
- Add magnetic contact points along the long edges.
Is this a replacement for new windows?
Not exactly. Think of magnetic interior storms as a smart stopgap, and sometimes a long-term strategy for older homes where you like the look and feel of the original windows.
If you are weighing whether it is time for full replacement, this is a good gut-check: 7 signs it’s time to replace your home’s windows. And if you do go that route later, understanding insert vs. full-frame window replacement will help you budget and avoid surprises.
My “do one window first” checklist
- Pick your mounting surface (stops, casing face, or jamb).
- Measure three times each direction and use the smallest number.
- Cut acrylic with protective film on, and wear eye protection for snapping and drilling.
- Dry-fit, then prep trim with alcohol (and scuff glossy trim if needed).
- Install steel tape on trim and magnet tape on panel (or your preferred combo).
- Add thin foam if your trim is imperfect.
- Add a small pull point so removal is painless, especially on egress windows.
Once you have one dialed in, the rest go fast. And on the first cold night when the couch stops feeling like it is parked next to a refrigerator, you will be glad you did it.