The first time one of my vinyl double-hung windows started sliding down on its own, I blamed the “old house curse.” Then it nearly took my fingers with it. What actually failed was a small, hidden part that does a big job: the spiral balance (a spring-loaded rod tucked into the side track). When it loses tension or breaks, the sash gets heavy and stops staying where you put it.
The good news is this is a very fixable DIY. If you can handle a screwdriver and stay organized with small parts, you can often replace a spiral balance in about an hour on a straightforward tilt-in sash and make the window behave again.
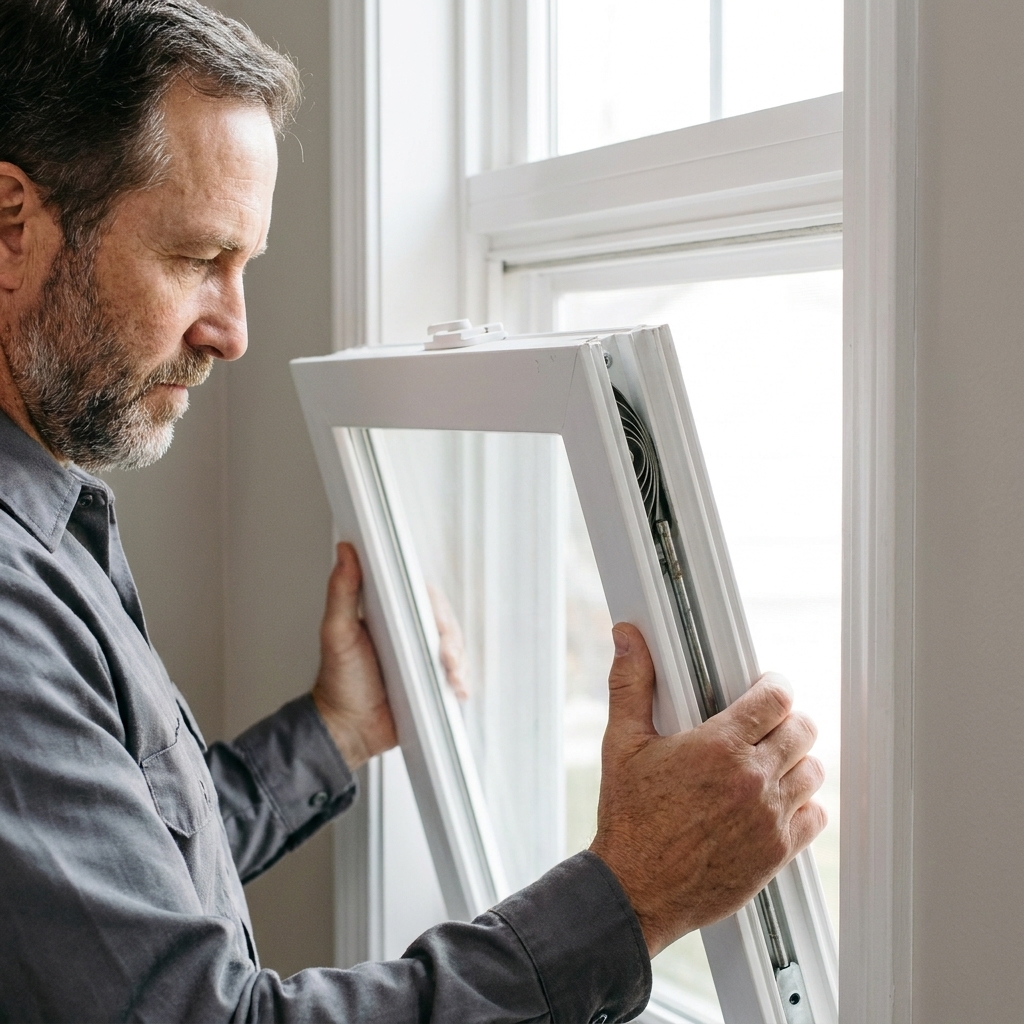
Quick diagnosis
Different windows use different counterbalance systems. Spiral balances show up in some vinyl double-hung windows (especially certain eras and brands), but plenty of vinyl units use channel or block-and-tackle balances instead. Here is how to tell what you are working with.
Signs you likely have spiral balances
- The sash won’t stay up, or it creeps down slowly.
- The sash feels suddenly heavier than it used to.
- With the sash tilted in or removed, you can see a thin rod with spiral grooves or a round tube with a spiral rod inside it along the jamb track.
- There is a small “pivot shoe” or carrier in the track that the sash pivots into.
Signs it might be a different system
- You see a thick spring steel strip in the side jamb (constant force balance).
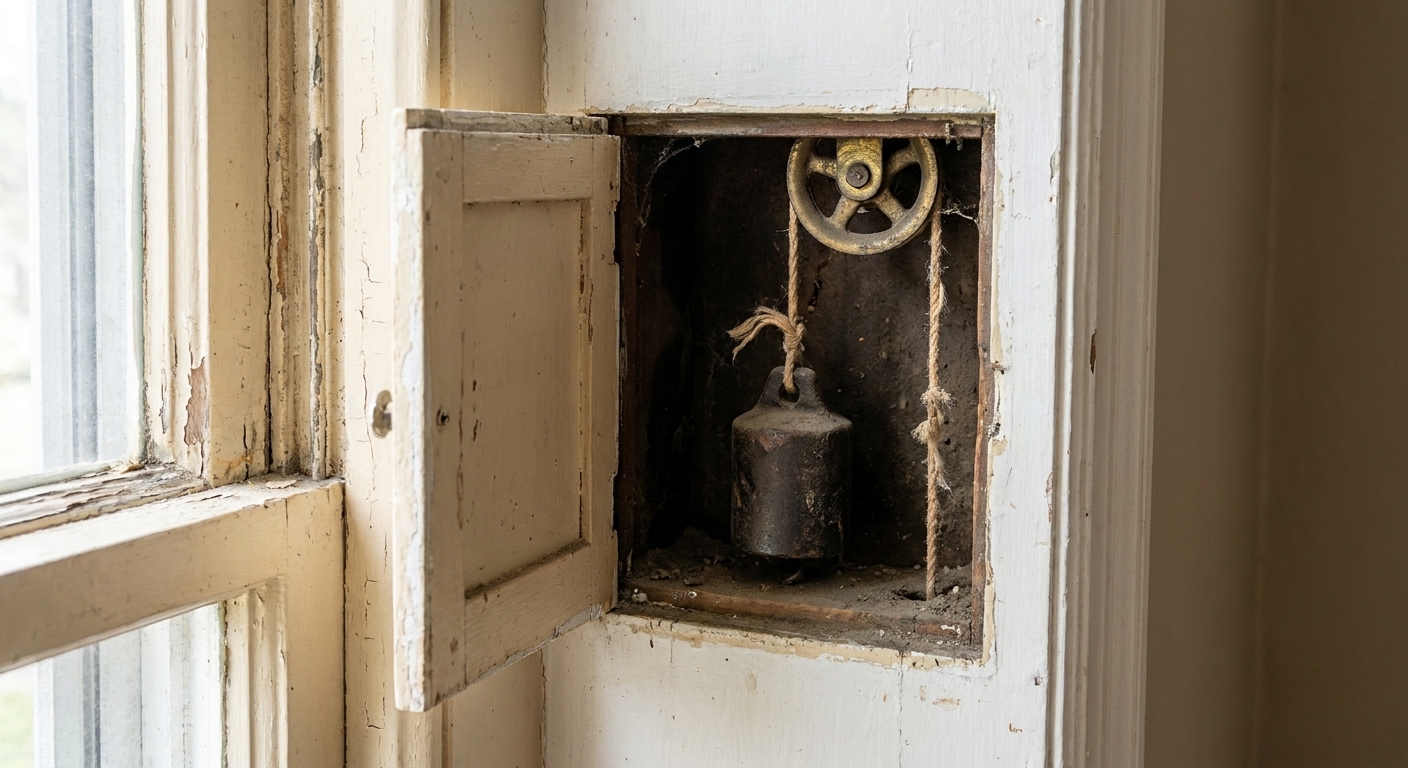
- You see a cord and pulley with hidden weights (very old wood windows).
- You see a covered channel mechanism with cords and springs (modern channel or block-and-tackle, common in vinyl).
If your issue is more “stuck shut” than “won’t stay open,” check paint, swelling, or friction first. This guide is specifically for a window that slides but will not hold position. If you are dealing with a painted-shut situation, start with how to unstick a painted or swollen double-hung window.
Safety first
A failed balance makes a sash act like a guillotine, and a good balance has stored spring tension. Take these basics seriously:
- Wear safety glasses. Small clips and parts can pop loose.
- Support the sash at all times. A helper is nice, but you can do it solo if you work slowly.
- Do one side at a time. The other side helps keep things stable while you learn how your window is built.
- Take photos as you go. Especially of how the sash pivots into the shoes.
- Keep your hands out of the jamb track when tension is involved. If a tool slips, the rod can spin fast.
Tools and parts
Tools
- Flathead screwdriver
- Phillips screwdriver (or square drive, depending on screws)
- Pliers (needle-nose helps)
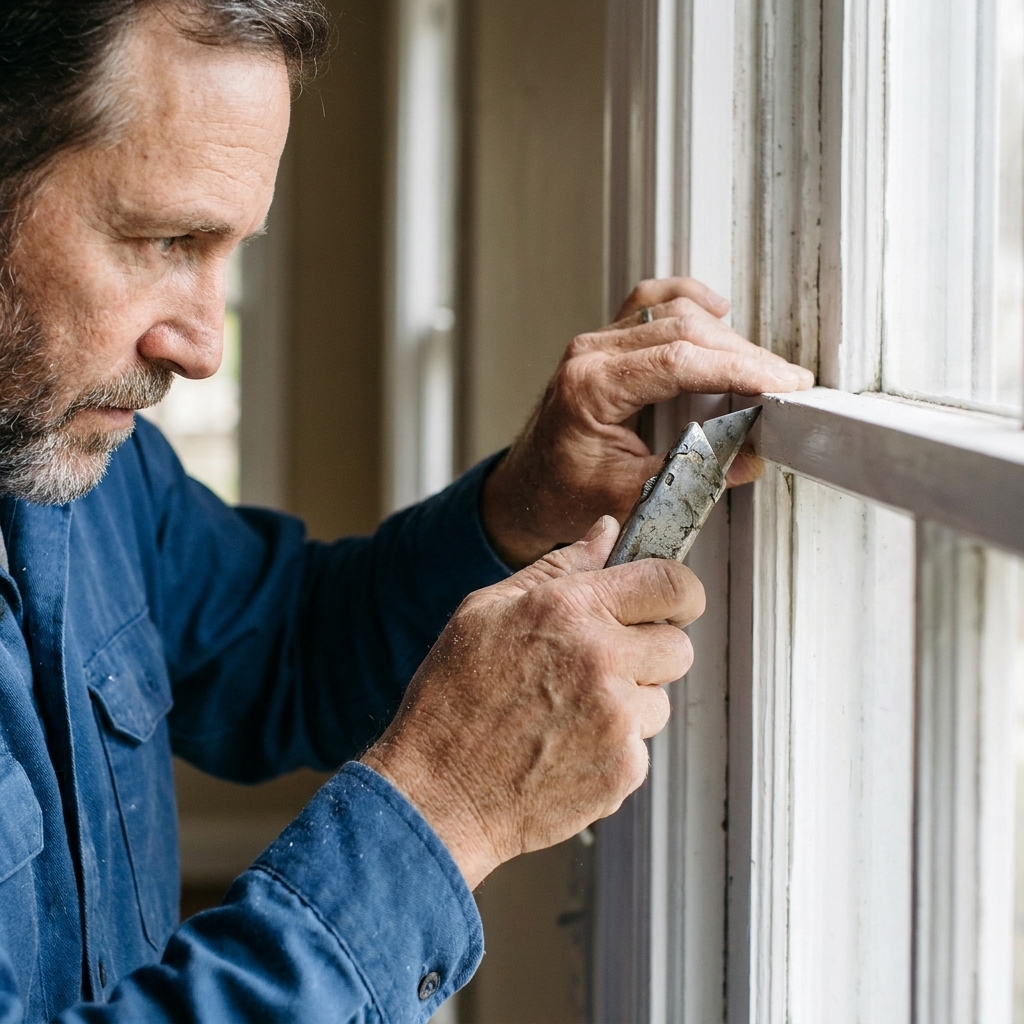
- Utility knife (for peeling paint or gunk in the track)
- Tape measure
- Permanent marker
- Spiral balance charging tool (strongly recommended)
Parts
- Replacement spiral balance(s), matched to your window
- Optional: new pivot shoes if yours are cracked or chewed up
My advice: Replace balances in pairs (left and right) when possible. If one has failed, the other is usually not far behind, and mismatched tension can make the sash tilt or bind.
Before you buy parts
If you can find the window brand or series label, it can save you a lot of guesswork. Check the jambs, the top edge of the sash, or the spacer between the panes for a sticker or etching.
Also, make sure you are fixing the right sash. Some double-hungs have balances for the lower sash only, and others counterbalance both the lower and upper sash. If the top sash also slides down, you may have a second set of balances to replace.
What to write down
- Which sash the balance came from (top or bottom)
- Tube diameter
- Tube length (metal only, not plastic ends)
- Bottom tip style (hook, T-end, colored tip, etc.)
- Any color code or stamped number
How to identify the right spiral balance
This is the step that makes the rest of the job painless. Spiral balances come in different lengths, diameters, tip styles, and tension ratings.
1) Find the diameter
Spiral balances are often 3/8 inch or 5/8 inch diameter, but other sizes exist (including 9/16 inch). Measure the outside diameter of the tube, or compare to the old one once it is out.
2) Measure the length
Measure the metal tube length of the balance (not including plastic end pieces). Write it down.
3) Match the tip style
The bottom end connects into the pivot shoe area. Common styles include a hooked end, a T-end, or a colored plastic tip. The easiest method is to match what you remove.
4) Match the tension
Spiral balances are sold by tension rating. Some have a color-coded tip, and some use stamped numbers. If you can find markings on your old balance, copy them exactly.
Simple, reliable approach: Remove one existing balance first, then take it (or clear photos plus measurements) to a local hardware store or a window parts supplier. Getting the same size and tension rating is what keeps the sash from drifting up or crashing down.

Step by step: replace a spiral balance
Your window may vary a bit by manufacturer, but the overall sequence is consistent: remove sash, release tension, remove old balance, install new balance, tension it, then reinstall the sash.
1) Remove the sash
- Unlock the window and raise the sash a few inches so you can access the side track area.
- Look for tilt latches on the top rail of the sash (common on vinyl). Slide them inward and tilt the top of the sash toward you.
- Take pressure off the pivots. Raise the sash slightly while it is tilted in so the pivot bars are not loaded.
- Lift one side up and out of the pivot shoe, then the other side. Set the sash somewhere safe.
If your window does not tilt in, you may have interior stops that need to come off first. Go slow so you do not crack vinyl trim.
2) Mark the pivot shoe height
Once the sash is out, the pivot shoes can slide in the track. Put a small marker line at the top of each shoe (or a piece of tape beside it). It gives you an easy “home” position during reassembly.
3) Locate the spiral balance and pivot shoe
With the sash out, you should see the pivot shoes sitting in the side tracks (one on each side), and the spiral balance running alongside the track.
4) Release spring tension
Use a spiral balance charging tool if at all possible. It is the right tool for the job and it keeps your hands away from a rod that wants to snap back.
If you absolutely cannot get a charging tool and you choose to proceed with pliers, treat that as the higher-risk option. Keep a firm grip, keep your face and fingers out of the line of spin, and move in small, controlled increments. If you cannot confidently control the rod, stop and get the proper tool or call a pro.
Goal: De-tension the balance enough that it is not trying to unwind while you remove it.
5) Remove the old spiral balance
- Remove any screws or retaining clips holding the balance tube to the jamb.
- Unhook the bottom tip from the shoe area (or slide it free, depending on style).
- Pull the balance out of the track.
6) Inspect the pivot shoe
Take 30 seconds here. If the shoe is cracked, missing a cam, or gouged up, the new balance will not fix the real problem. The shoe needs to rotate and lock properly so the sash pivots and sits square.
7) Install the new spiral balance
- Slide the new balance into the same position as the old one.
- Secure it with the same screw(s) or clip(s).
- Connect the bottom tip into the shoe area exactly how the original was connected.
8) Charge the balance
This is where the “stays open” magic happens.
- With the sash still removed, rotate the spiral rod in the direction that increases tension.
- Add tension a turn at a time.
- As a starting point, give both sides the same number of turns.
- Set the rod into its retaining clip (if your style uses one) so the tension stays put.
How much tension? There is no universal number of turns that fits every window. The correct tension is “enough to hold the sash up without making it want to rocket upward.” Plan to fine-tune after the sash is back in.
9) Reinstall the sash
- Bring the pivot shoes back to your marker lines if they moved.
- Hold the sash at an angle.
- Insert one pivot bar into the shoe, then the other.
- Tilt the sash back upright and close it into the frame.
- Test operation: raise, lower, and stop halfway a few times.

Fine-tuning
If the sash still slides down
- Add tension: remove the sash again and give each balance another turn or two.
- Make sure both sides are tensioned evenly. Uneven tension can cause drifting and binding.
- Confirm you replaced both balances with the same rating.
If the sash shoots upward or is hard to pull down
- You over-tensioned. Back off a turn or two on each side.
- Double-check that you did not buy balances rated for a heavier sash.
If the sash is crooked or binds
- Look for a pivot shoe that is rotated or not seated at the same height as the other side.
- Clean debris from the tracks and check for warped vinyl liners.
- Confirm the sash pivot bars are not bent.
If the problem comes and goes
That can be a cracked shoe cam slipping under load, or screws that are loose in the jamb. Tighten fasteners and inspect plastic parts closely.
When to stop and consider replacement
I am all for repair first, but there is a point where you are throwing good time after bad. If the jamb is cracked, the frame is out of square, the sash corners are separating, or you are stacking multiple fixes just to keep it functional, it might be time to step back and evaluate replacement.
If you are unsure, compare your situation to the common red flags in 7 signs it’s time to replace your home’s windows. And if you are getting quotes, keep these contractor questions handy so you are not guessing your way through the sales pitch.
Spiral balance FAQ
Do I have to replace both spiral balances?
You can replace one, but I rarely recommend it. Balances age together, and mismatched tension is a fast track to a crooked sash. If you already have the sash out, doing both sides is usually worth it.
Can I lubricate something instead?
Lubrication helps sticking and binding. It does not restore lost spring tension. If the sash will not stay open, the balance system is the likely culprit.
Why did my balance fail?
Most fail from plain old fatigue and years of cycling. Dirt in the track and a sash that is forced when binding can speed up wear. If moisture is a constant issue, address it too. Condensation and swelling can add drag and stress moving parts. If you are seeing frequent winter moisture, read why windows sweat in winter and how to stop it.
What if my window uses a different balance system?
Do not force spiral parts to fit a non-spiral window. Identify the system first, then buy the matching components. If you want a bigger picture view of common window construction and DIY scope, the Window DIY guide is a good place to start.