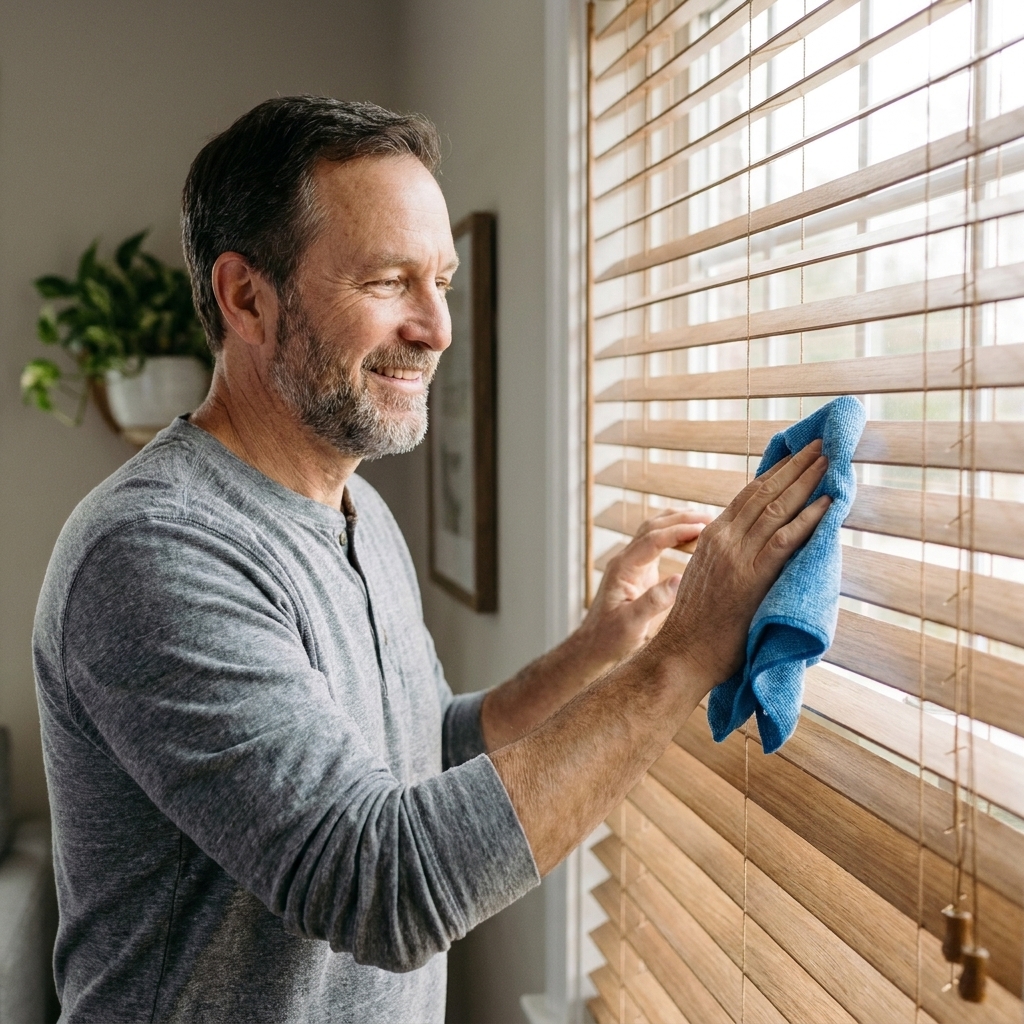
I love a good retrofit. My 1970s split level taught me that “good enough to keep” is a powerful category, especially when the budget is tight and the to-do list is long. So when smart blind motor kits started popping up as a way to automate what you already own, I was immediately curious.
Here’s the honest take: smart motorization kits can be worth it, but only when your existing blinds are the right style, in good shape, and you go into the install knowing what you are signing up for. Otherwise, buying new automated shades is usually cleaner, quieter, and less fiddly.
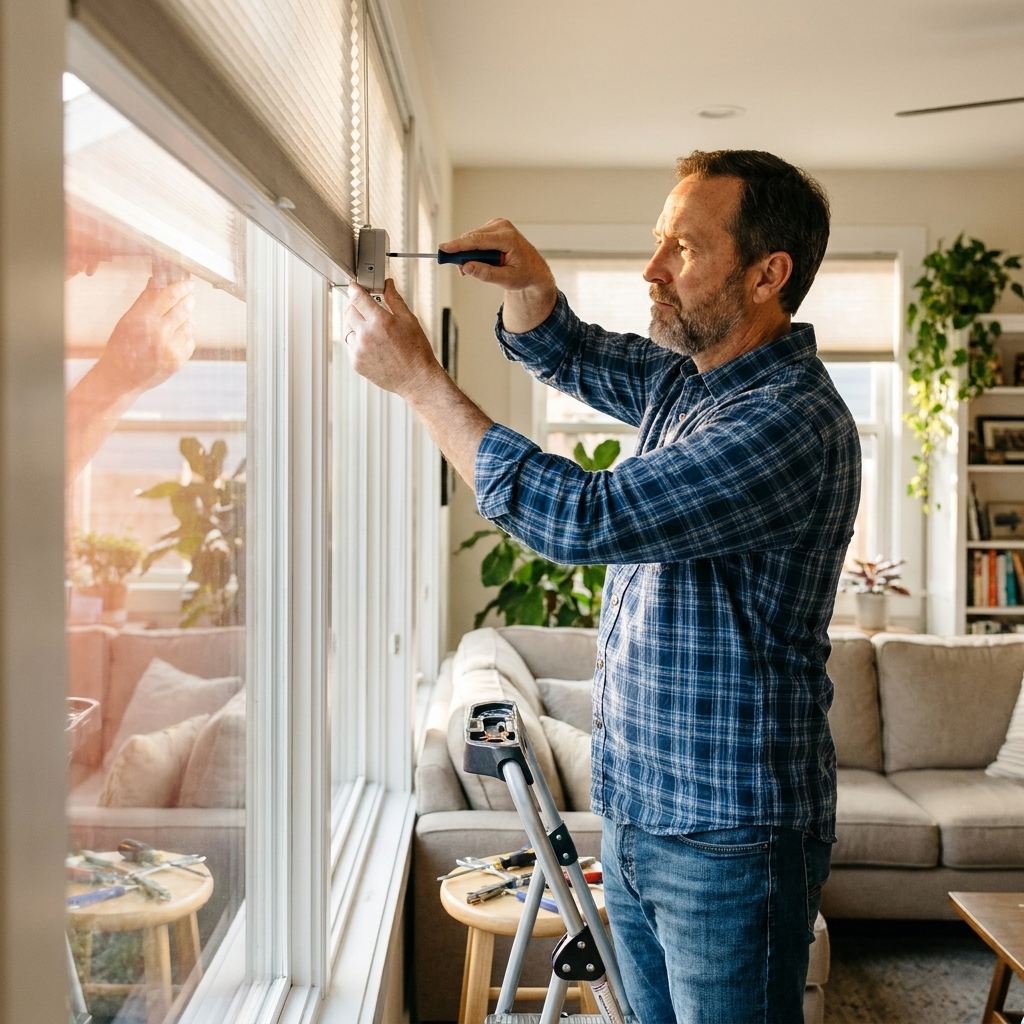
Retrofit kit vs new smart shades
Before you buy anything, decide what you are actually trying to improve: convenience, safety, light control, or the look of the window. Retrofits solve convenience first. New smart shades can solve all four.
When a retrofit kit makes sense
- Your blinds are already the look you want and match the room.
- They operate smoothly by hand with no binding, crooked lift, or chewed cords.
- You only need automation on a few windows (like one glaring west window).
- You are renting or do not want to replace a whole set of treatments.
- You can charge or power them easily without running extension cords across a room.
When buying new automated shades is the smarter buy
- Your current blinds are aging (yellowing, bent slats, frayed ladders, sticky mechanisms).
- You want a cordless, clean look with a hidden motor and fewer visible add-ons.
- You want consistent performance across many windows, especially large ones.
- You care about quiet operation in bedrooms or nurseries.
- You want fewer variables (less trial-and-error, fewer compatibility surprises).
If your goal is a full-room upgrade, it can help to first rethink light and privacy overall. I often pair smart shades with simple strategies like reflective placement and glare reduction. If you are chasing brighter rooms, see Strategic Mirror Placement for More Natural Light.
Compatibility checks
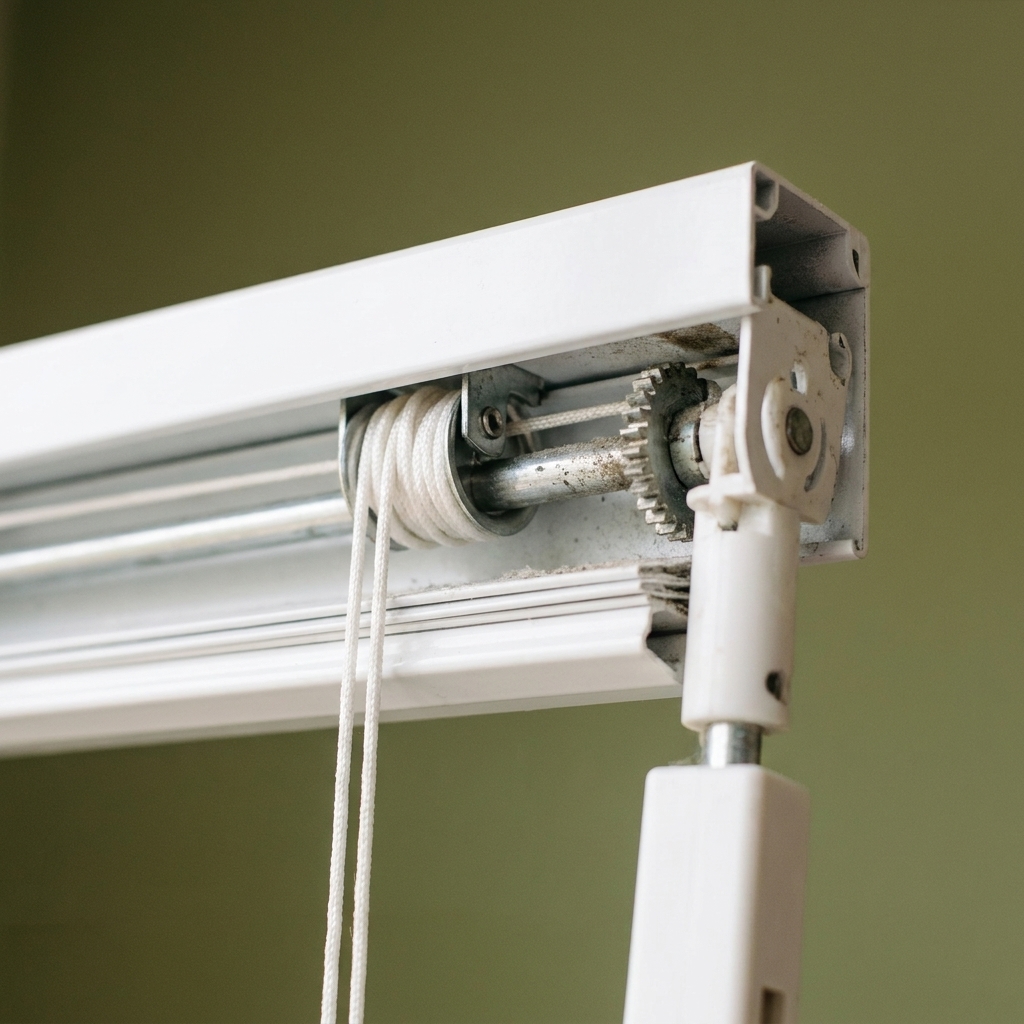
Most retrofit kits are built around one idea: a motor turns a rod, wand, bead chain, or cord spool that already exists. If your blind does not have a “thing to turn,” or if that thing is proprietary, you can end up stuck.
1) What type of blind do you have?
- Roller shades: Often a good candidate if the kit supports your tube diameter and clutch style.
- Cellular (honeycomb) shades: Harder to retrofit cleanly because the lift system is internal and tension-sensitive.
- Roman shades: Possible, but uneven lifting is common if the cords are not perfectly balanced.
- Venetian blinds (wood, faux wood, aluminum): Tilt is sometimes easy (wand or tilt rod). Lift is trickier and depends on the headrail design.
- Vertical blinds: Some kits can rotate the wand, but track drag can make motors struggle.
2) How does it operate today?
Identify the control method and measure it.
- Beaded chain loop: Measure bead size and chain drop. Check if there is room for a motor to sit next to the chain without rubbing the window casing.
- Wand tilt: Check wand diameter and how it connects at the top. Some kits clamp, others replace the wand entirely.
- Cord lift: Confirm the cord path and whether the kit attaches to the cord, wraps it, or replaces the internal spool.
- Crank/gear: Less common in standard homes, but some exterior or specialty shades use it.
3) Is the blind smooth and balanced?
This is the big one. Motors hate friction. If your blind already feels “crunchy” or you have to tug it sideways to get it moving, a motor kit is going to stall, click, drift out of alignment, or drain batteries fast.
4) Is there room for the motor and the charger?
Look at the window trim, the headrail area, and any nearby obstructions.
- If the kit mounts on the face of the headrail, you might see it from the room.
- If it mounts inside the headrail, confirm you have the correct headrail depth and clearance.
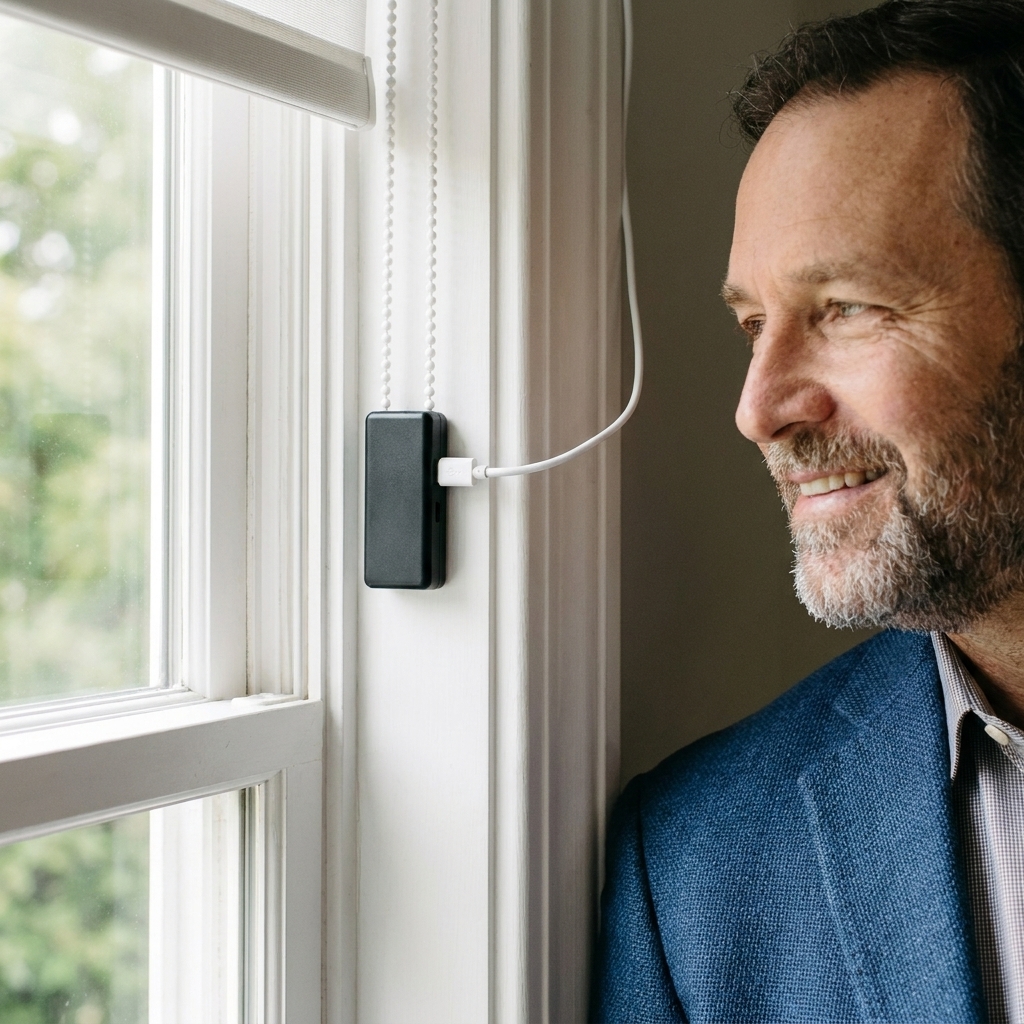
- Plan where charging happens. A charging cable dangling down the side of a window gets old fast.
Cost reality
Retrofit kits look cheaper on paper, but the totals creep up once you add the pieces you need to make the experience pleasant.
DIY retrofit kit costs
- Motor kit per window: Varies widely by style and strength.
- Power: Rechargeable battery pack, solar panel add-on, or a plug-in adapter.
- Optional bridge or hub: Some ecosystems need a bridge for reliable scheduling, voice assistants, or away-from-home control.
- Time: You pay in setup. Expect a first window to take longer while you learn the quirks.
New smart shades costs
- Shade and motor: Higher upfront, but it is integrated and designed as a system.
- Better fit and finish: Clean fascia, hidden wiring, fewer exposed brackets.
- Fewer surprises: Less adapter hunting, less “will this bind?” guessing.
If your windows themselves are drafty or uncomfortable, I would fix that before putting money into automation. A motorized shade will not stop an air leak. This guide helps you decide where to spend first: Weatherstripping vs Caulking for Drafty Windows.
Performance
What retrofit kits do well
- Basic open and close scheduling: Great for glare control and privacy routines.
- Making a high window usable again: If you have a tough-to-reach treatment, a retrofit can be a real quality-of-life upgrade.
- Keeping a room consistent: Automating just one or two problem windows can make the whole space feel more comfortable.
Common pain points
- Noise: External motors can be more noticeable than built-in shade motors.
- Alignment drift: Especially with cord-lift retrofits, one side can creep higher than the other.
- Battery maintenance: If you hate charging devices, do not add five more.
- Stalling on friction: Dirty headrails, swollen wood blinds, or stiff clutches can overwhelm a motor.
- App and ecosystem fragmentation: Mixing brands can mean multiple apps and inconsistent schedules.
My DIY checklist
If you want my neighbor-over-the-fence rule of thumb, it is this: retrofit if you like your blinds and they work perfectly by hand. Replace if you are already tolerating annoyances.
Green lights for retrofitting
- The blind raises, lowers, and tilts smoothly with one hand.
- The headrail is solid and square, not twisting when you operate it.
- You can mount a motor without hitting trim, cranks, or window locks.
- You have a clear plan for charging or power.
Red flags: buy new
- The blind sticks, drops unevenly, or you see frayed cords.
- Slats are warped or the cords have sun damage.
- You are trying to motorize a cheap blind you would not buy again.
- You want a truly cordless look and quieter operation.
Installation tips
I have learned (the hard way) that the install is rarely “hard,” but it is easy to get sloppy and pay for it later with rubbing, misalignment, and constant recalibration.
Start with a clean, healthy blind
- Vacuum the headrail and wipe dust from the chain or wand.
- Fix any binding first. Motors amplify existing problems.
- If the blind is crooked, re-seat the brackets and make sure the headrail is level.
Dry-fit before you stick or drill
Many kits offer adhesive mounting. Even if you plan to screw it in, do a dry fit and run the blind through its full range by hand. Watch for:
- Chain rubbing on the motor housing
- Motor body interfering with trim
- Cable clearance for charging
- Access to the manual control buttons
Use screws when you can
Adhesive pads are fine for lightweight setups, but blinds live in a world of heat, cold, sun, and vibration. If your headrail allows it, screws are the set-it-and-forget-it choice.
Calibrate slowly
When you set upper and lower limits, do it in short taps and verify the blind is tracking evenly. If one side lags, stop and correct it before you let the motor run a full cycle.
Plan for safety
Even with “smart” upgrades, you can accidentally create new dangling cables or loops. Keep charging cords tidy and out of reach of kids and pets.
Smart features
Marketing loves big promises. In day-to-day life, a few features do most of the work.
Worth paying attention to
- Reliable scheduling: Open for morning light, close for afternoon glare.
- Local control: A physical button on the motor is a lifesaver when Wi-Fi is acting up.
- Battery reporting: You want a clear low-battery warning before it dies halfway down.
- Manual override: Make sure you can still operate it when needed.
Nice, but not essential
- Voice assistants: Fun for demos, less useful than a schedule.
- Sunlight sensors: Helpful in theory, but can be inconsistent depending on window orientation and shadows.
- Complex automations: If you will not maintain them, they become clutter.
A simple worth-it test
Stand at the window and answer these three questions:
- Do I like these blinds enough to keep them for 3 to 5 more years?
- Do they operate smoothly enough that a motor will not be fighting them?
- Will I actually use automation weekly? (Not just once to show a friend.)
If you get three yes answers, a retrofit kit is usually a good project. If you get one or two, I would seriously consider new automated shades or simply replacing the blinds the normal way.
Quick FAQ
Will a motor kit damage my blinds?
It should not, but poorly mounted kits can twist a chain, stress a clutch, or pull unevenly on cords. The bigger risk is forcing a motor to run a blind that already binds.
Do retrofit kits work on very wide or tall windows?
Sometimes. The limitation is usually torque and friction. Wider blinds weigh more and tend to rack. If your blind is large enough that you already lift it carefully with two hands, expect a retrofit to be finicky.
Is solar charging worth it?
In sunny windows, it can be a game-changer for convenience. In shaded exposures or heavily filtered windows, it may not keep up. Before you spend extra, make sure that window actually gets consistent direct or bright ambient light.
If my windows are drafty, should I still automate the blinds?
I would fix comfort first. Drafts and condensation issues are usually telling you something about sealing, humidity, or glass temperature. If you are dealing with winter moisture, this is a good companion read: Why Windows Sweat in Winter and How to Stop It.
Bottom line
Retrofitting existing blinds with smart motorization kits is worth it when your current blinds are solid, smooth, and you want the benefits of automation without changing the look of the room. If your blinds are already annoying you, automation rarely fixes the underlying issues. That is the moment to put your money into new automated shades and enjoy a cleaner, quieter setup that was designed to be motorized from day one.