

I used to treat blinds like they were disposable. In my 1970s split-level fixer-upper, I would wrestle them down, snap a clip, bend a slat, then “reward” myself with a new set I didn’t budget for. Eventually I figured out the grown-up move: deep clean them right on the window, with the right tools and the right amount of moisture for the material.
You’ll learn fast dry-dusting, true deep cleaning for heavy grime, and the safe differences between faux wood and real wood so you do not end up with warped slats or swollen ladder strings.
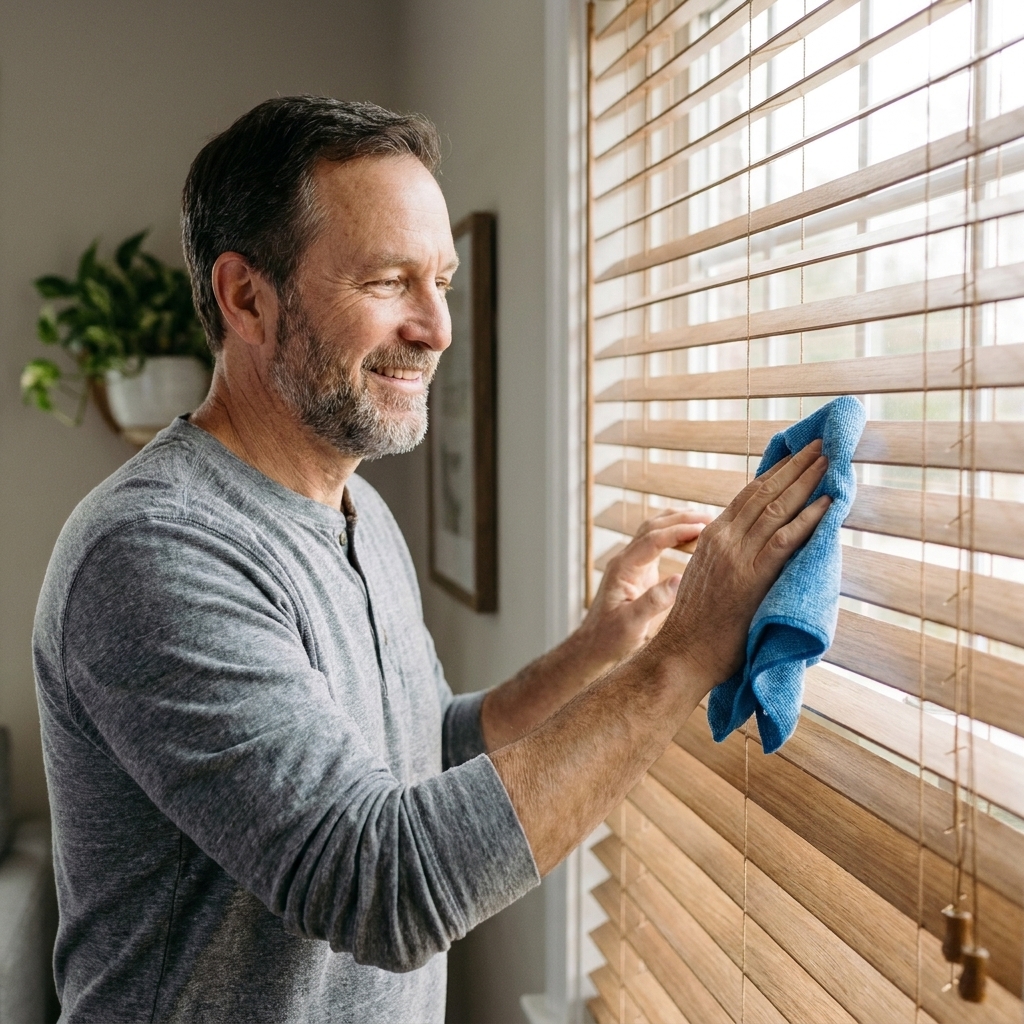
First, identify the material
Before you mix a cleaner, confirm whether your blinds are faux wood (PVC or composite) or real wood. The cleaning steps look similar, but real wood needs far less moisture.
- Check the headrail label first: Many blinds have a manufacturer label or stamp on the inside of the headrail that hints at material and cleaning limits.
- Look at a route hole or cut edge: Real wood usually shows grain or tiny pores at holes and ends. Faux wood is more uniform and “same-looking” all the way through.
- Weight and feel (helpful, not foolproof): Faux wood is often heavier. “Cool to the touch” is not a reliable test, since finishes and room temperature can make different materials feel similar.
If you are unsure, err on the “real wood” side and use minimal moisture. You can always step up to a slightly damp cloth later.
Tools that save time
You can deep clean with what you have, but a couple simple tools make a huge difference, especially if your blinds have not been touched since last spring.
- Microfiber cloths: Grab at least 2 to 4 so you can swap to a clean one mid-job.
- Soft brush vacuum attachment: Great for lifting dust without grinding it into the finish.
- Blind duster (sleeve-style or multi-prong): Helpful, but not required. Microfiber cloths still win for grime.
- Two small buckets or bowls: One for cleaning solution, one for rinse water (especially for faux wood).
- Old towel or drop cloth: To protect the sill and catch drips.
- Cotton swabs or a soft toothbrush: For cords, the headrail edge, and corners where gunk likes to camp out.
- Nitrile gloves: Optional, but they keep your hands from turning gray.
If your window glass also needs attention, it is efficient to clean blinds first, then glass. If you need tips for the outside, see how to clean second-story exterior windows safely and streak-free.
Set up fast and avoid drips
- Close the blinds fully (slats angled downward). This gives you one flat “side” to clean first.
- Put a towel on the sill. If you have wood trim, this is non-negotiable.
- Add a towel on the floor for long blinds. If you are doing a whole patio door, you will be glad it is there.
- Watch outlets and cords below the window. Keep cloths wrung out, and do not let cleaner drip onto power strips, chargers, or extension cords.
- Lower the blinds to a comfortable height. Clean the top half without reaching, then raise them to finish the bottom half.
- Vacuum the headrail and top edge with a brush attachment. A shocking amount of dust lives up there and will drop onto your freshly cleaned slats if you skip this.

Fast dry cleaning
If your blinds are mostly dusty, do this and stop. Most people jump straight to wet cleaning and just make mud.
- Close the slats and run a dry microfiber cloth across each slat, supporting the slat from behind with your other hand.
- Flip the slats the other direction and repeat. Dust collects on both faces.
- Finish with a vacuum pass to capture what you knocked loose.
For allergy season or remodeling dust, repeat once more with a fresh cloth.
Deep clean faux wood blinds
Faux wood is forgiving. The main goal is to keep water out of the headrail and off the wall. The slats can handle a careful damp wipe.
Safe solution for faux wood
- Option A (everyday grime): Warm water plus a few drops of mild dish soap.
- Option B (kitchen grease): Warm water plus a few drops of dish soap plus a small splash of white vinegar.
Keep it mild. Strong degreasers can leave residue or haze, and that leftover film can grab dust faster afterward.
What to avoid on faux wood
Skip bleach, ammonia-heavy cleaners, abrasive pads, and “magic eraser” style scrubbers. They can dull the finish, leave shiny spots, or create a haze that never quite looks right again.
Step-by-step deep clean (in place)
- Dry dust first. Always. This prevents smearing.
- Dampen, do not soak a microfiber cloth. Wring it out until it feels barely wet.
- Close slats one direction and wipe each slat from the outer edge toward the ladder strings. Support the slat with your other hand so you do not flex it.
- Rinse wipe: Use a second cloth dipped in plain water, wrung well, and wipe again to remove residue.
- Dry immediately with a clean towel or dry microfiber cloth. This prevents water spots and keeps dust from re-sticking.
- Flip slat direction and repeat for the other face.
Garage-tip that saves time: If you are cleaning a whole house worth of blinds, mix your solution in a bowl and keep a second “rinse” bowl. Swap cloths often. The water turns gray fast.
Deep clean real wood blinds
Real wood blinds can look amazing for years, but they do not like water. The finish helps, but the edges, cord holes, and any tiny nicks are where moisture sneaks in.
What to use on real wood
- Best default: Dry microfiber cloth plus vacuum brush.
- For stuck-on grime: A cloth that is barely damp with water, then immediately dried.
- Optional: A small amount of wood-friendly cleaner sprayed onto the cloth (never sprayed directly on the blind). Follow the product label and test a hidden slat first.
Step-by-step deep clean (in place)
- Vacuum first with the brush attachment, slats closed. Do not press hard.
- Wipe with a dry microfiber cloth, supporting each slat.
- Spot-clean only where needed: Lightly dampen a corner of your cloth, wipe the dirty area, then dry that spot immediately with a different cloth.
- Be cautious with cloth ladder tapes and strings: Fabric can wick moisture and hold stains. Keep them as dry as possible, and blot immediately if you accidentally get them wet.
If the blinds feel tacky even after cleaning, that is usually residue from a prior spray cleaner. Go back with a barely damp cloth and then dry thoroughly.
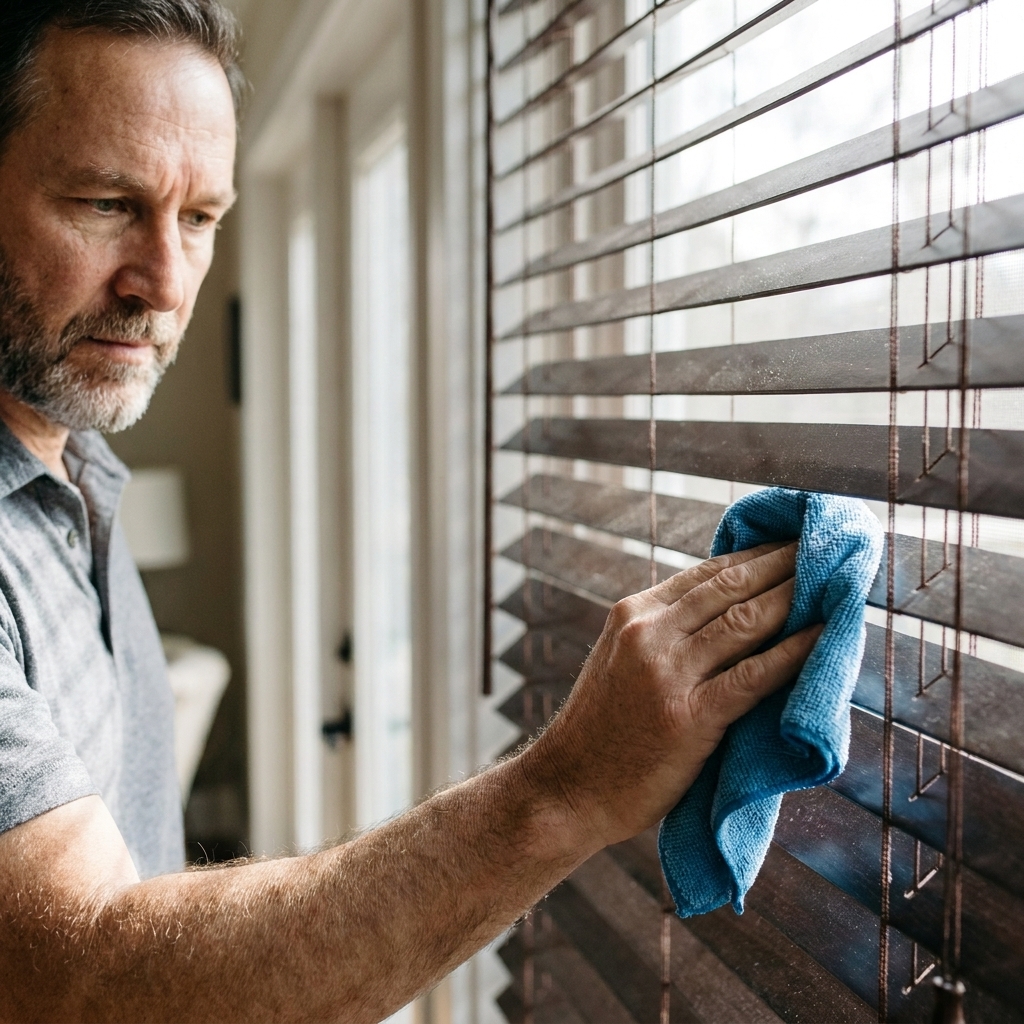
Heavy buildup and stubborn odors
When blinds have years of buildup, you need patience more than stronger chemicals. Strong cleaners tend to cloud finishes and leave residue that attracts dust.
Method for faux wood
- Dry dust thoroughly.
- Use the dish soap solution with a wrung-out cloth.
- Do one section at a time (about 12 to 18 inches wide), then rinse-wipe and dry.
- Use cotton swabs for corners and along the front lip of the headrail.
Method safest for real wood
- Vacuum and dry wipe first.
- Use a barely damp cloth for small areas only.
- Repeat passes rather than “scrubbing harder.” Excess pressure can crack or dent slats.
About smoke and cooking smells
If nicotine or heavy cooking odor is the problem, the slats are only half the story. Cloth ladder tapes, cords, and anything fabric-like in the headrail can hold odor. For faux wood, you can gently wipe those areas with a barely damp cloth and a drop of mild soap, then blot dry. For real wood, keep it mostly dry and do multiple light passes. Sometimes, after years of smoke, replacement is the only true “odor fix,” even if the slats look clean.
Do not do this: avoid soaking, steam cleaning, abrasive pads, or spraying any cleaner directly onto hanging blinds. Overspray loves to land on walls, window trim, and fabric drapes.
The close wipe flip rhythm
The fastest way I have found is to treat blinds like two flat panels instead of 50 individual slats.
- Close slats fully in one direction, then wipe across slats from left to right.
- Move down a few inches and repeat.
- Flip the slat angle the opposite direction and do the same passes.
This works because closed slats support each other, which means less bending and fewer missed edges.
Don’t miss these grime traps
- The headrail top edge: Dust falls from here right onto clean slats.
- The bottom rail: Handprints love this spot.
- Cord locks and wand handles: Usually sticky from hands.
- Windowsill and trim: Put the towel down, but also wipe the sill when you are done.
If your blinds are part of a bigger “brighten the room” project, pairing clean blinds with smarter light bounce makes a noticeable difference. I keep this guide bookmarked: strategic mirror placement for more natural light.
Quick care schedule
- Weekly or biweekly: Quick dry dust (5 minutes per room once you get the rhythm).
- Seasonally: Full dry dust plus spot-cleaning.
- Once or twice a year: True deep clean (especially in kitchens, near busy roads, or in homes with pets).
Troubleshooting
My blinds look streaky after cleaning
Usually residue. On faux wood, do a rinse-wipe with clean water and dry immediately. On real wood, use a barely damp cloth on the streaks only, then buff dry with a clean microfiber cloth.
Slats won’t rotate smoothly after cleaning
You may have gotten moisture into the headrail or cord area. Let everything dry fully. If it still sticks, check for dust packed into the headrail. A careful vacuum pass with the brush attachment often fixes it.
There’s dust floating everywhere while I clean
Vacuum first and work top to bottom. If you have a ceiling fan running, shut it off. That sounds obvious, but I have made that mistake more than once.
My blinds smell smoky even after cleaning
For faux wood, a mild soap-and-water wipe followed by a plain-water rinse wipe helps. For real wood, keep moisture minimal and do multiple light passes. If odor persists, it is often in cloth ladder tapes, cords, and headrail components more than the slats.
When removal makes sense
Most wood and faux wood blinds can be cleaned in place. I consider removal only when:
- The blinds are heavily contaminated (renovation dust, pest debris, or thick greasy buildup you cannot lift without dripping).
- Hardware is broken and you are already doing a repair.
- You are repainting or doing window work and the blinds are in the way.
One caution: if you have older, brittle blinds or a bargain set that flexes easily, use a lighter touch. Too much pressure can kink slats or pop clips even if your cleaner is “safe.”
If your window is giving you trouble while you are working around it, this one can help: how to unstick a painted or swollen double-hung window.
My rule: moisture is last
If you remember nothing else, remember this: dust first, damp second, dry immediately. Faux wood can handle a real wipe-down. Real wood prefers a careful, mostly-dry approach. Either way, you can get them truly clean without unhooking a single bracket.