I grew up holding the flashlight while my grandpa “improved” whatever needed improving that weekend, and one lesson stuck with me: anything you hang on the outside of your house must shed water like its job depends on it, because it does. An exterior window awning is a perfect example. Done right, it gives you real shade, protects the top of the window from weather, and makes a plain facade look finished. Done wrong, it becomes a little roof that funnels water behind your siding.
This guide walks you through building a simple, sturdy wood frame awning and installing it with proper pitch and flashing. I will keep it practical and adjustable, because every house has slightly different trim, siding, and window placement.
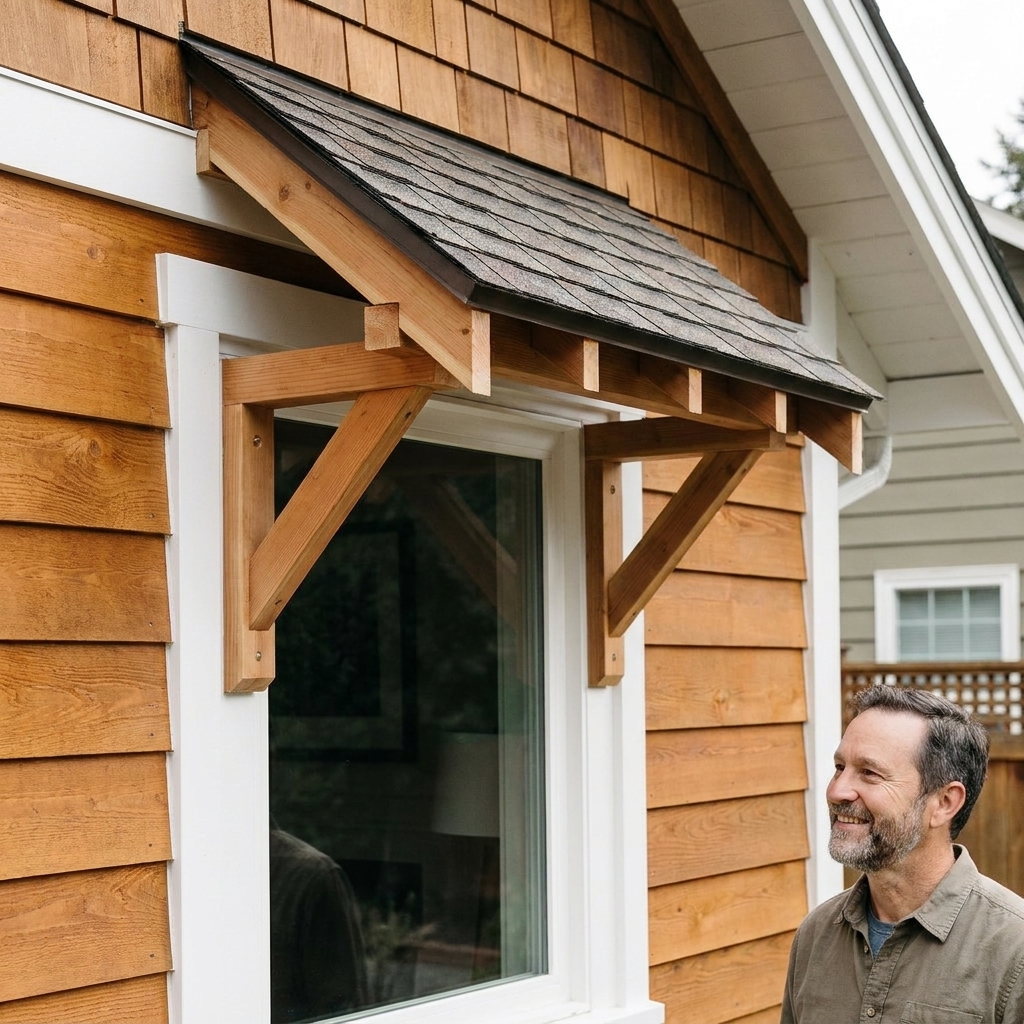
Plan the awning size
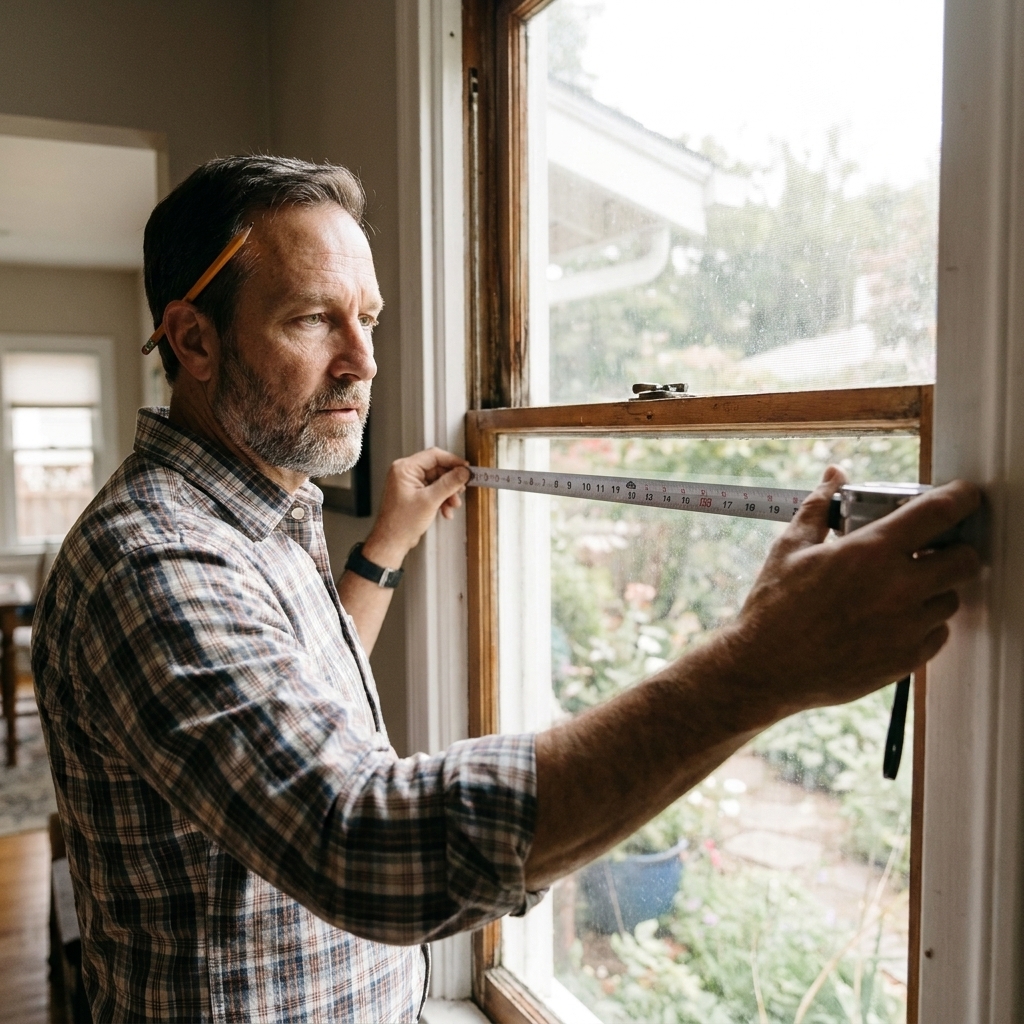
Before you buy lumber, decide what the awning needs to do: block high summer sun, keep rain off the top of the window, and look proportional to the trim.
Good starter dimensions
- Width: window trim outside-to-outside, plus 4 to 8 inches total. If your window has no trim, use the window frame width plus 6 to 10 inches.
- Projection (how far it sticks out): 12 to 24 inches for most homes. Deeper looks more “architectural” but needs sturdier bracing.
- Front drop (how much lower the front edge is): plan the drop from your pitch, not a guess. A common DIY target range is roughly 2 to 4 inches of drop per foot of projection. Your roofing material matters here. Shingles typically want more slope than a single-piece metal top.
Pitch that actually sheds water
The 1/4 inch per foot rule is for low-slope roof situations where you are trying to get away with minimal pitch. A small awning over a window is better with a visible pitch, because wind-driven rain is a real thing on walls.
A simple target is 3 inches of drop per foot of projection:
- 12-inch projection (1 foot): about 3 inches of drop
- 18-inch projection (1.5 feet): about 4 1/2 inches of drop
- 24-inch projection (2 feet): about 6 inches of drop
If you want a slightly cleaner, less steep look, go closer to 2 inches per foot. If your siding gets hammered by weather, go closer to 4 inches per foot.
Clearances that save headaches
- Keep the awning high enough that it does not block the top sash or window operation.
- Leave room to flash it properly into the wall. If your window has a big head trim board, plan the awning to mount above it, not on it.
- Make sure it will not interfere with exterior lights, shutters, or a nearby downspout.
Materials and tools
You can build this with basic carpentry tools. The biggest “upgrade” you can give yourself is using materials meant to live outdoors.
Recommended materials
- Lumber: exterior-rated 1x material for the top frame (commonly 1x4 or 1x6), and 2x material for side brackets (2x4 is typical). Use pressure-treated where it will contact masonry, and consider rot-resistant species (cedar, redwood) for painted or stained projects.
- Awning deck/top: 1/2-inch exterior plywood (or 5/8-inch for larger awnings).
- Roofing surface: peel-and-stick roofing underlayment plus drip edge and shingles, or a small piece of metal roofing cut to size. If you are new to roofing, a single-piece metal top is the simplest way to reduce seams and can tolerate lower slopes than shingles.
- Fasteners: exterior structural screws for framing, exterior deck screws for sheathing, and roofing nails or screws for the roof system you pick. For wall attachment through a ledger, use ledger or structural screws sized to reach solid framing with enough embedment (length depends on your siding and sheathing). Follow the fastener manufacturer guidance, including washers if required.
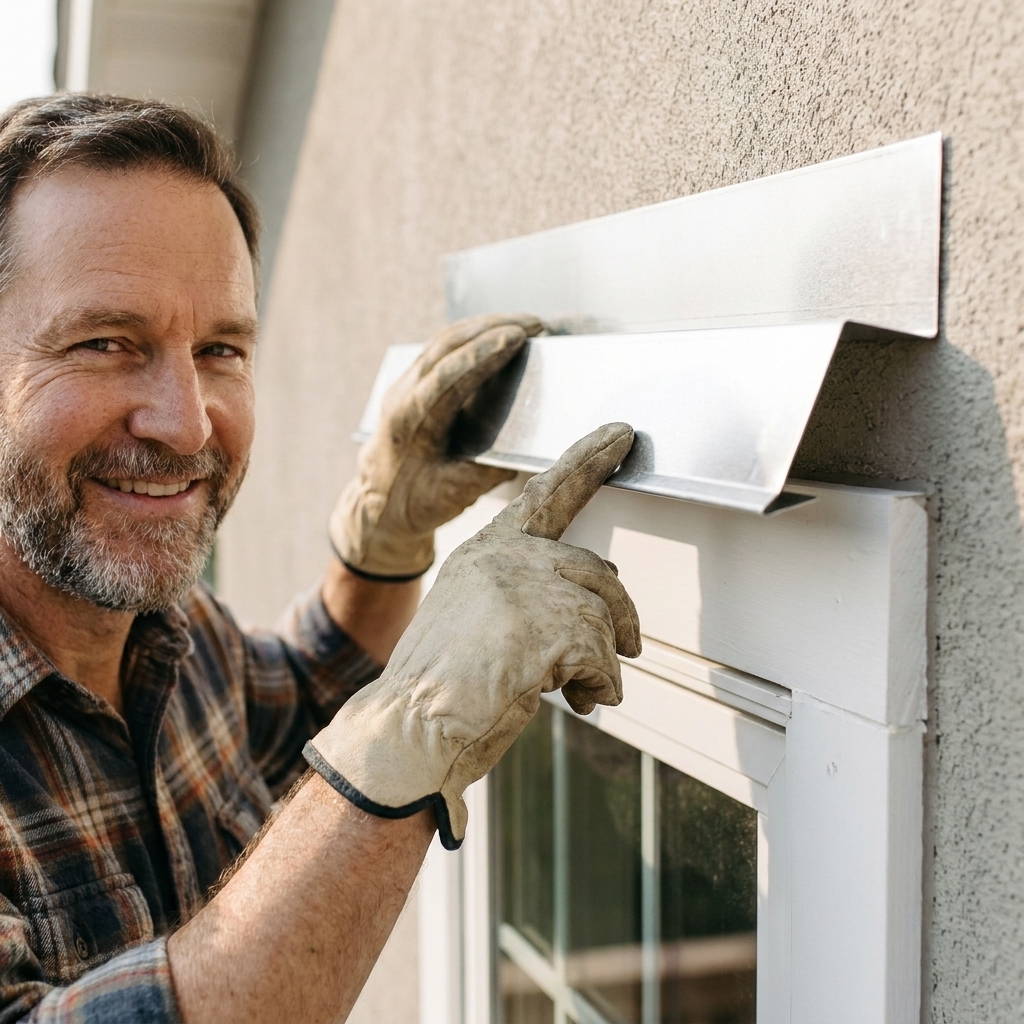
- Flashing: metal Z-flashing or a custom-bent head flashing, plus butyl flashing tape.
- Sealant: high-quality exterior sealant compatible with your siding and flashing (do not rely on caulk as your only waterproofing).
- Finish: exterior primer and paint, or exterior stain and a UV-rated topcoat.
Tools
- Measuring tape, pencil, speed square
- Circular saw or miter saw
- Drill/driver and bits
- Level (a 2-foot level is fine, longer is nicer)
- Stud finder (for wood-framed walls) or masonry bit and anchors (for brick or block)
- Utility knife and tin snips (for flashing and roofing)
- Ladder and safety glasses
Pick a bracket style
For most DIY installs, the cleanest build is: a wall ledger, a front fascia board, and two or three side brackets that set the pitch. It is strong, easy to square up, and easy to flash.
How many brackets?
- Up to 48 inches wide: 2 brackets (one at each end) is often enough.
- 48 to 72 inches wide: add a center bracket.
- Over 72 inches: treat it like a small roof. Use more structure, more attachment points, and consider calling a pro if it is above an entry where falling debris would be dangerous.
Build the frame
I like to assemble the frame in the garage where everything is flat, dry, and I can take my time with clean cuts.
Step 1: Cut the wall ledger and front fascia
- Cut a ledger board the full width of the awning.
- Cut a matching front fascia the same width.
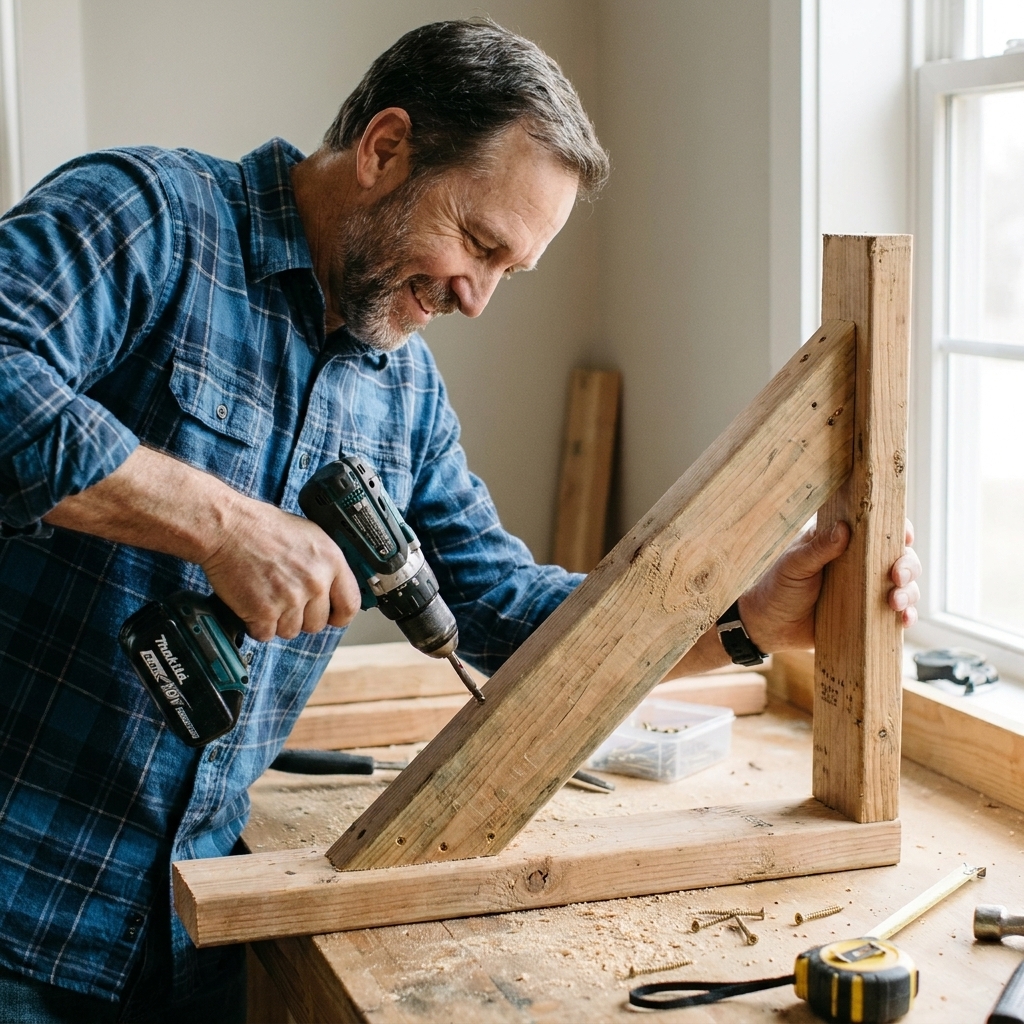
Step 2: Build the side brackets with pitch
Here is the key detail: the bracket has to create the pitch. If you build a perfect 90-degree L-shape and put plywood on top, you will get a flat awning that holds water.
Each bracket is a right triangle made from three parts:
- Back leg: the vertical piece that sits plumb against the wall.
- Top arm: the piece that runs out to the front.
- Diagonal brace: the stiffener that stops sag.
Build it like this:
- Cut the back leg from 2x4: typically 10 to 14 inches tall.
- Cut the top arm from 2x4: equal to your projection.
- Lay out the drop so it is repeatable. On your back leg, measure down from the top and put a clear mark for your drop amount. Example: for an 18-inch projection at 3 inches per foot, your drop is 4 1/2 inches. Make a mark 4 1/2 inches down from the top of the back leg.
- Hold the top arm against the back leg. Keep the back leg plumb. Rotate the top arm until the top front edge of the arm lines up with your drop mark. Clamp it in place, then screw it together. The joint is not a perfect 90 degrees, and that is the point.
- Add a diagonal brace from near the bottom of the back leg up to the front of the top arm. This is what keeps the bracket from racking in wind.
My tip: build one bracket first, then hold it up where it will live. If it looks too steep or too flat, adjust now. Once it looks right, use it as your template for the rest.
Deck and roof it
Step 1: Assemble the main frame
- Attach the side brackets to the ledger board, keeping the ledger itself level.
- Attach the front fascia to the ends of the pitched top arms.
- If you have a center bracket, add it now.
Step 2: Add plywood decking
- Cut exterior plywood to fit the top rectangle created by the frame.
- Rear support note: the plywood should be supported along the back edge by the ledger and along the sides by the pitched bracket arms. If your ledger is narrow or your bracket layout leaves a gap, add a small back cleat on top of the ledger so the plywood has a full bearing surface.
- Screw it down every 6 to 8 inches along edges and supports.
Step 3: Wrap the top like a tiny roof
Use the same “water-shedding layers” concept as a roof. Underlayment first, then metal drip edge, then your final roof surface.
- Apply peel-and-stick underlayment over the plywood, wrapping it slightly over the front edge. If you are sticking to dusty masonry, old paint, or weathered surfaces, check whether your membrane needs a compatible primer first.
- Install drip edge along the front and sides so water cannot curl back.
- Finish with shingles or a single metal panel sized to overhang the front slightly.
Edge overhangs
I aim for about 1/2 to 1 inch of overhang at the front and sides (drip edge and roofing). The goal is simple: kick water clear of the fascia and trim so it cannot creep back.
If you go with a metal top, you can often eliminate several seams. Just make sure the metal slopes away from the wall and has an edge detail that kicks water out.
Finish it first
This is one of those “learned the hard way” steps. Finishing the awning on sawhorses is faster and cleaner than brushing paint while standing on a ladder. Prime all sides, especially end grain, and give it a full cure time.
- Painted look: exterior primer plus two topcoats.
- Stained look: exterior stain plus a UV-protective topcoat if recommended by the product.
Install it without leaks
Installation is where most DIY awnings fail. The structure is usually fine. The water management is the tricky part.
Step 1: Check what you are mounting to
Siding and wall assemblies are not all equal. Your flashing plan should match what is actually on your house.
- Vinyl siding: usually easier to loosen and tuck flashing behind.
- Lap wood or fiber cement: possible to integrate flashing, but you may need to remove or cut back a course carefully and protect the water-resistive barrier (WRB) behind it.
- Stucco, EIFS, or unknown assemblies: these can be risky to penetrate without the right details. If you cannot clearly integrate head flashing into the WRB, consider a pro. This is where well-meaning DIY turns into hidden rot.
Step 2: Find solid attachment
- Wood-framed wall: find studs and mark them. Ideally, your ledger fastens into studs, not just sheathing. Before drilling, pay attention around exterior light fixtures and outlets. Do not assume wires are nowhere near that spot.
- Brick or block: use appropriate masonry anchors and a masonry bit. When possible, fasten into the masonry unit rather than mortar, but mortar can be used with the right anchor in some situations. If you have brick veneer, do not treat it like solid masonry without understanding what is behind it.
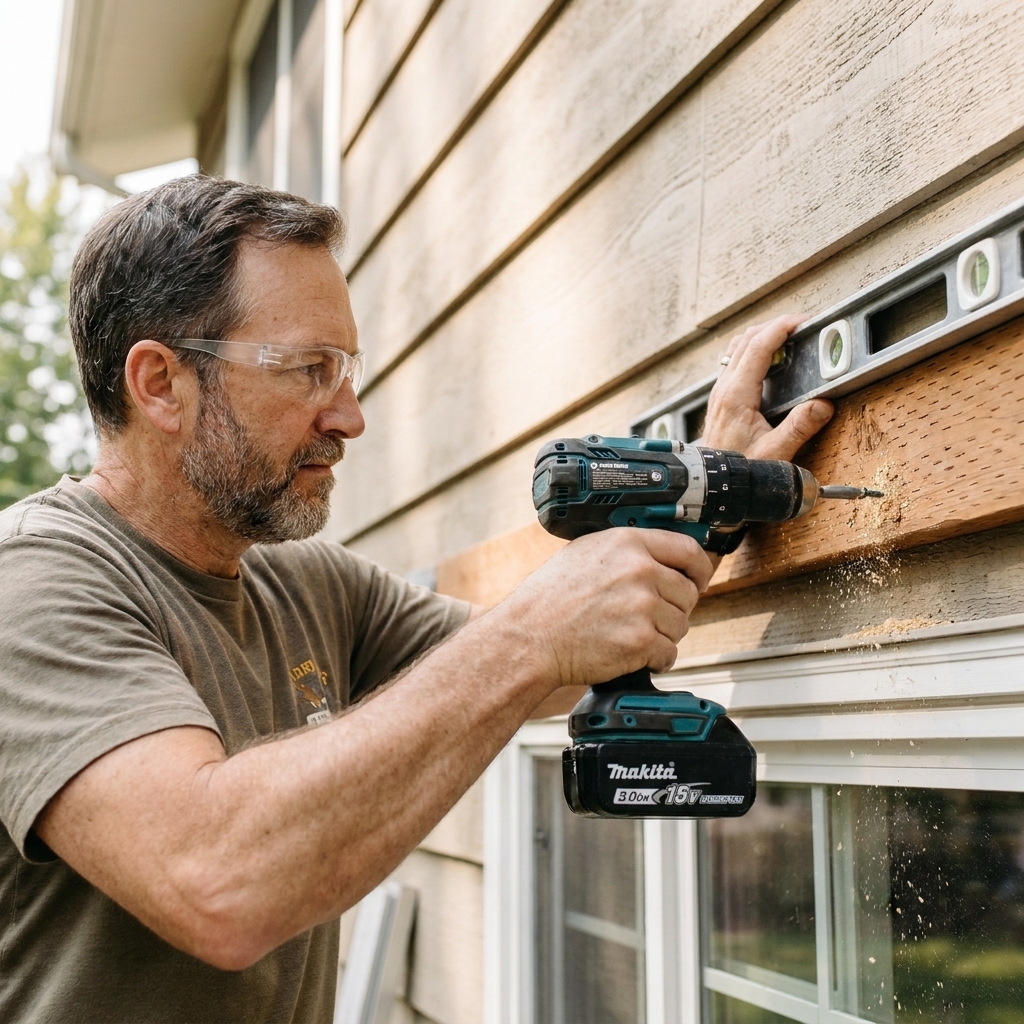
Step 3: Mark the ledger line level
Mark the ledger position and keep that line level. The pitch should come from your brackets and roof deck, not from installing the ledger crooked.
Step 4: Deal with the ledger and pitch
If your brackets are pitched and your ledger is square, you may notice a small wedge-shaped gap where the sloped roof deck meets the wall line. That is normal, and it is also why flashing matters.
- On most builds, you do not need a beveled ledger. The plywood roof deck rests on the pitched brackets and bears along the back edge at the ledger, and the top rear joint gets covered by proper head flashing.
- If you want the cleanest contact, you can rip a slight bevel on the top edge of the ledger to match the roof pitch. This is optional, not required, and it is easy to mess up if you guess the angle.
Step 5: Flash-first mindset
Think of flashing as the “umbrella” that tucks under what is above it and overlaps what is below it. The goal is to direct water out, not seal it in.
- If your siding allows it, slip Z-flashing behind the siding above where the awning will sit.
- Apply butyl flashing tape so it laps correctly: wall side first, then over the top of the ledger area. Integration with the WRB is the primary defense. Sealant is a secondary line, not the strategy.
On some siding types, you cannot easily tuck flashing behind without removing courses. In those cases, take your time and consider a pro, because bad flashing is how you rot a wall.
Step 6: Fasten the awning
- Hold the awning in place (a helper makes this much safer).
- Pre-drill through the ledger.
- Drive structural or ledger screws into studs or anchors, snug but not crushing the wood. Use washers if your fastener manufacturer calls for them.
Step 7: Install head flashing over the top rear joint
Install a head flashing that covers the top rear joint and extends past each side. This is what keeps water from sneaking behind the ledger. Tuck or integrate the top edge into the WRB or behind the siding where possible, then use flashing tape to secure the laps. If your flashing system calls for a small bead of sealant at the very top edge, treat it as backup, not the main waterproofing.
Stop sag and wobble
- Use diagonal bracing on every bracket. A simple L-shape without a diagonal will loosen over time.
- Add a center bracket when in doubt. It is cheap insurance.
- Do not skimp on attachment: the ledger needs solid fasteners into structure, not just siding.
- Keep the roof lightweight: heavy tile-like products are not a good match for small wood awnings unless engineered for it.
Permits and placement
Some areas treat exterior awnings as an exterior alteration, especially if they project over a walkway or are close to a property line. If you are unsure, check your local rules first. I have a full breakdown of common permit situations here: Do You Need a Permit to Replace Your Windows?. Even though that article is about windows, the permit logic is similar for exterior changes that affect the facade.
Maintenance checklist
- Look for cracked caulk or lifted flashing at the wall connection.
- Clear leaves and debris so water does not dam up.
- Check fasteners for rust streaks or loosening.
- Touch up paint on any exposed end grain or dings.
Other shade options
If your main goal is heat control, an exterior awning is excellent because it stops sun before it hits glass. If you want an easier weekend project, interior options can still help with comfort.
- For sound and comfort upgrades that stay indoors, see DIY Window Soundproofing That Works.
- If you are deciding between shade styles inside the bedroom, see Cellular Shades vs Roman Shades for Bedrooms.
Quick fixes
Water staining above the window after install
Most likely the head flashing is not lapped correctly, or water is getting behind the siding above it. Do not just add more caulk. Re-check how the flashing tucks behind the layer above and how it sheds onto the face below.
Awning looks pitched but water pools
The roof surface needs more pitch, or the decking crowned slightly upward. Verify the pitch at the roofing surface itself, not just the ledger.
Wobble in wind
Add diagonal bracing, add a center bracket, and confirm the ledger is fastened into studs or appropriate masonry anchors.