

The first time I tried solar window film on my 1970s split-level, I treated it like a giant phone screen protector. I rushed the cleaning, fought a few stubborn bubbles, and ended up trimming it twice. The good news is that solar film is pretty forgiving if you use the right process, but large panes still demand patience. Once you get the glass perfectly clean and keep everything wet, the film is much easier to position and smooth out.
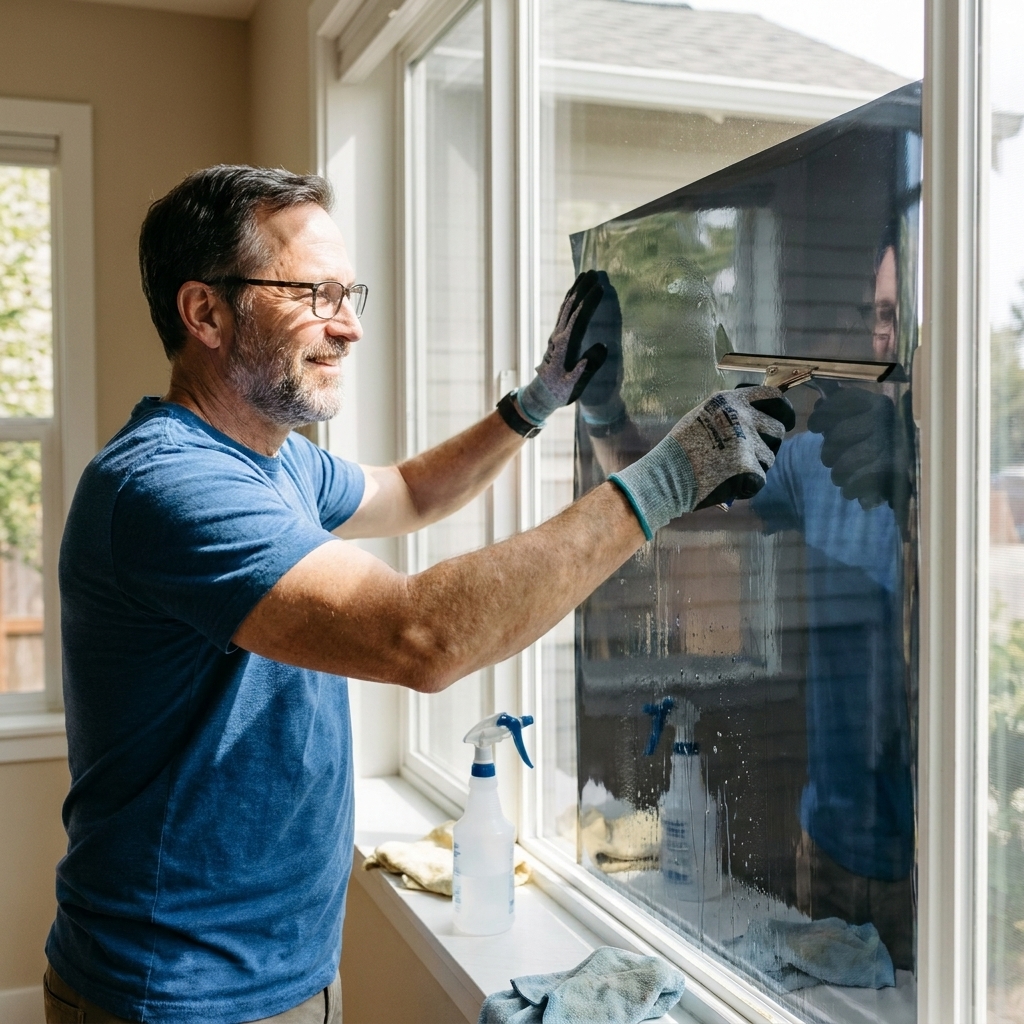
This guide walks you through applying heat-blocking, reflective solar window film on large, sun-facing windows, including how to cut it accurately, float it into position, and lock it down with clean squeegee passes.
Quick clarity: most residential solar films are installed on the inside surface of the glass. Exterior-rated films exist, but they use different adhesives and durability ratings, and the install steps and expectations can change. Follow your specific film’s directions.
Before you start: pick the right film and check your glass
Solar window film can reduce glare and block UV, and some types can noticeably cut heat gain on west and south windows. But not every film belongs on every window.
Quick film terms in plain English
- VLT (Visible Light Transmission): How dark the film looks. Lower VLT means darker and usually more glare reduction.
- IR (Infrared) rejection: Often used to describe heat performance. Good for comfort, but numbers vary by testing method.
- UV rejection: Look for high UV blockage to reduce fading of floors and furniture.
- Reflective vs ceramic: Reflective films are shinier outside and often great for glare and daytime privacy. Ceramic films tend to look more neutral and can work well where reflectivity is restricted.
Important: double-pane and Low-E windows
If you have modern insulated glass (double-pane) or Low-E coatings, check your film manufacturer’s compatibility notes and warranty language before you buy. Some films can raise glass temperature, which can increase thermal stress and, in the wrong combination of conditions, raise the chance of a crack. Risk depends on things like glass type (annealed vs tempered), pane size, edge support, existing chips or scratches, partial shading patterns, and how heat-absorbing the film is.
If you are not sure what you have, my quick explainer on Low-E glass and argon gas helps you understand what is in the window and why it matters.
Skip film on these windows
- Cracked or chipped glass, or glass with deep scratches.
- Failed seals on double-pane units (fog or moisture between panes). Film will not fix it and you can trap extra heat in already-stressed glass.
- Textured, frosted, or patterned glass unless the film is explicitly rated for it. Most standard films need smooth glass to bond evenly.
- Acrylic or polycarbonate panels (some storm windows or specialty glazing). Many films are not designed for plastics and a razor scraper is a no-go.
Check reflectivity rules
One more thing I learned the boring way: some HOAs and a few local codes have opinions about mirror-like exterior reflectivity. If you live under HOA rules, it is worth checking before you go full chrome on the front of the house.
Tools and materials I actually use
You can buy a “window film kit,” but you can also build one from basics that work better on big panes.
- Heat-blocking solar film (roll)
- Spray bottle (at least 24 oz for large windows)
- Slip solution: clean water plus a tiny amount of baby shampoo or mild dish soap, about 2 to 4 drops per quart. Start on the low end. Too much soap can slow adhesion and leave residue. If your film maker specifies a ratio, use theirs.
- Squeegee or hard card: I use a hard card for initial setting and edge work, and a small rubber squeegee for final water extraction. Either can work if you keep it clean and use steady pressure.
- Low-lint towels or microfiber cloths
- Razor scraper with new blades (for glass only)
- Utility knife with fresh snap-off blades
- Straightedge or metal ruler
- Cutting surface (a clean table, or cut directly on the glass carefully)
- Detail tool for edges: a wrapped hard card, or a small plastic putty knife wrapped in microfiber
- Painter’s tape (handy for labeling pieces on multi-window rooms)
One strong recommendation: use new blades. Film is thin and grabs a dull edge, which causes jagged cuts and torn corners.
Step 1: Choose a good day and prep the room
Solar film installs best when you can control dust and drying speed.
- Work out of direct sun if possible. Hot sun bakes the water out too fast and makes the film grabby. Morning is often easier on west-facing windows.
- Turn off fans and HVAC blasts near the window to reduce airborne lint.
- Clear the sill and put a towel down to catch drips.
- Remove screens and anything that blocks you from reaching edges.
If your window is drafty or has gaps around the trim, fix that first so you are not trapping moisture in a problem area. My guide on weatherstripping vs caulking helps you choose the right approach.
Step 2: Clean the glass until it is boringly perfect
This is where most bubble problems are born. The film will magnify every speck of dust and every tiny bit of paint overspray.
Cleaning routine for film installs
- Spray the glass generously with your slip solution or plain water.
- Scrape with a new razor at a shallow angle. Keep the glass wet while you scrape. (Do not use a razor on plastic windows or acrylic storm panels.)
- Wipe edges, corners, and the sill with a clean, damp microfiber. Grit hides there and gets dragged under the film during squeegeeing.
- Final wipe with a clean, dry microfiber to pick up any remaining lint, then mist the glass again right before the film goes on.
My personal rule: if you can run a fingertip along the bottom edge and feel anything sandy, you are not done yet.

Step 3: Measure and cut the film with a little extra
For large windows, I like to cut the piece slightly oversized first, then trim it neatly once it is on the glass.
How much extra to leave
- Cut the film about 1 inch wider and 1 inch taller than the glass area you plan to cover.
- If your window has a gasket or tight stops, you will trim to a small gap later, typically around 1/16 to 1/8 inch from the frame depending on the channel and how the window expands and contracts with heat.
Tip for multi-pane rooms
Label each cut piece with painter’s tape on the protective liner. “West window left,” “slider top,” etc. It saves you from playing film Tetris on install day.
Step 4: Wet the glass, peel the liner, and keep everything wet
The secret to a calm install is lots of solution. The film needs to float while you position it.
- Mist the glass until it is evenly wet.
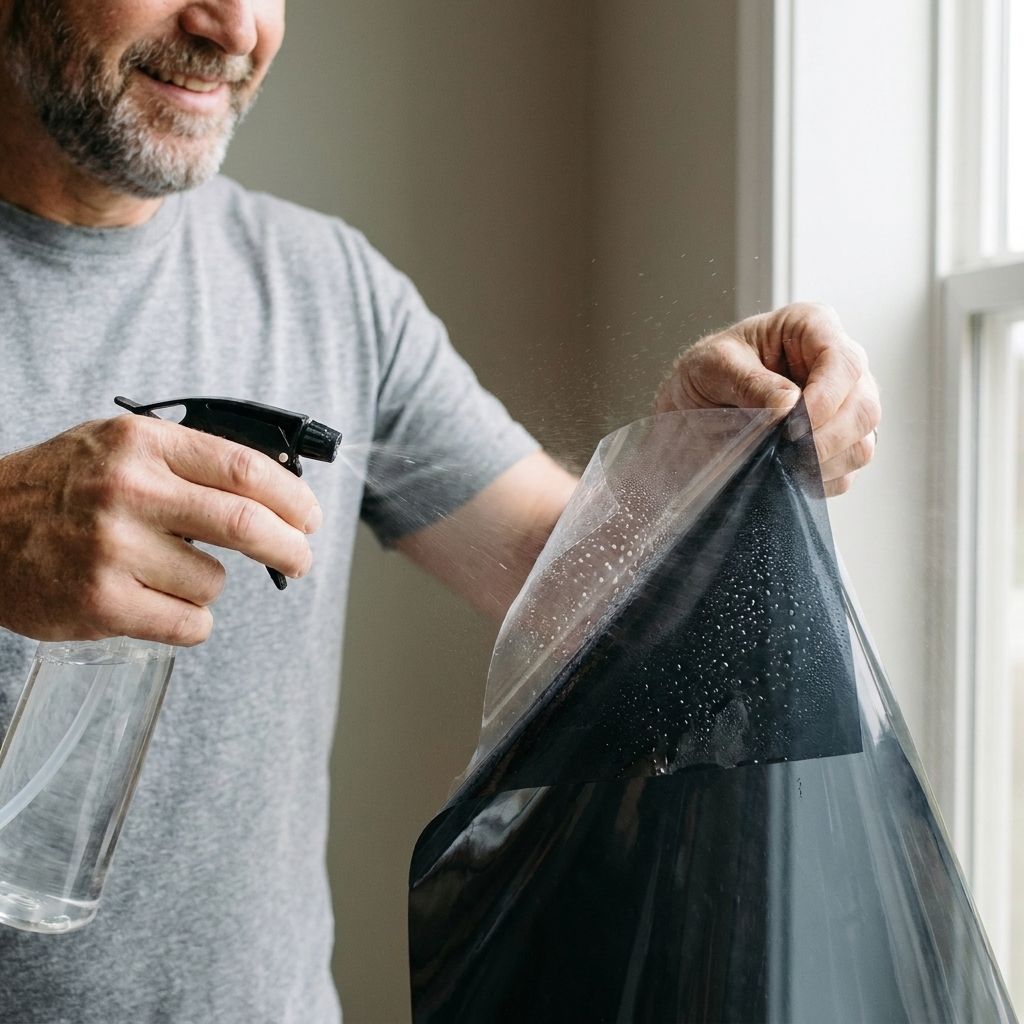
- Peel the liner from the film. (Many films have a clear protective liner.) A quick trick is to put two small pieces of tape on opposite sides of a corner of the film and pull them apart to start the separation.
- Mist the adhesive side as you peel. Do not let the adhesive side flap around dry.
Which side faces the glass? Always follow your film’s instructions, but generally the adhesive side goes against the glass. If you are unsure, look for markings on the liner, labels on the roll core, or a “this side out” note. The tackiness test can work too, but it is subtle when everything is wet.
Step 5: Position the film on the glass
With the glass wet, lift the film to the window and lay it on gently. You can slide it around to get it square.
- Start at the top and let the rest drape down.
- Align one vertical edge first, then adjust the top edge.
- Leave it slightly oversized for now. Trimming comes after the first squeegee passes.
If you are working with a very large pane, a second set of hands makes life easier, but it is still doable solo if you keep the adhesive wet and support the film with your forearms rather than pinching corners.
Step 6: Squeegee in the right order
I like to anchor the film, then chase water out in deliberate lanes. A hard card is great for the initial set and edges. A rubber squeegee can be better for pushing out the last of the water on big panes. Use what you have, just keep the edge clean.
Squeegee sequence that works
- Make one firm pass down the center from top to bottom to tack the film in place.
- Work from the center out: overlapping strokes toward the left edge, then center out toward the right edge.
- Switch directions if needed: sometimes a few horizontal passes help move stubborn water lines toward the sides.
- Wipe the squeegee edge often with a clean cloth so you are not dragging grit.
Pressure guide: firm enough that you see water push out from under the film, but not so aggressive that you stretch the film or cause it to shift.

Step 7: Trim cleanly
Once the film is mostly squeegeed and stable, trim it to fit.
- Use a straightedge if you can. For frames with a tight channel, you can use the window frame as a guide, but be gentle.
- Use a fresh blade and light, controlled pressure. Multiple light passes beat one heavy pass.
- Leave a tiny gap between film and frame, usually around 1/16 to 1/8 inch. This helps prevent edge lifting when the glass heats and cools.
My “no regrets” habit: after trimming, do one more careful squeegee pass near each edge to push out any water you exposed during cutting.
Step 8: Final edge set and cleanup
Edges are where film fails, especially on sun-facing windows that get cooked all summer.
- Wrap a hard card in microfiber and run it along the perimeter to seat the edges without scratching.
- Wipe the frame and sill so standing water does not carry dust back onto the edge.
- Do not touch the film face more than necessary for the first day. Let it settle.
Cure time: what to expect
Solar film does not look perfect immediately. A little haziness, small water pockets, and faint “silvering” can show up while moisture evaporates.
- Typical cure time: a few days to a few weeks depending on humidity, film type, and sun exposure.
- Avoid cleaning the film until it has cured. If you must clean, use a soft cloth and a gentle cleaner recommended by the film maker.
- Avoid opening the window if the film runs close to moving parts until edges have set.
If you see large bubbles that do not shrink after a week or two, that is usually trapped contamination or an edge that never fully squeegeed. You can sometimes re-wet and re-squeegee small edge areas, but dirt bubbles usually require lifting and redoing that section.
Care and cleaning after it cures
- Skip ammonia and abrasives. Avoid ammonia-based glass cleaners and anything gritty that can haze or scratch the film.
- Use a soft microfiber. Light pressure is plenty.
- Keep it simple. Water with a drop of mild soap is usually safe, but your film maker’s care instructions win.
Troubleshooting
Milky haze right after install
Normal in many films. Give it time to cure. If the haze is in a distinct patch with a gritty look, that is usually contamination.
Long fingers lifting at the edges
Usually not enough edge pressure, too tight of a trim, or the film is touching the frame. Trim back slightly to recreate the tiny gap, re-wet, and re-squeegee the edge.
Tiny bubbles everywhere
Most often dust. Next time: slow down the cleaning, wipe the sill, and keep the adhesive side wet while handling.
Creases or a permanent wrinkle
This usually happens if the film folds onto itself adhesive-to-adhesive. Small creases sometimes disappear, but many do not. On big panes, keep the film supported and wet to prevent folding.
Safety notes
- Razor blades: scrape away from your body and keep fingers clear of the edge.
- Ladders: for tall windows, use a stable ladder and do not overreach while holding film.
- Tempered glass: it is generally more resistant to thermal stress than annealed glass, but high-absorption films plus the wrong conditions can still cause breakage. Compatibility matters.
If you are trying to solve comfort issues and you suspect the window itself is failing, it may be time to step back and assess the bigger picture. This checklist of signs it is time to replace your home’s windows can help you decide whether film is a good band-aid or you need a long-term fix.
Solar film vs other heat options
Film is great when you want a clean look and you cannot fit bulky window treatments, but it is not the only tool.
- Thermal curtains can reduce heat transfer and are removable seasonally. If you want that route, see do thermal curtains lower winter heating bills?
- Cellular shades can add insulation and glare control without changing the glass. They are also easier to replace later.
- Exterior shading like awnings or solar screens is often the most effective for heat because it stops sunlight before it hits the glass.
My large-window checklist
- New blades, clean towels, and plenty of solution.
- Clean the bottom edge twice.
- Keep adhesive wet. Always.
- Center tack first, then work outward with overlapping passes.
- Trim after the film is anchored.
- Leave a tiny gap so edges do not lift.
Take your time on the prep, and the install itself goes surprisingly fast. When the afternoon sun hits that window and the room stays noticeably calmer, you will be glad you did.