The first time I found rot on an exterior window sill in my 1970s split-level, I did what most DIYers do: I poked it with a screwdriver and immediately wished I had not. The “solid” paint skin gave way to soft wood underneath, and suddenly I was pricing full window replacements I was not ready for.
Here is the good news. If the rot is limited to the sill (the exterior bottom ledge under the window, not the interior stool) and the surrounding framing is still structurally sound, you can often rebuild that damaged area with epoxy putty and buy yourself many more years out of the window. The goal is not to “hide” the rot. It is to remove it, rebuild a strong edge, and then fix the water issue that caused it.
When epoxy is the right fix
Epoxy putty is perfect for localized rot where you can remove all the soft wood and still have a solid base to bond to. Think small to medium damage on the outer lip, corners, or a shallow pocket on the top of the sill.
Good candidates for an epoxy sill repair
- The rot is confined to a section of the sill, not the full window frame.
- You can dig out soft wood until you hit firm wood that resists a screwdriver.
- The window still operates normally and the frame is not loose in the wall.
- The water source is fixable (failed caulk line, missing drip edge, paint failure, gutter overflow).
Do not epoxy it if you see these red flags
- Rot goes deep under the window and you cannot reach clean, solid wood.
- The sill or frame moves when you push on it, suggesting structural decay.
- Water intrusion is active (wet insulation, bubbling interior paint, persistent damp wood).
- Insect damage (tunnels, frass, widespread crumbling) is present.
If you are already seeing bigger symptoms, it is worth reading 7 signs it’s time to replace your home’s windows to decide whether you are repairing or delaying the inevitable.
If the damage suggests a flashing or siding problem you cannot easily see, or you keep finding wet wood after dry weather, that is also a good moment to bring in a pro. Epoxy fixes wood. It does not fix a wall system that is funneling water behind your trim.
Tools and materials
You do not need anything fancy, but you do need the right basics. Epoxy is only as good as the prep.
Tools
- Utility knife
- Stiff putty knife or paint scraper
- Flathead screwdriver or awl for probing
- Chisel (optional, helpful for clean edges)
- Wire brush
- Sandpaper: 80 grit, 120 grit, 220 grit
- Sanding block or small detail sander (optional)
- Shop vac or brush for dust
- Caulk gun
- Disposable gloves
Materials
- Exterior wood epoxy putty (two-part kneadable stick or two-part putty)
- Wood hardener or consolidant (recommended for borderline wood)
- Exterior primer
- Exterior paint
- High-quality exterior sealant (paintable): polyurethane or a high-end exterior acrylic urethane
- Painter’s tape and plastic sheeting if needed
Tip from my garage shelf: I like kneadable epoxy putty sticks for small repairs because they are less fussy. For larger rebuilds, a two-part epoxy filler you mix on a board can be easier to spread and shape.
Step 1: Find the full extent
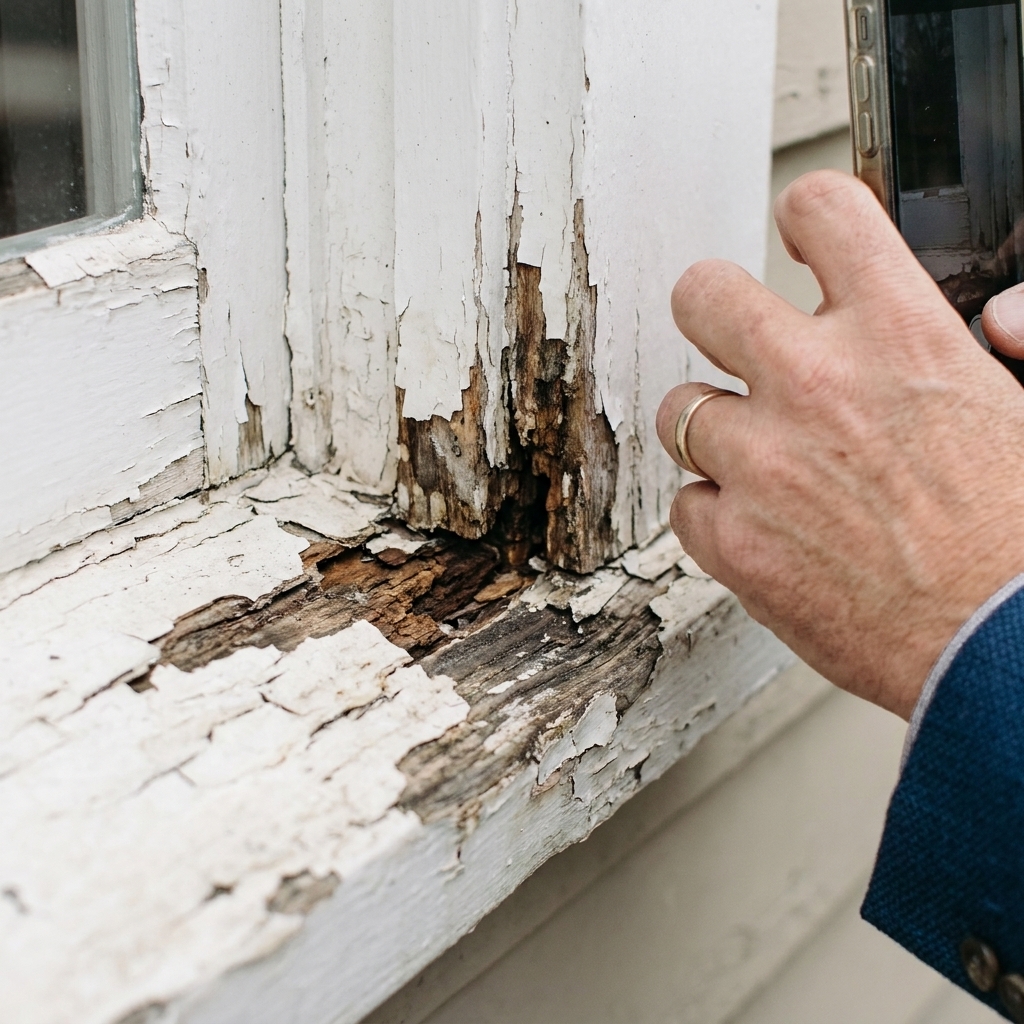
Rot rarely stops exactly where the paint looks ugly. Start by probing with a screwdriver or awl.
- Press into the wood along the front edge and the corners. Solid wood feels hard and “springy.” Rotten wood feels spongy and caves in.
- Check where the sill meets the side trim. That joint is a classic water trap.
- Look underneath the sill lip if you can see it from outside. Drips and splashback often rot the underside first.
Use a pencil to outline the soft area, then plan to remove wood slightly beyond that outline until everything you touch is firm.
Step 2: Remove rot and loose paint
This is the part that makes the repair last. Epoxy does not cure rot. It locks onto whatever is there. If what is there is mush, the repair will fail.
- Score the paint edge around your repair area with a utility knife so you do not peel up paint you want to keep.
- Scrape off loose paint and punky wood fibers.
- Dig out the rot with a screwdriver, chisel, or awl. Keep going until your tool stops sinking in and you are hitting solid wood.
- Undercut slightly when possible (wider inside than at the surface). This creates a “mechanical lock” so the epoxy is not relying only on glue-like adhesion.
- Wire-brush the cavity to remove crumbly fibers, then vacuum the dust.
My rule: if I can still dent it easily with a fingernail after cleaning, I keep digging.
Step 3: Dry it completely
Most epoxies and wet wood do not get along. If the sill is damp, pause and dry it out.
- Pick a dry weather window if you can.
- Let the exposed wood air-dry until it is truly dry. Depending on temperature, humidity, and how wet it was, that can be 24 to 72 hours or longer.
- If you have one, a moisture meter takes the guesswork out of this step.
- If you are in a hurry, use a fan. A hair dryer on low can help, but do not scorch the wood or heat the glass.
If your sill keeps getting wet, do not proceed until you have identified why. A “perfect” epoxy patch will still fail if water is continuously feeding the area.
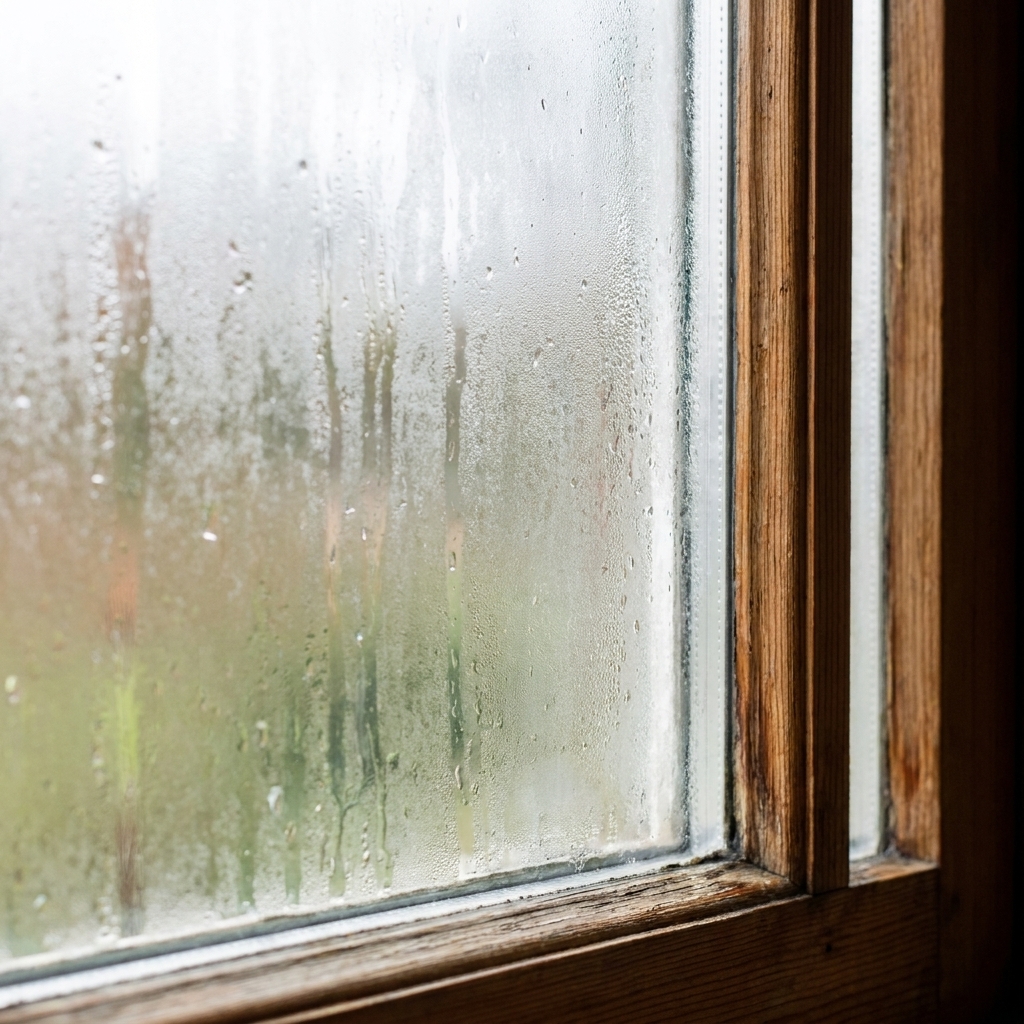
If condensation is part of your moisture problem, Why windows sweat in winter and how to stop it can help you separate indoor humidity issues from exterior leaks.
Step 4: Consolidate weak wood
If the cavity walls are mostly solid but slightly soft or fibrous, a wood hardener or consolidant can stiffen the remaining wood fibers and improve the epoxy bond.
- Brush or drip the hardener into the exposed wood per the product directions.
- Let it soak in and cure fully. This is usually a few hours to overnight depending on product and temperature.
Do not use hardener as an excuse to leave rot behind. It is insurance for borderline areas, not a magic wand.
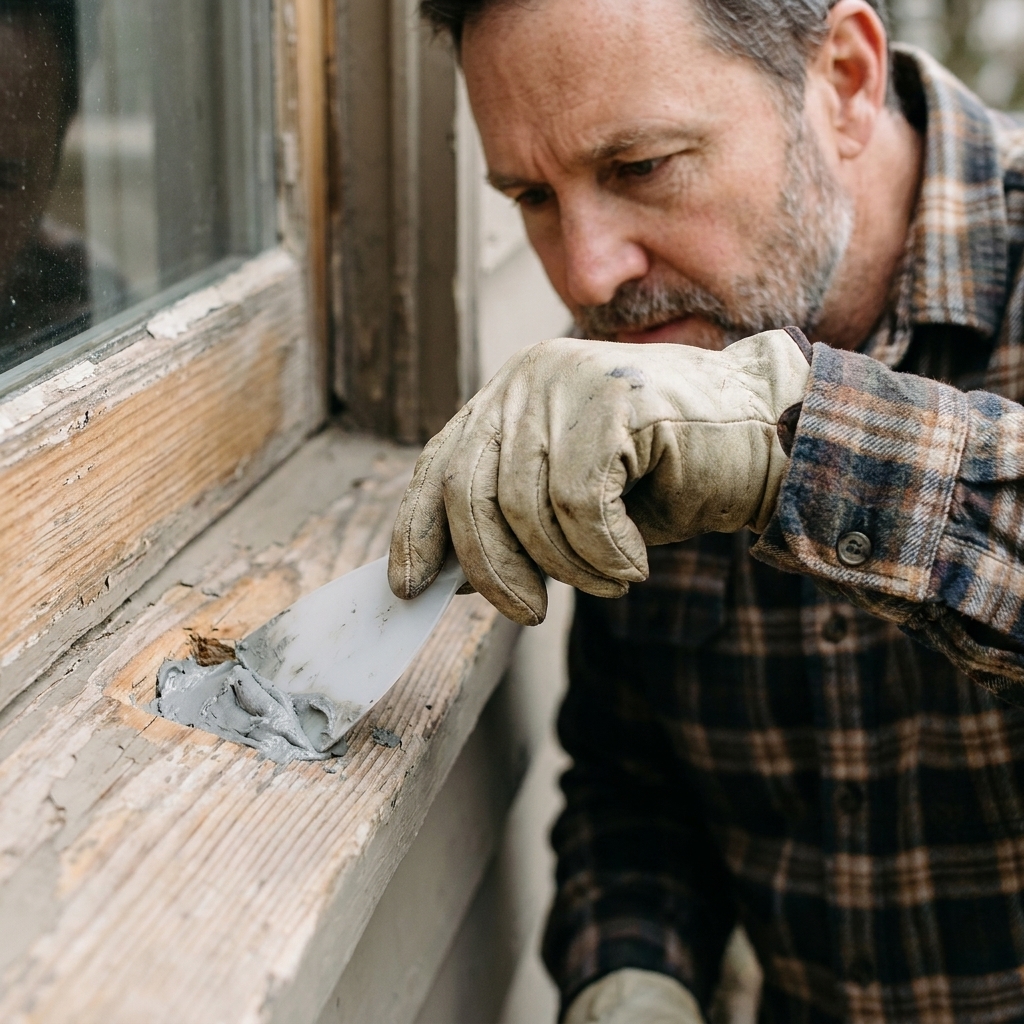
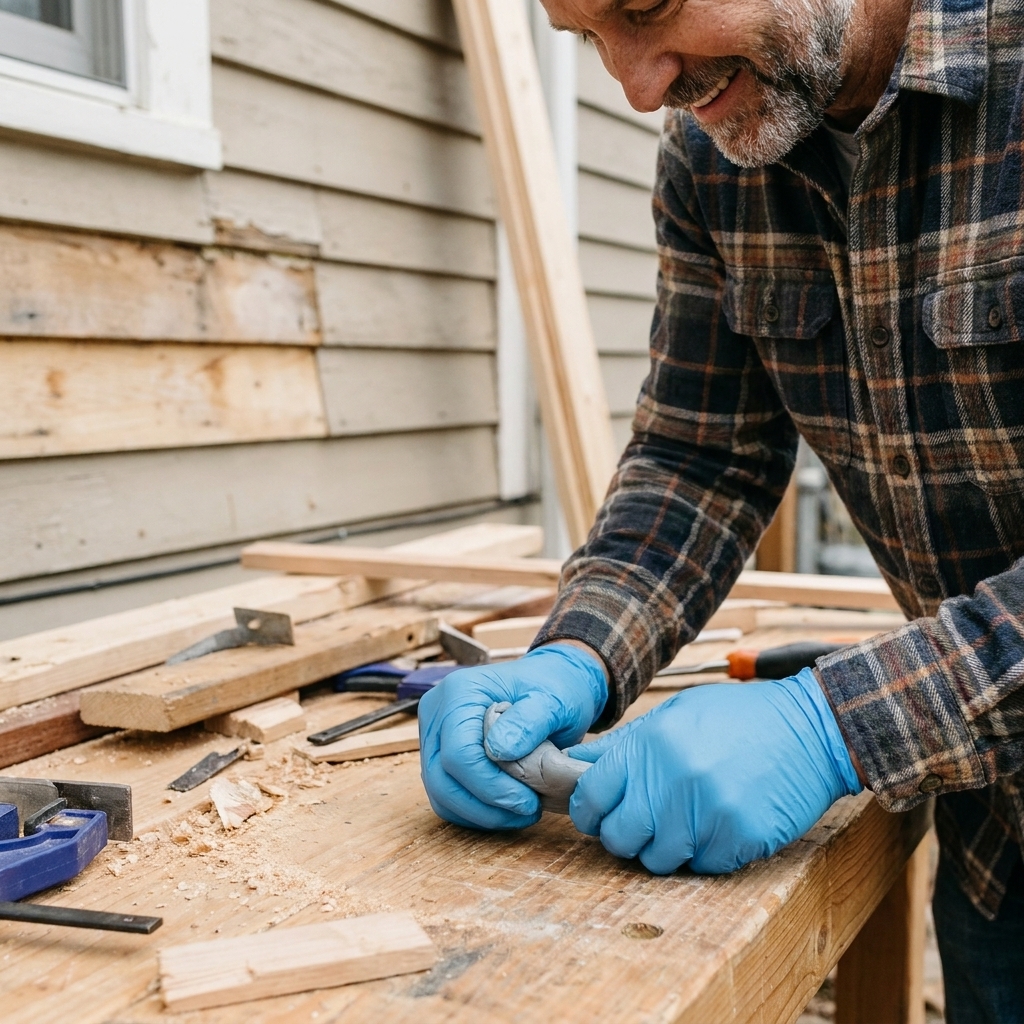
Step 5: Pack epoxy in layers
Wear gloves. Epoxy is sticky and you want good control.
If you are using a kneadable epoxy putty stick
- Cut off what you can apply in 5 to 10 minutes.
- Knead until the color is uniform with no streaks.
- Press the putty firmly into the cavity, starting at the deepest point.
- Overfill slightly. You will sand it flush later.
If you are using a two-part epoxy filler
- Mix small batches so it does not kick off before you shape it.
- Push the filler into the cavity, forcing out air pockets.
- Follow the product’s guidance on maximum fill thickness. For deeper voids, many systems do better built up in lifts.
Shaping trick: A slightly damp gloved finger or a putty knife wiped with a tiny bit of mineral spirits (only if your epoxy allows it) can help smooth the surface. Follow the epoxy maker’s guidance for solvents.
Step 6: Recreate the slope
Exterior sills should shed water. If you rebuild a flat spot or a low dip, you are inviting the next round of rot.
- Maintain a slight pitch away from the window, so water runs off the front edge instead of pooling.
- Reform the drip edge if your sill has one: that crisp lower lip helps water break free and drip instead of curling underneath.
- Keep the joint clean where the sill meets the window frame. You want caulk there later, but you do not want a huge hump of epoxy that makes a messy sealant line.
If you can get the shape close while the epoxy is still workable, sanding is quick. If you leave a mountain to sand later, you will feel it in your wrists.
Step 7: Sand and spot-fill
Once the epoxy has fully cured per the label, sand the patch flush with the surrounding wood. Cure time depends heavily on temperature.
- Start with 80 grit to knock down high spots.
- Move to 120 grit to refine the shape and blend edges.
- Finish with 220 grit for paint readiness.
Run your hand over the repair with your eyes closed. If you feel a ridge, you will see it after paint.
If you uncover a pinhole or a low spot, add a second skim of epoxy, let it cure, and sand again. Two small rounds beats one rushed, lumpy round.
Step 8: Prime and paint
Epoxy needs UV protection, and exposed wood needs sealing. Prime and paint are what turn your patch into an exterior-rated repair.
- Dust off the repair and wipe it clean.
- Prime the epoxy and any bare wood with a quality exterior primer.
- Paint with two top coats of exterior paint, extending a bit beyond the patch to blend.
Read your paint can for dry time and recoat times. Temperature and humidity matter.
Step 9: Seal the problem joints
This is the step that prevents the same rot from returning.
Where to caulk
- The seam where the sill meets the side trim.
- The seam where the sill meets the window frame, if it is designed to be caulked.
- Any cracked joints above the window where water could track down behind trim.
Where not to caulk
- Weep holes or drainage paths on certain window types.
- Joints that are meant to drain as part of a flashed assembly. Caulking the wrong spot can trap water behind trim, which is the opposite of what you want.
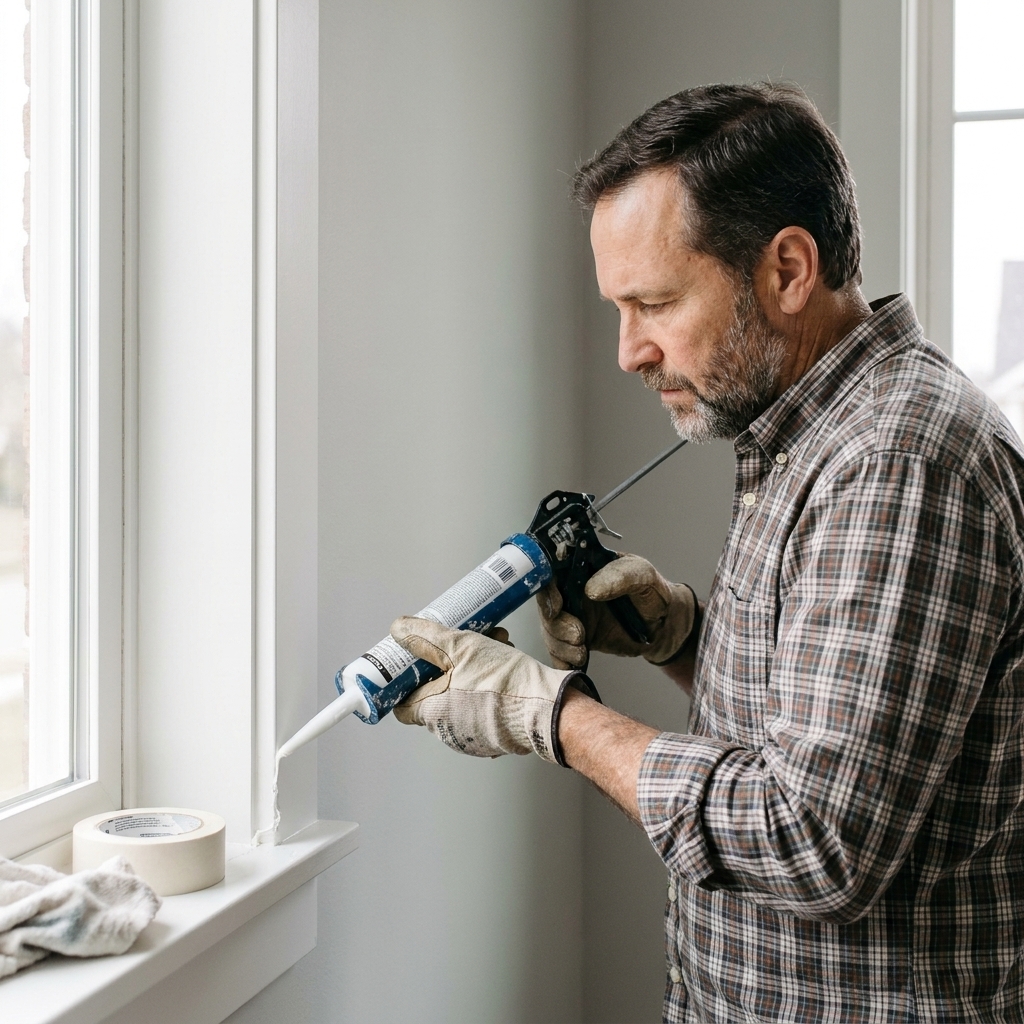
If your window is drafty while you are working in this area, it is a good time to learn the difference between sealing air leaks and managing water. This guide helps: Weatherstripping vs. caulking for drafty windows.
Protect it while it cures
If you get surprise rain or heavy overnight dew while the epoxy, primer, or paint is still curing, it can compromise the finish.
- Plan the repair during a stretch of dry weather if possible.
- If you need a temporary cover, tape plastic above the repair like a little awning so it sheds water, but do not wrap it tight against uncured epoxy or fresh paint.
Troubleshooting
The epoxy pulled away after curing
- Most likely cause: damp wood, dust, or remaining rot.
- Fix: remove loose epoxy, clean back to solid wood, dry thoroughly, and reapply.
The patch looks fine but paint keeps peeling
- Most likely cause: water is still getting behind the paint film, often from a failed caulk line or water coming from above.
- Fix: address the water source, then scrape, prime, and repaint.
The repair is strong but water pools on the sill
- Most likely cause: the rebuilt surface is flat or back-pitched toward the window.
- Fix: sand to create slope if minor; if major, add a thin epoxy build-up on the low side and reshape.
The rot comes back in a year or two
- Most likely cause: the underlying leak was never fixed, or you sealed in damp wood.
- Fix: investigate up the wall. Look at drip cap, flashing, siding gaps, and gutter overflow.
FAQ
How long does an epoxy window sill repair last?
If you remove all the rot, bond to solid wood, and properly prime, paint, and seal the joints, an epoxy repair can last for years. The weak link is usually not the epoxy. It is recurring water exposure from a bad caulk joint, missing flashing, or paint failure.
Can I use wood filler instead of epoxy?
For exterior sills, I treat standard wood filler as a short-term cosmetic fix. Epoxy is far more water-resistant and structurally strong, which matters on an exterior edge that gets sun, rain, and freeze-thaw cycles.
Do I need to replace the whole sill instead?
If the rot spans most of the sill length, goes deep under the window, or the frame feels loose, replacement is often the smarter repair. For in-between cases, you can sometimes do a partial rebuild with epoxy, but be honest about how much solid wood is left to support it.
Safety note
Wear eye protection when chiseling or wire-brushing. If your home was built before 1978, assume older paint may contain lead. Use lead-safe work practices, keep dust contained, and consider having paint tested if you are disturbing larger areas.