

I used to think “window upgrade” meant new glass, new frames, the whole expensive production. Then I bought my drafty 1970s split-level and learned a humbling truth: sometimes it is the little pieces you touch every day that make a room feel old. A shiny new paint color does not hit the same if your window lock is yellowed, loose, and fights you every time you open it.
The good news is that window hardware has come a long way. On many windows, you can refresh the look and tighten up how the window closes in under an hour with nothing more exotic than a screwdriver and a tape measure. Some swaps take longer if you are re-drilling holes, replacing an operator, or correcting alignment, but the “wow, this feels new” payoff still shows up fast.
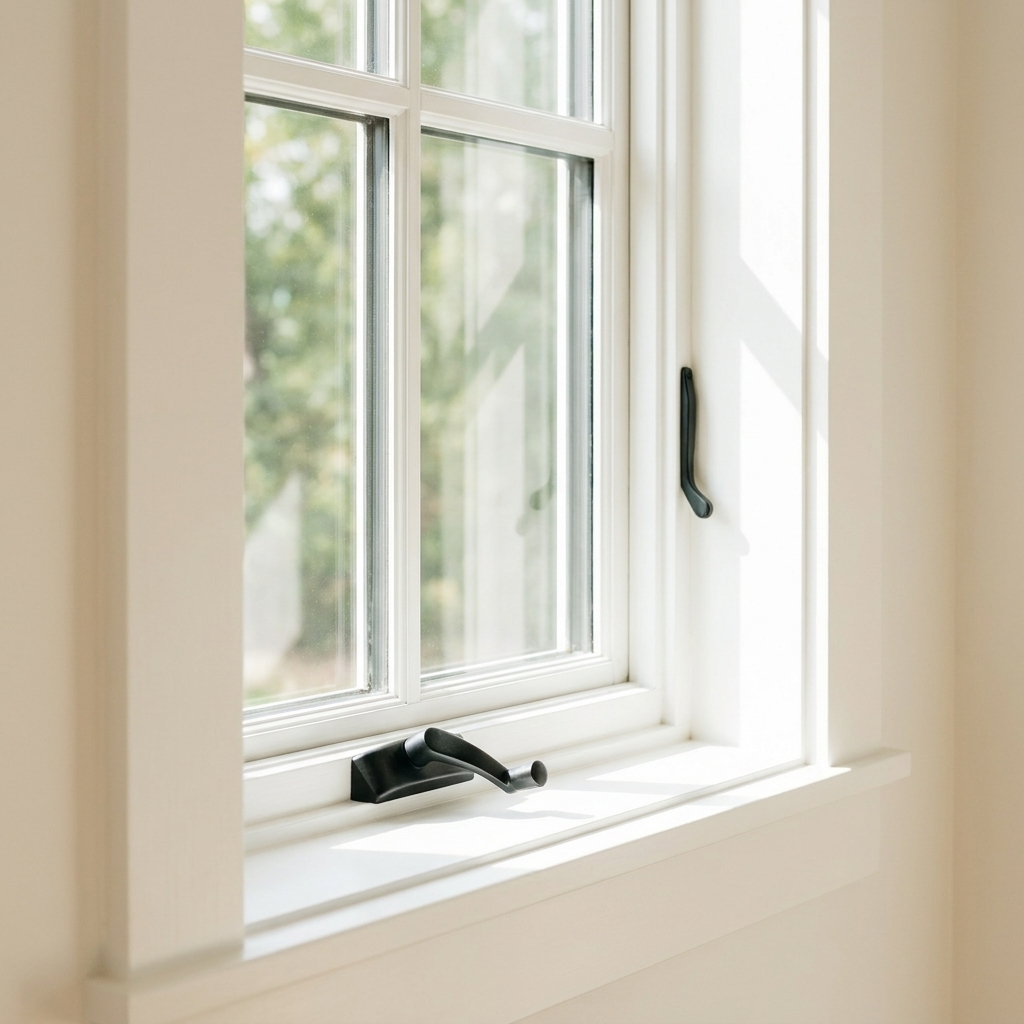
Before you buy: 3 key checks
I have bought the “almost right” replacement before. It is never almost right once the screws do not line up. Take five minutes to check these basics first.
- Hole spacing: Measure center-to-center between screw holes on the existing latch, handle, or keeper plate.
- Handing: For casement operators and some locks, note left-hand vs right-hand operation. A common rule is hinge-left equals left-hand, but it is not universal. Confirm against the part listing or the manufacturer diagram before you order.
- Projection and clearance: Make sure a bulkier handle will not hit blinds, curtains, or the window trim when you rotate it.
One more thing that saves money: hardware is often brand and series specific, especially casement operators, keepers, and tilt latches. If you can, remove the old part and look for any stamping, numbers, or logos. Bring the old piece with you when shopping, and match more than hole spacing when the shape matters.
If you are also planning new curtains or shades, hardware changes can affect clearance. This quick measuring checklist helps you avoid surprises: Measure for Curtains Before You Shop.
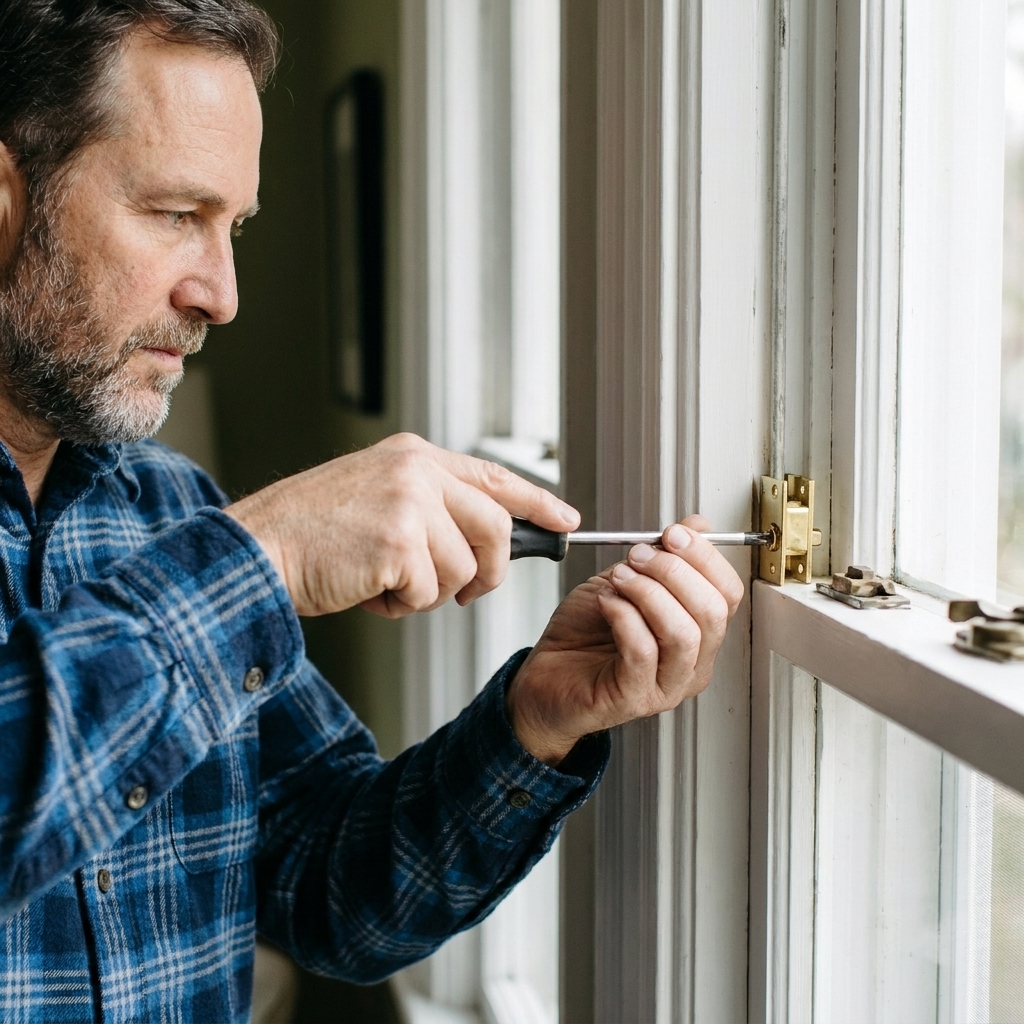
1) Sash locks (single-hung and double-hung)
If you want the biggest visual change for the least effort, start here. The little crescent lock on a double-hung window sits right at eye level, and older ones tend to look tired fast. A fresh sash lock in matte black, satin brass, or brushed nickel looks intentional and updated.
Why it changes the feel
- Creates a consistent finish story with your doorknobs, faucets, and light fixtures.
- If your old lock is worn and sloppy, a new one can help pull the sashes together more snugly and reduce rattles. It works best when the keeper is positioned correctly and the window is reasonably square.
Install notes
- Most replacements are a direct swap using the same holes, but always verify hole spacing first.
- If the new lock does not line up with the keeper, you can usually move the keeper slightly. Pre-drill to avoid splitting older, dry wood.
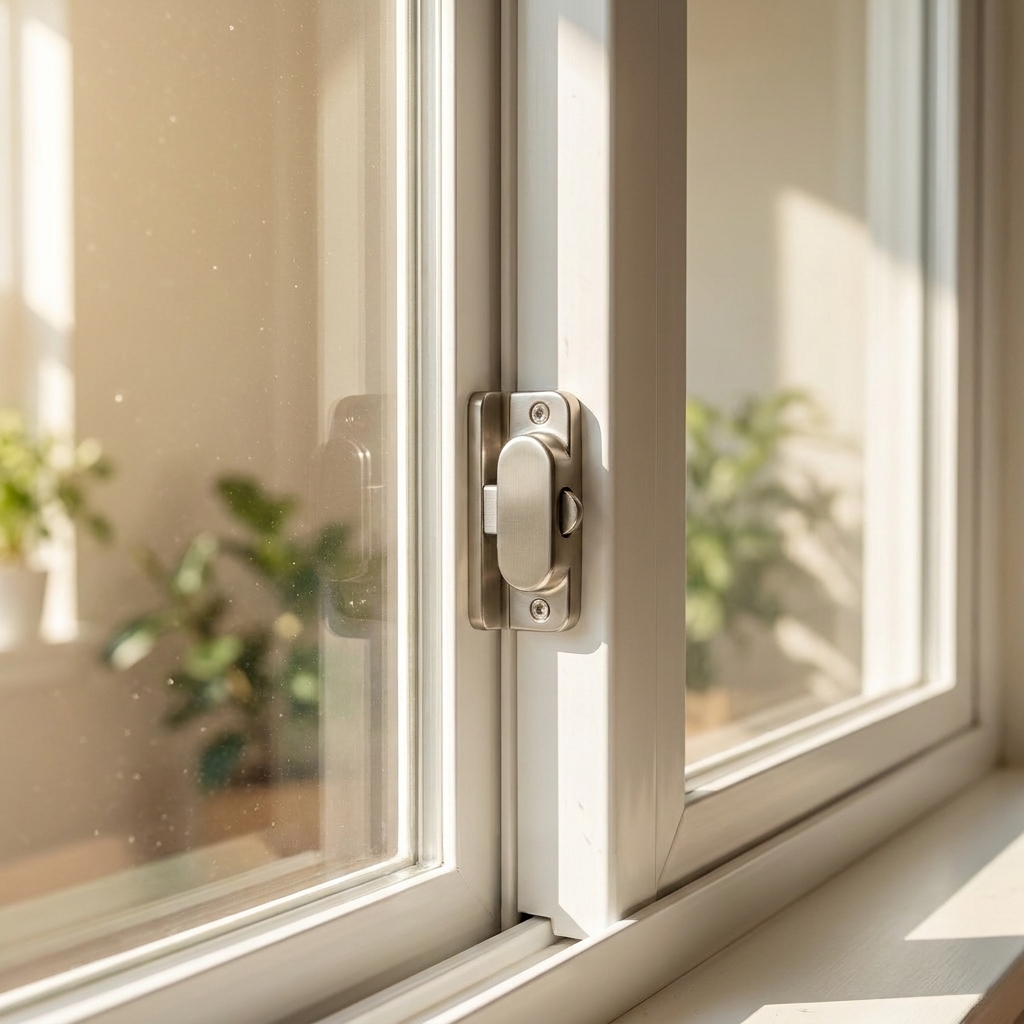
2) Low-profile cam locks (sliding windows)
Sliding windows are practical, but the factory latch can feel flimsy over time. A low-profile cam lock is an easy upgrade that looks cleaner and can clamp down more firmly.
Why it helps
- Slimmer shape: Less bulky plastic, more metal, cleaner lines.
- Tighter engagement: A good cam action can pull the sash snug to the frame, which may cut down on wiggle and some light air movement.
What to check before buying
- Lock reach: The cam must reach the keeper properly. Too short and it will not catch. Too long and it will bind.
- Mounting surface: Some sashes are thin vinyl. Do not overtighten and strip the holes.
One honest caveat: hardware can help, but it will not fix missing or crushed weatherstripping. If the window still feels drafty after the lock swap, inspect the weatherstripping and track condition next.
My rule for sliders: if the latch feels “mushy” or you can wiggle the window when it is locked, it is a prime candidate for a hardware swap.
3) Casement crank handles and covers
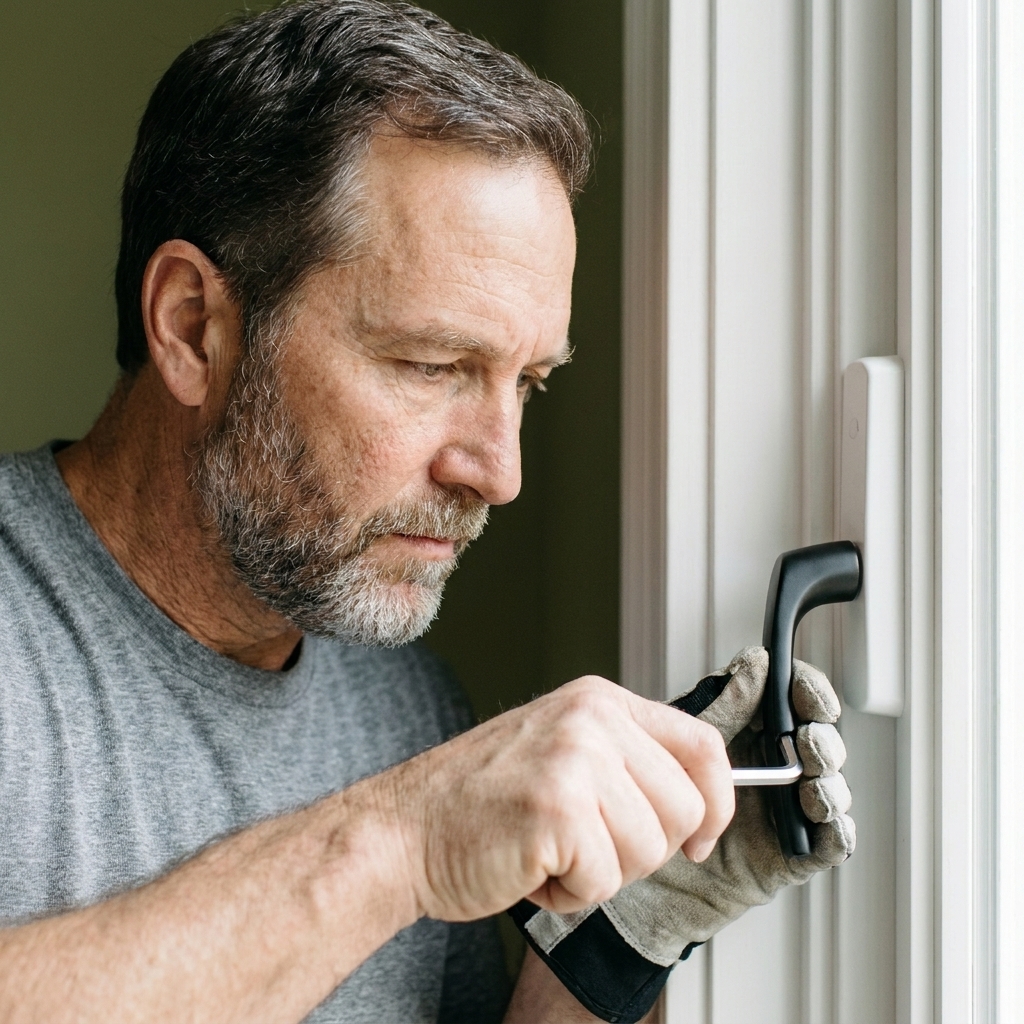
Casement windows age in a specific way. The operator still works, but the handle looks dated, the cover is scratched, or the crank wobbles. Replacing the handle and cover can make the whole unit look newer, even if you leave the operator mechanism itself alone.
Why it is worth doing
- New handles feel solid and smooth, which changes the day-to-day experience.
- A clean operator cover reduces visual clutter along the sill line.
Install notes
- Many crank handles are held by a small set screw. Use the right size hex key so you do not round it out.
- If you replace the whole operator, take a photo before removing anything so you can put the arms back in the same orientation.
- Casement parts are where brand matching matters most. If the new operator looks “close” but not identical, pause and verify the model and arm geometry before you commit.
If you are comfortable with basic tools but want a wider menu of projects, I keep all my step-by-step homeowner wins under Window DIY.
4) Keyed locks and venting locks
Not every upgrade is about looks, but the right security hardware can still look sharp. Keyed window locks are a solid option for ground-floor windows, especially in older homes where original latches are easy to defeat. Venting locks are a nice compromise: you can lock the window partially open for airflow.
Best uses
- Keyed locks: Bedrooms, basements, and any window that faces a hidden side yard.
- Venting locks: Kitchens and living areas where you want a secure “cracked open” position.
Practical cautions (from a guy who likes to sleep at night)
- Do not add keyed locks to windows that are part of your emergency exit plan unless you can unlock them quickly and reliably in the dark.
- Bedroom egress rules vary by location, and added devices should not interfere with required emergency operation. If in doubt, keep egress windows simple.
- Keep keys in a consistent, obvious spot that everyone in the home knows.
For broader safety guidance, the National Fire Protection Association has a helpful overview of escape planning and egress basics: https://www.nfpa.org/education-and-research/home-fire-safety/fire-escape-planning.
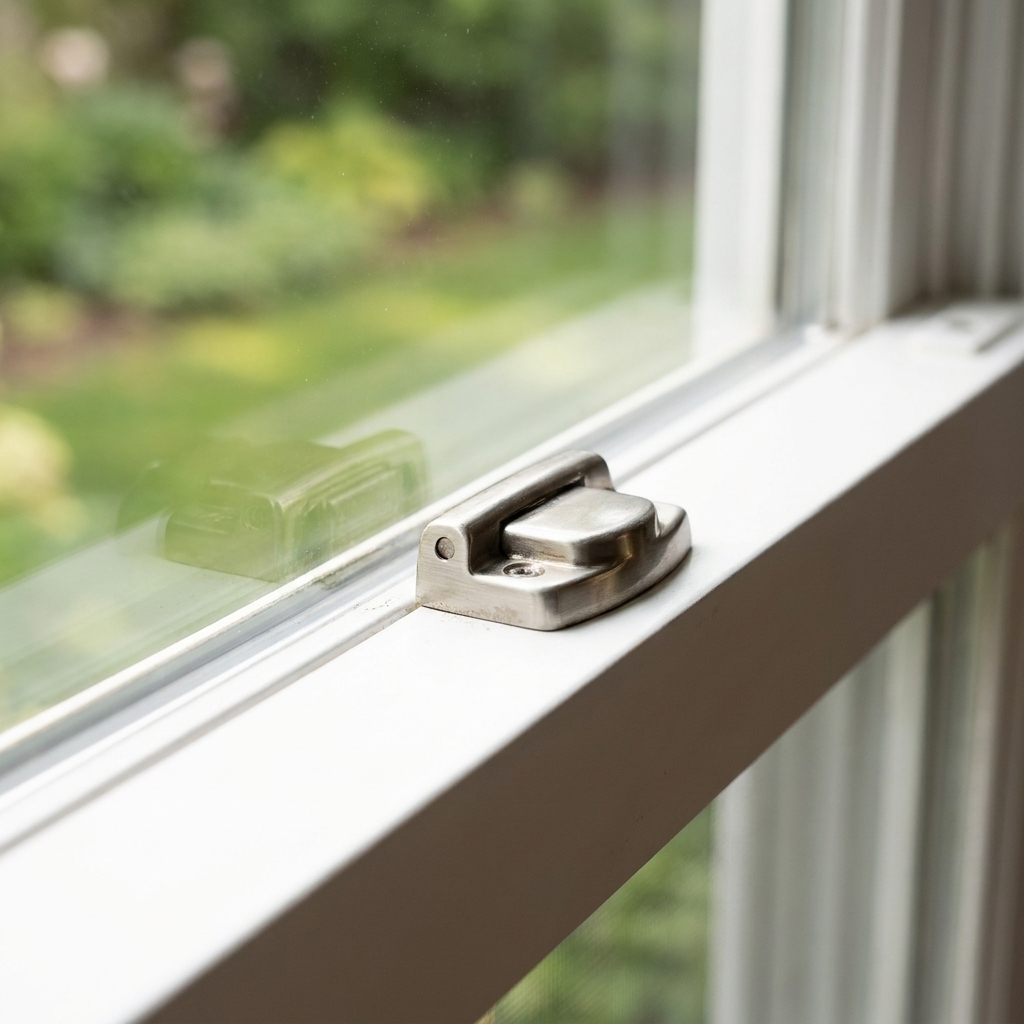
5) Tilt latches (tilt-in sashes)
If you have newer double-hung windows with tilt-in sashes, you probably have plastic tilt latches on the top rail of each sash. They work, but they get grimy, they discolor, and they are one of those “builder grade” tells. Swapping them for cleaner, better-fitting replacements can make the whole window look more premium.
Why you feel the difference
- Better latches slide more smoothly and snap into place with less fuss.
- A fresh, tight latch can reduce sash rattle.
Install notes
- Many tilt latches are held by a single screw hidden under the latch in the open position.
- Match the latch length and nose shape to your original so the sash seats correctly.
- If you do not know the window brand, pull one latch and look for markings. Tilt latches can be surprisingly specific.
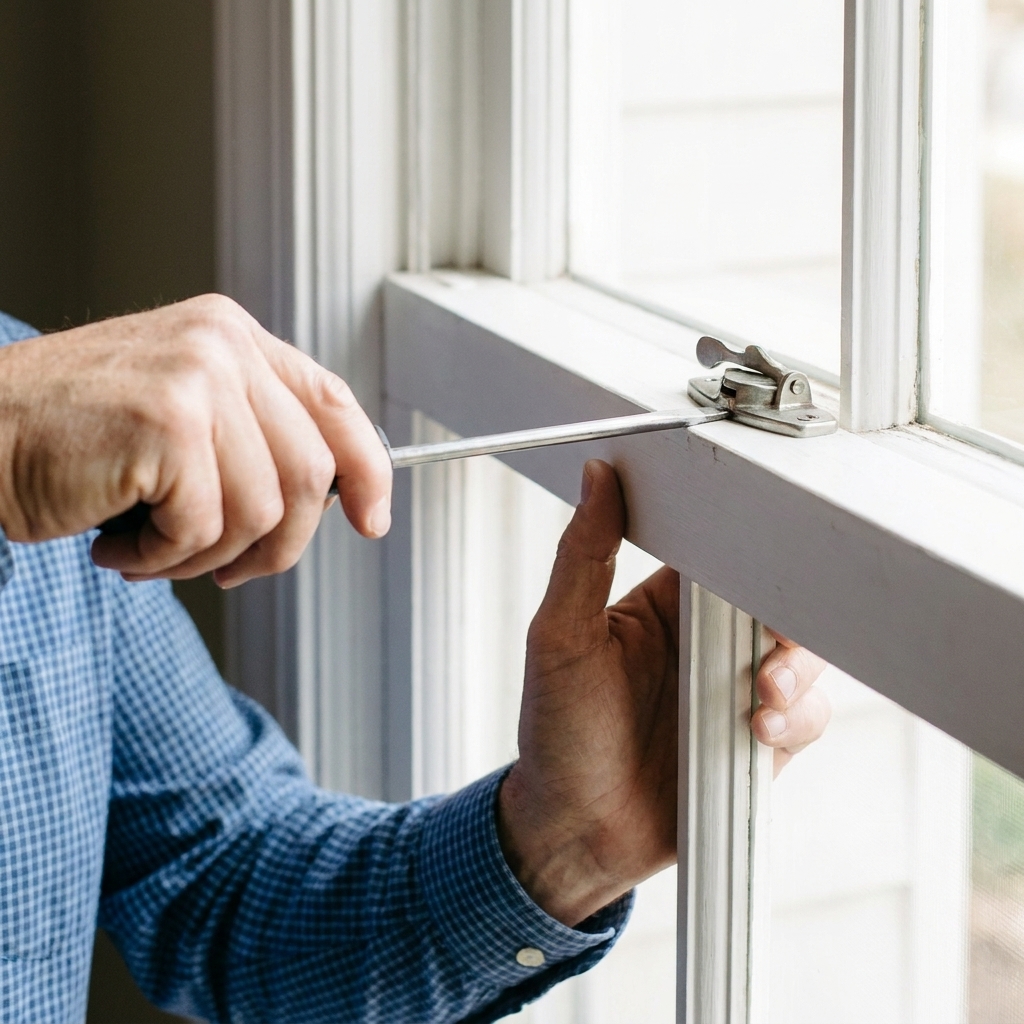
Pick a finish that holds up
Hardware finishes come and go, but a few options are reliably current and easy to coordinate.
- Matte black: Crisp contrast on white trim, works with most styles from farmhouse to clean-lined contemporary.
- Satin brass: Warmer than polished brass, reads intentional and updated.
- Brushed nickel: Safe, timeless, and forgiving with fingerprints.
My personal rule is to pick one primary finish for the room and stick to it on the window hardware. If you want a mixed-metal look, keep it to two finishes max, and repeat them on purpose.
When hardware is not the fix
I love a simple swap, but sometimes the window is telling you a bigger story. If you have rotted frames, a sash that will not sit square, failed balances, or weatherstripping that is basically dust, new hardware will only mask the problem.
That is usually the point where I stop buying parts and start deciding between repair and replacement. If you are at that fork in the road, Window Replacement lays out the bigger-picture options.
Quick troubleshooting
The lock does not catch
Check alignment first. On double-hungs, the keeper often shifts over time. Loosen screws, reposition, then re-tighten. If holes are stripped, fill with wood toothpicks and wood glue, let it dry, then re-screw.
The sash is hard to lock
That is usually a window alignment issue, not a lock issue. On double-hungs, make sure the top sash is fully up and the bottom sash is fully down before you judge the lock. If your window has jamb liners, check that they are seated and not bowed inward.
On sliders, clean the track and check for debris before blaming the new latch.
The handle hits blinds or trim
Swap to a lower-profile handle or adjust the blind mounting. This is where that quick “projection and clearance” check pays off.
Fast plan for one room
If I am trying to refresh a room on a Saturday afternoon, I do it in this order:
- Replace the most visible window lock or latch first (usually the one you see from the couch).
- Match the rest of the windows in that room so the finish is consistent.
- Add a security upgrade only where it makes sense, like ground-floor windows.
It is a small project, but it gives the room that “someone cared” feeling. In my experience, that is what current actually looks like.
If you want more bite-sized upgrades like this, browse the Command Line guides.