

The first time one of my casement windows started cranking without actually moving, I assumed the sash was painted shut or the hinges were binding. Nope. The handle was turning, the window stayed put, and the whole thing felt like a toy. Most often, that points to a stripped crank handle, worn operator gears, or a linkage that has come loose.
The good news is this is one of the more satisfying window fixes because you can usually solve it with a screwdriver, a little patience, and the right replacement operator. Below is how I troubleshoot it, confirm what is stripped, and replace the operator so your casement or awning window opens and closes like it should.
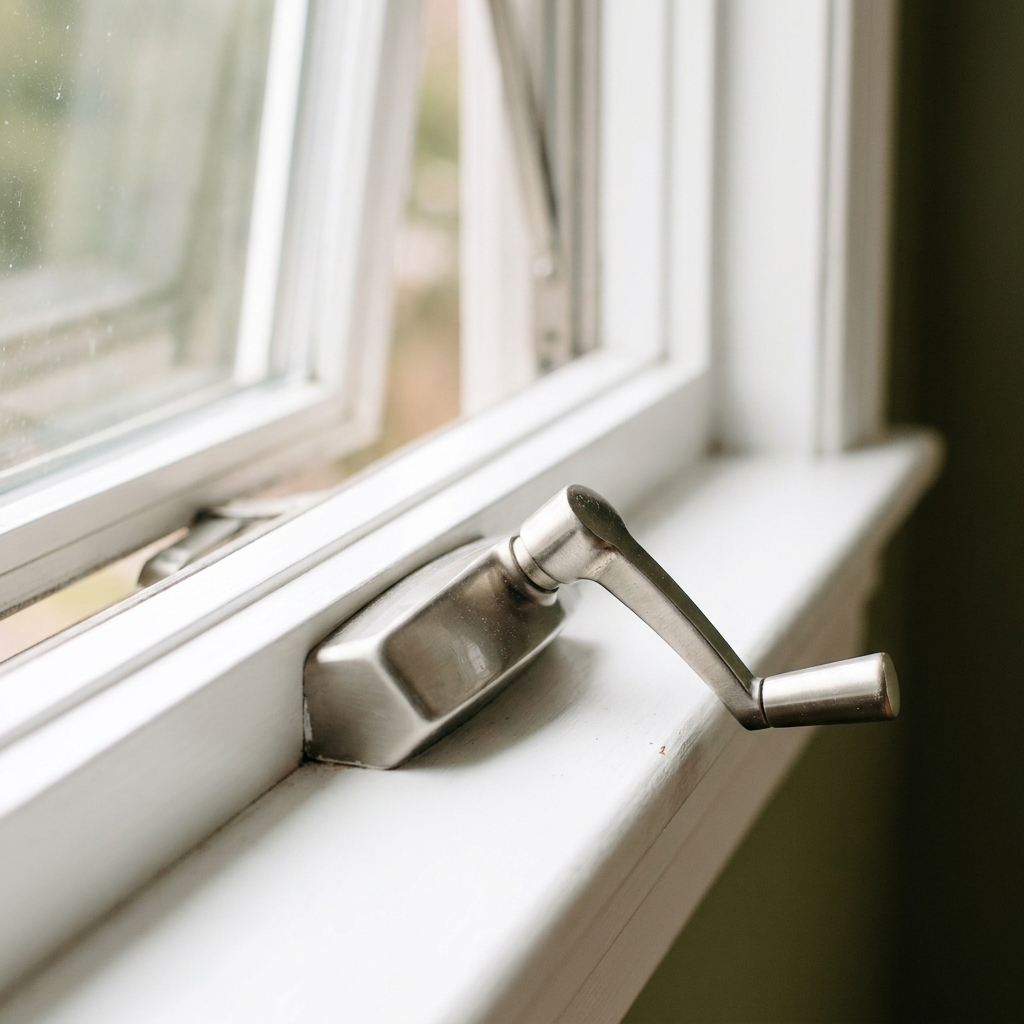
Before you start
- Confirm you have a casement or awning. These are the crank-out styles. If you are not sure what you are dealing with, this quick comparison helps: Casement vs double-hung windows.
- Clear the sill and protect the floor. Hardware likes to drop, bounce, and disappear.
- Plan to support the sash. On larger casements, the sash can shift when you pop the arm off. A helper is ideal. If you are solo, a temporary support under the sash edge (a folded towel on a small block) can prevent a surprise swing.
- Do not force interior trim. Some windows use concealed hardware or different operator layouts. If you cannot access the operator without prying trim that feels glued, nailed, or brittle, stop and reassess.
What “stripped” means on a casement crank
Casement and awning windows typically use an operator, a small gear mechanism mounted at the bottom of the frame. The crank handle turns a spindle, the spindle turns internal gears, and an arm pushes or pulls the sash open and closed.
When something is stripped, it is usually one of these:
- Stripped handle spline: the handle spins on the operator stem (common on older handles).
- Stripped operator gears: the handle turns and you may hear clicking, but the arms barely move or do not move at all.
- Rounded operator stem: the stem that the handle grabs is worn down so the handle cannot bite.
- Loose or failing linkage: the gear works but the arm connection is sloppy, missing a clip/pin, or popped loose.
- Broken connection at the sash bracket: a broken stud, worn bracket, or sheared pin can let the operator move without moving the sash.
Most homeowners end up replacing the full operator because the labor to access everything is the same, and a new operator usually includes fresh gears and arms.
Quick troubleshooting before you buy parts
1) Confirm the window is not just stuck
Before you blame the crank, make sure the sash can actually move. Unlock the window, then gently push on the sash near the handle side while turning the crank. If it is painted shut or swollen, it will fight you. If you suspect paint or swelling on other window types, this guide may help: How to unstick a painted or swollen window.
2) Check the handle first (fastest fix)
Many casement handles are held on with a small set screw (often a hex/Allen) or a screw under a cap. Try this:
- Tighten the set screw.
- If the handle still slips, remove it and inspect the inside of the handle and the operator stem.
If the handle’s internal splines are chewed up but the operator stem is still crisp, you might only need a new handle. If the operator stem looks rounded, the handle “ratchets,” or the arms do not respond, plan on an operator replacement.
3) Check the arm connection at the sash
If the handle spins and you can see the operator arms moving but the sash is not, look closely at the arm-to-sash connection. A missing clip, popped-off arm, or broken stud on the sash bracket can mimic a stripped operator.
4) Listen and feel for gear failure
- Clicking or popping while turning usually points to stripped gears.
- Hard to crank both directions can mean the hinges are binding, the sash is sagging, or the operator is bent.
- Cranks open but will not pull shut can indicate a bent arm or gears that slip under load.
Tools and supplies
- Phillips and flathead screwdrivers
- Allen key set (for many handle set screws)
- Needle-nose pliers
- Putty knife (helpful for gently popping covers)
- Painter’s tape and a marker (for labeling)
- Vacuum or small brush (you will find debris in that track)
- Silicone spray or dry PTFE spray (optional, for the hinge/track, not the gears)
Tip from my “organized garage” brain: Set a shallow tray on the sill to catch screws. Operator screws love to roll into places you will discover three seasons later.
Remove a stripped casement operator
Most casement and awning operators come out from the interior. The details vary by brand, but the rhythm is the same: remove handle, remove cover, detach arm(s), remove operator.
Step 1: Open the window slightly (if possible)
If the operator still moves the sash a little, open it 2 to 4 inches. This takes tension off the arm connection and makes removal easier. If it will not open at all, you can still do the job, just go slower and support the sash as you detach hardware.
Step 2: Remove the crank handle
- Look for a small set screw on the side of the handle hub.
- Or a cap that pops off to reveal a screw.
Loosen the screw and pull the handle straight off.
Step 3: Remove the operator cover
Most covers are held by a couple screws, or they snap on. If it snaps on, use a putty knife to gently pry at the seam instead of yanking. Old plastic can be brittle.
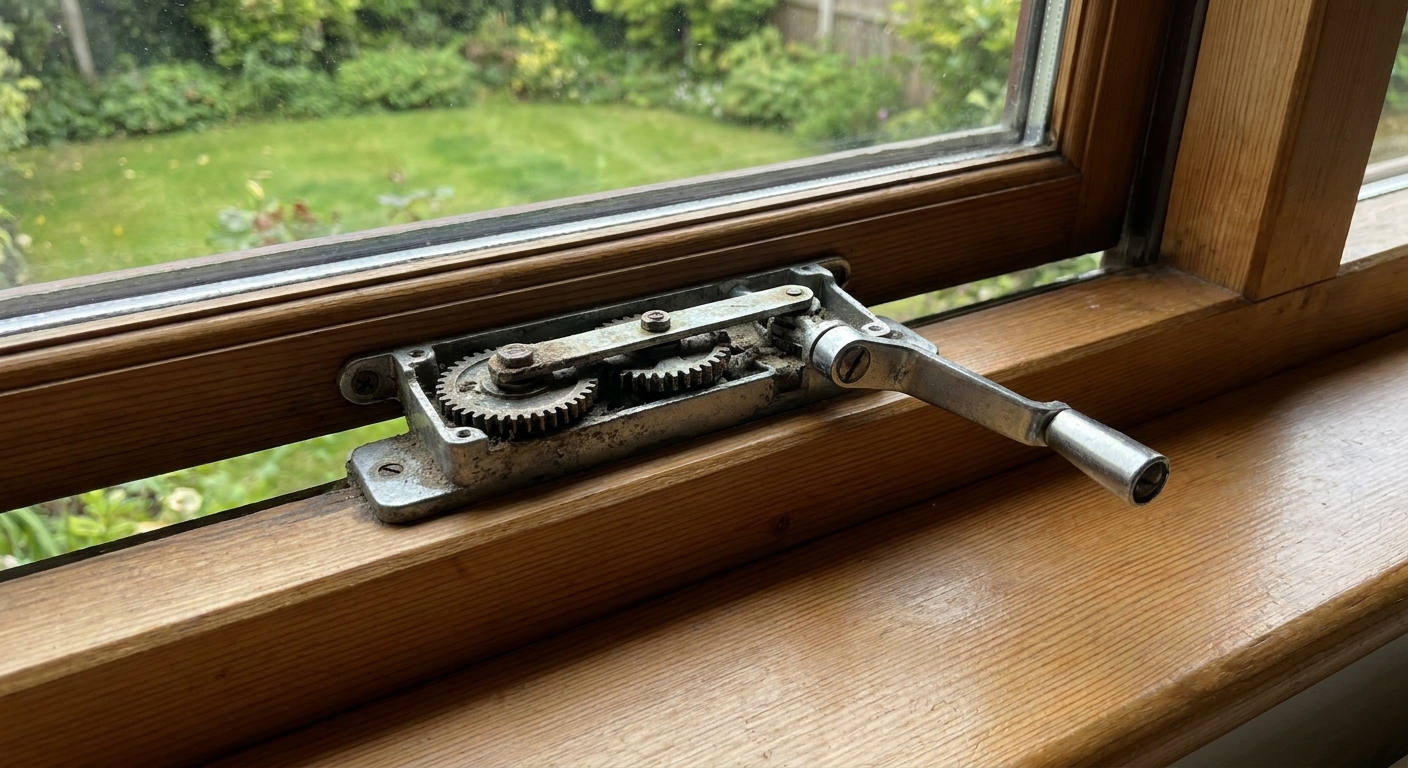
Step 4: Detach the operator arm(s) from the sash
This is the part that makes people nervous. Take your time, and keep one hand supporting the sash or have a helper hold it steady. Bigger sashes can shift when the arm comes free.
- Many operators use a clip that locks the arm onto a sash bracket. Use a flathead screwdriver to lift the clip, then slide the arm off the stud.
- Some use a pin (cotter pin or hairpin clip). Pull it with pliers, then slide the arm free.
- Others use a small screw through the arm into the sash bracket.
As you detach, note the orientation of any washers or spacers. A quick photo on your phone helps, especially if you are dealing with two arms.
Step 5: Remove the operator from the frame
Operators are often held by 3 to 5 screws into the sill or side jamb. Remove the screws and lift the operator out. If the operator is painted in place, score the paint line with a utility knife first.
Match the right replacement operator
“Casement operator” sounds universal, but they are not. To avoid buying the wrong one, match these details from your old part.
Bring the operator with you if you can
If you are shopping locally, take the old operator to the store. If you are ordering online, take clear photos of:
- The operator from above (shows arm style and layout)
- The underside or side (often shows a stamp or part number)
- The arm attachment point at the sash (bracket style)
Key measurements and identifiers
- Handing (left-hand vs right-hand): A common rule is to stand inside facing the window. If the hinge is on the left, it is often called left-hand, and vice versa. That said, handing conventions are not universal across brands and catalogs, so confirm with the stamp/part number on the operator (if you have one) or the manufacturer diagram for your hardware before ordering.
- Mounting hole pattern: Screw locations must match, or you will be drilling new holes.
- Arm type and length: Single arm vs dual arm, and the reach matters.
- Operator style: Standard or “dyad” style on some windows.
- Track and sash bracket compatibility: The arm has to mate cleanly to what is on the sash.
- Brand stamps: You might see names like Truth, AmesburyTruth, EntryGard, Roto, Andersen, Pella, or Marvin. Sometimes the window brand is not the operator brand.
If there is no stamp
Sometimes you pull the operator and it is totally blank. When that happens, I work outward:
- Check the lock and hinge hardware for brand marks. Those often match the operator ecosystem.
- Look for a window label on the sash edge or frame channel (some are only visible when the window is open).
- Match the geometry: arm layout (single vs dual), how the arm attaches to the sash (clip, pin, screw), and the shape of the track.
- Measure what you can: hole spacing, arm length, and the operator stem style your handle uses.
Install the new operator
Step 1: Dry fit the operator
Set it in place without screws and confirm the arm(s) line up with the sash bracket(s). If anything looks forced or misaligned, stop and re-check handing and model.
Step 2: Screw the operator in place
Start all screws by hand before tightening fully. That keeps the operator square and reduces cross-threading. Snug is enough. Over-tightening can strip wood or distort vinyl.
Step 3: Reattach the arms to the sash
Reconnect the arm to the sash bracket using the same style of clip or pin it came with. Make sure clips are fully seated.
Step 4: Test before reinstalling the cover
Crank the window open and closed slowly.
- It should move smoothly with consistent resistance.
- The sash should pull tight to the frame on close, without needing a final shove.
- The arm should not scrape or bind.
Step 5: Reinstall the cover and handle
Snap or screw the cover back on, then reinstall the handle and tighten the set screw. If your handle folds, confirm it folds without hitting the trim.
Common problems after replacement
The crank is still hard to turn
- Clean debris from the sill track area.
- Check hinge screws for looseness and sag.
- Look for sash rubbing at the frame, which can mean the window is out of square.
A little dry PTFE spray on hinge pivot points can help. For the operator gearbox itself, follow the manufacturer guidance for your specific unit. Some operators are factory-lubed and should be left alone, while others are serviceable and call for a specific light grease. Sprays are easy to overdo and can wash out grease or attract grit.
The window closes but does not seal tightly
That is often not the operator. Check:
- Lock alignment
- Weatherstripping condition
- Frame movement or settlement
For drafts, this is worth reading: Weatherstripping vs caulking for drafty windows.
The arm pops off the sash bracket
Usually the clip is not fully engaged, the wrong clip style was used, or the sash bracket is worn or bent. Double-check the clip orientation and that the stud is not damaged.
When I would stop DIY and call for help
- The sash is sagging badly and scraping the frame even with a new operator.
- The frame is rotted where the operator screws mount.
- The window will not stay open and wants to swing shut, suggesting hinge or support issues.
- You cannot identify the operator and every “close match” looks wrong.
- The hardware looks concealed or integrated and you cannot access the operator without forcing trim or a track.
If you are weighing repair vs full replacement, the cost tradeoffs can be surprising. I walk through the big-ticket factors here: The true cost of window replacement.
FAQ
Can I replace just the crank handle?
Sometimes, yes. If the handle splines are stripped but the operator stem is still sharply defined, a handle swap can solve it. If the operator gears are slipping, the stem is rounded, or the linkage is failing, replace the operator.
Are casement and awning operators the same?
Not always. Many awning windows use different arm geometry even if the crank looks similar. Match by the old operator, hole pattern, and arm connection style.
Should I lubricate the operator gears?
I do not spray gearboxes with whatever is on the shelf. Some operators are sealed or factory-lubed, and the wrong product can gum things up. If your operator is designed to be serviced, use only the grease the manufacturer calls for. Otherwise, keep the area clean and focus lubrication on hinge pivot points if needed.