

I still remember standing in my 1970s split-level, staring at a fogged-up double-hung that rattled every time a truck rolled by. I thought, “How hard can it be? New window, new trim, done.” What I did not understand yet was that window replacement pricing is less like buying a toaster and more like planning a mini renovation. The window is just one line item.
This guide breaks down where the money actually goes, what drives quotes up or down, and which “small extras” tend to show up right when you think you have a solid number.
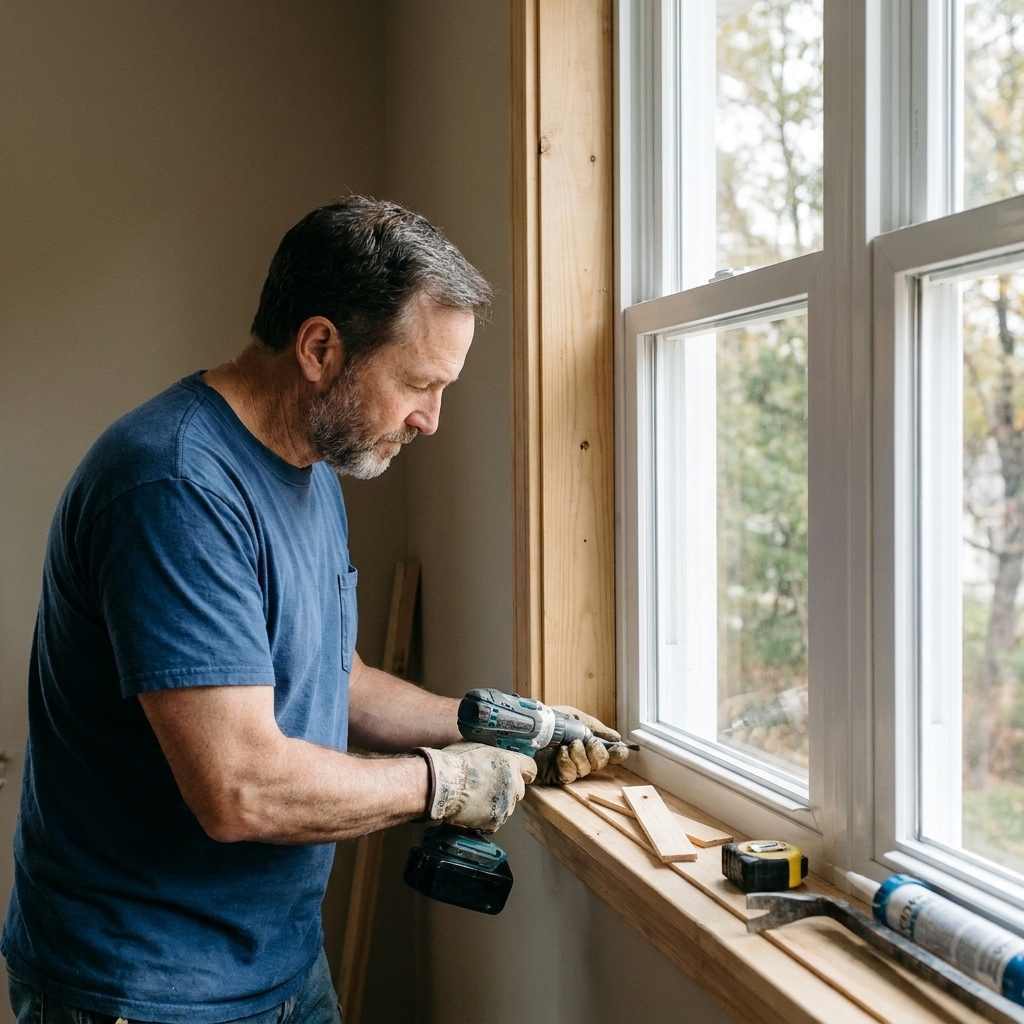
Start with a budgeting framework
Most homeowners get in trouble on window budgets for one reason: they shop windows like they are shopping products, but contractors price them like projects. Your total can swing widely based on window type, access, and how much repair work is hiding behind the trim. Region and season matter too. A busy summer schedule, a remote location, or higher local labor rates can move numbers as much as the window brand.
Instead of chasing a single “average,” build your budget using three buckets:
- Materials: the window itself, plus flashing, foam, sealants, and trim.
- Labor: removal, installation, weatherproofing, interior and exterior finish work, and cleanup.
- Variable costs: permits, disposal, repairs, upgrades, and access challenges.
If you want a quick gut-check before calling anyone, I recommend sketching two totals: a best-case (easy swap, no repairs, simple trim) and a realistic-case (one opening needs repairs, plus at least one upgrade you decide to do once the wall is open).
Materials: what you are paying for
“Materials” is not just the frame and glass. In most quotes, this bucket includes the window unit plus the supporting cast that makes it perform.
The window unit (the big line item)
Pricing usually rises with:
- Frame material: vinyl is often the most budget-friendly; fiberglass and wood typically cost more; wood-clad and specialty composites trend higher.
- Operable vs fixed: picture windows are often less expensive than casements, awnings, sliders, or double-hungs of similar size and glass, but exact pricing depends on the manufacturer and product line.
- Size and custom dimensions: standard sizes are typically less expensive than custom builds.
- Glass package: double-pane vs triple-pane, coatings, gas fill, sound control glass, or impact-rated glass.
- Grids and aesthetics: simulated divided lites, between-the-glass grids, specialty colors, and exterior cladding upgrades.
Energy and comfort upgrades that affect cost
Some upgrades pay you back in comfort immediately, even if the strict dollars-and-cents payback takes longer:
- Low-E glass coatings for heat control and UV protection.
- Triple-pane for harsh climates and a tighter feel indoors. It can help with noise too, but sound reduction depends heavily on the full glass design (like laminated layers and mixed pane thickness), not just the pane count.
- Sound-reducing glass if road noise is your main problem. If sound is your priority, you might also like our guide to DIY window soundproofing that works for strategies that can supplement new windows.
The “small stuff” that is not actually small
These items are easy to overlook, but they matter for performance and they show up in professional installs:
- Flashing tape and/or sill pan materials to manage water.
- Low-expansion foam for air sealing around the frame.
- High-quality exterior sealant and backer rod where needed.
- Shims, fasteners, and setting blocks for alignment and operation.
- Interior casing and exterior trim when existing trim cannot be reused.
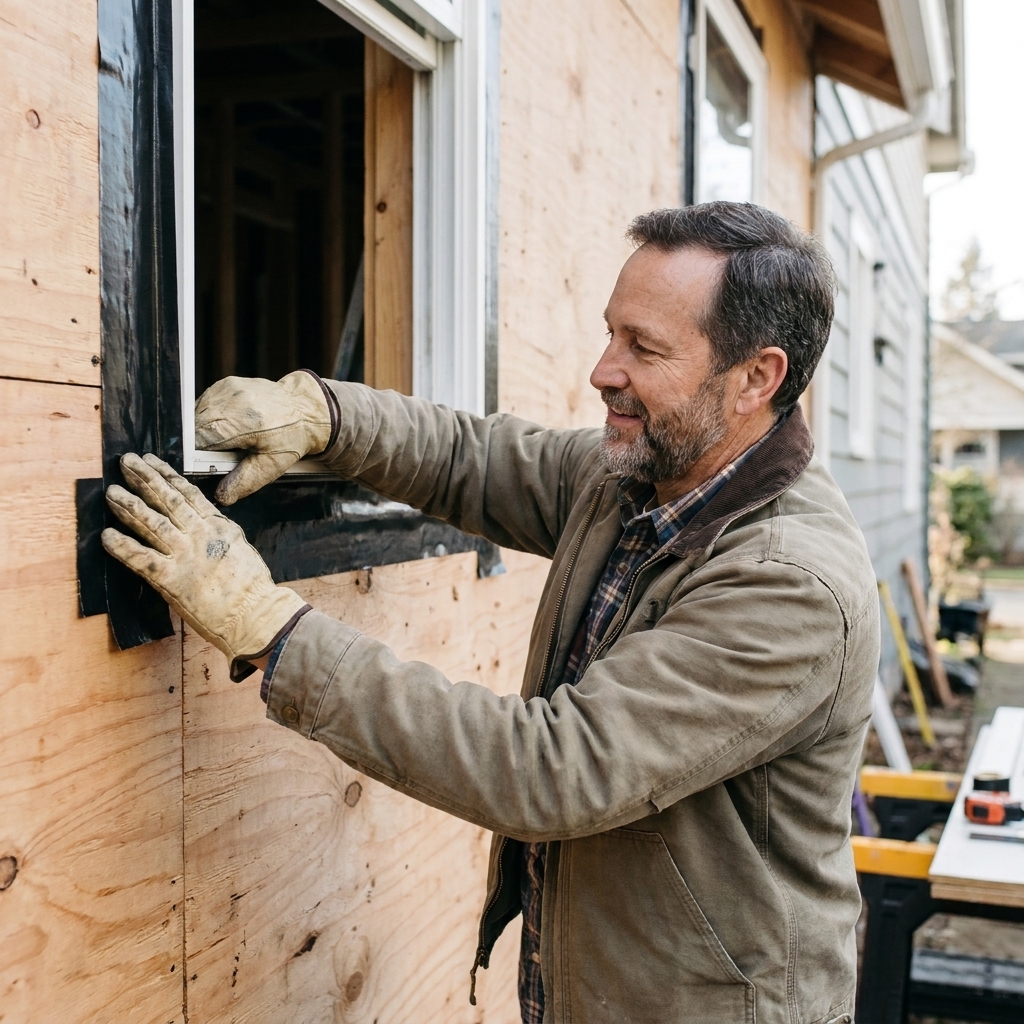
Trevor tip: If a quote is dramatically lower than the others, ask specifically how they handle flashing and air sealing. A cheap install that leaks air and water is the most expensive window you can buy.
Labor: what you are paying for
Labor is where identical windows can have very different totals. Two homes can order the same window, and one job takes half a day while the other turns into a two-day puzzle.
Insert vs full-frame replacement
- Insert (pocket) replacement: installs into an existing frame. Usually less labor, less disruption, and often lower cost. Best when the existing frame is sound, square, and not water-damaged. One tradeoff: inserts can slightly reduce glass area because the new unit sits inside the old frame.
- Full-frame replacement: removes the old window, frame, and trim down to the rough opening. More labor, but it is often the right call if there is rot, chronic leaks, out-of-square openings, or you want to change window size or style.
What a solid labor scope includes
When I read quotes, I want to see language that clearly covers:
- Protecting floors and work areas
- Careful removal of old units
- Prep of the opening (cleaning, minor planing and shimming)
- Setting the new unit square, plumb, and level
- Flashing, foaming, and sealing
- Interior finish work (casing, jamb extensions if needed)
- Exterior finish work (trim, caulk, touch-up)
- Cleanup and disposal
Labor factors that raise the price
- Second story or difficult access: ladders, scaffolding, lift rental, and extra crew time.
- Masonry exteriors: brick, stucco, and stone can require specialized approaches and careful patching.
- Lead-safe practices: in the U.S., homes built before 1978 may require EPA RRP lead-safe work practices when disturbing painted surfaces, which can add prep and cleanup time.
- Multiple window types: mixing bays, bows, casements, and double-hungs adds complexity.
- Rot repair or reframing: more on this below, because it is a big one.
If access is part of your situation, it is worth knowing what safe, careful work looks like. Even for cleaning, second-story windows change the equation. Our guide on cleaning second-story exterior windows safely and streak-free gives you a feel for the extra setup and safety considerations that can also drive installation labor.
Hidden costs (and how to spot them early)
These are the costs that make homeowners feel like the contractor “nickel-and-dimed” them. Sometimes that is true. Other times it is simply unclear scoping at the estimate stage. Either way, you can protect yourself by asking direct questions up front.
1) Rotten wood and opening repairs
This is the classic surprise. Once the old window comes out, you may discover:
- Rotted sill plates
- Water-damaged framing at the corners
- Moldy or crumbling sheathing
- Insect damage
- Out-of-square rough openings that need correction
Budget move: Set aside a repair allowance. If you are replacing multiple windows on an older home, a contingency fund is not pessimism. It is realism.
2) Disposal and haul-away
Some quotes include cleanup and disposal. Others do not. Glass, old frames, and trim add up fast, and dump fees vary by location.
3) Permit fees and inspections
Permit requirements vary. Some areas require permits for replacement, while others only require them when you change the rough opening, alter structural members, modify egress (common with bedroom windows), or change the exterior wall in a meaningful way. If your contractor pulls permits, make sure it is shown as a line item so it does not pop up later.
4) Trim work, paint, and patching
Window installers often stop at “install and basic trim,” while painting is either excluded or offered as an add-on.
The most common finishing extras are:
- Replacing interior casing that breaks during removal
- Jamb extensions for thicker walls or different window depth
- Exterior trim replacement and paint
- Drywall repair around disturbed edges
If you want a smooth “done-done” finish, ask who is responsible for paint and patch. I have seen plenty of projects where the windows looked great, but the rooms stayed half-finished for weeks because nobody budgeted for the last 10 percent.
5) Upgrades you decide on midstream
Sometimes you start with “replace the window,” and then you notice drafts everywhere else. If you have drafty openings, it is worth understanding what sealing work is best handled with the window replacement and what is better as a separate project. We break that down in weatherstripping vs caulking for drafty windows.
6) Manufacturer lead times and return trips
If a custom window arrives damaged or late, the crew may need to return for a second trip. Ask how return trips are handled and whether they are included.

How to compare quotes
When you are looking at multiple bids, the cheapest number is not the cheapest job. Here is how I compare apples to apples.
Use a scope checklist
Ask each contractor to confirm these in writing:
- Insert vs full-frame replacement
- Brand and model line of window
- Glass package details (double vs triple pane, Low-E, gas fill)
- Flashing method (tape, pan, or both where appropriate)
- Insulation method around frame (low-expansion foam, fiberglass, etc.)
- Interior trim: reuse or replace, and what profile
- Exterior trim: reuse or replace, and whether paint is included
- Disposal and cleanup
- Permits
- Warranty: product vs labor, whether it is transferable, and who actually services it
Watch for vague language
Phrases like “as needed” and “standard installation” can be fine, but only if they are backed by specifics. If flashing and air sealing are not clearly described, ask.
Confirm what triggers change orders
Change orders are not always a red flag. Hidden damage is real. The red flag is when the contractor cannot tell you what situations cause extra charges and what the typical range is.
Build your budget
Here is the budgeting approach I use on my own house and recommend to friends. It keeps you from spending your whole budget on the quote and having nothing left for reality.
- Base project total: the quoted price for windows and labor.
- Finish allowance: money set aside for trim, paint, and patching that is not included.
- Repair contingency: set aside extra for at least one opening needing repairs.
- Access and logistics allowance: second-story access, landscaping protection, or special exterior materials.
If you are replacing just one window and everything is straightforward, your contingency can be smaller. If you are replacing a whole house of windows on an older home, bumping your cushion. That is the difference between a calm project and a stressful one.
Lower the cost without cutting corners
I like saving money as much as the next DIY person, but windows punish shortcuts. These are the cost levers that usually make sense.
Choose standard sizes and keep openings the same
Changing a window size can trigger extra framing, siding or stucco work, and sometimes permits or engineering. If your current size works, keeping it often saves real money.
Prioritize upgrades where you will feel them
Instead of upgrading every window to the maximum package, put your best glass where it matters most:
- Noisy side of the house
- Rooms that overheat in the afternoon sun
- Bedrooms where comfort is everything
Do your own finish work if you are comfortable
Some homeowners save by hiring out the install and doing paint and interior trim themselves. If you go that route, be honest about your timeline and skill level. Problems usually show up when the perimeter is not fully air-sealed or weather-protected and exposed foam or sealants are left uncovered long-term.
Replace in phases if cash flow is tight
Phasing can work if you prioritize problem windows first and keep styles consistent. Just know that smaller jobs sometimes have higher per-window labor costs. You are paying for mobilization more than once.
Questions to ask before you sign
- Is this quote insert or full-frame replacement for each window?
- What exact window line is included, and what is the glass package?
- How do you flash the opening and air-seal the perimeter?
- What happens if rot is found? How is it priced and approved?
- Does the price include interior trim, exterior trim, and paint?
- Who pulls permits, and are fees included?
- Is disposal included?
- What is the labor warranty, and who do I call if a sash sticks or leaks?
- Is the manufacturer warranty transferable, and what can void it?
- What is the estimated schedule, and what causes delays?
My bottom line on cost
The true cost of window replacement is not just the unit price times the number of windows. The total lives in the details: how the opening is prepared, how water is managed, what repairs are discovered, and who finishes the trim and paint.
If you take one thing from this, let it be this: a good window installed poorly is a bad window. Budget for proper flashing, air sealing, and a little bit of “old house reality,” and you will avoid the most common surprise charges and headaches.
If you are planning the rest of your window projects, you can browse more resources in our Window Replacement guide.