

The first time I rescreened a window, I made every classic mistake. I cut the mesh too small, fought a spline that did not want to cooperate, and somehow ended up with a screen that looked like a wrinkled bedsheet. The good news is this is one of those DIY jobs where a few simple habits make you look like you have done it forever. Once you have the right spline and a decent roller, you can rescreen most standard window frames in under 30 minutes on a frame that is in decent shape.

Before you start
This how-to is for the most common screen style: a screen frame with a spline-and-groove channel that holds the mesh in place.
If your screen is a wood frame with staples, tacks, or trim strips instead of a rubber spline, do not force it. That is a different repair.
What you are replacing
A typical window screen has three parts:
- Frame: Usually aluminum, sometimes vinyl or wood. You are reusing this.
- Screen mesh: Fiberglass (most common) or aluminum (stiffer, but fussier).
- Spline: The rubbery cord that gets pressed into a groove to clamp the mesh in place.
When people say “replace the screen,” they almost always mean replacing the mesh and spline, not the frame.
Tools and materials
If you want this done quickly, gather everything first. Nothing kills momentum like hunting for a utility knife halfway through.
- Replacement screen mesh (fiberglass or aluminum)
- New spline (matching diameter)
- Spline roller tool (most have two wheels: a concave groove and a convex bump)
- Flathead screwdriver or pick (for removing old spline)
- Utility knife with a fresh blade
- Scissors (helpful for rough-cutting mesh)
- Tape measure
- Work gloves and eye protection
- Optional but helpful: clamps, a small brush, mild soap and water
Pro tip from my garage: A fresh utility blade is the difference between a clean trim and a jagged edge that wants to unravel.
Pick the right mesh
Both work. Your choice mainly depends on durability and how picky you are about a perfectly flat finish.
| Mesh type | Why people like it | Tradeoffs |
|---|---|---|
| Fiberglass | Easy to work with, forgiving, inexpensive, lays flat with minimal effort | Can stretch over time and tear more easily than metal screens |
| Aluminum | Stiffer, resists sagging, handles sun and weather well, often more puncture-resistant than standard fiberglass | Kinks easily during installation, edges can be sharp, less forgiving |
If this is your first time, I recommend fiberglass unless you have a specific reason to go aluminum.
If you are dealing with pets, aluminum is not a magic fix. For claws, look for a dedicated pet-resistant screen (often vinyl-coated polyester). It is tougher than standard fiberglass or basic aluminum insect screen.
Step 1: Remove the screen and check the frame
Remove the screen and bring it to a flat work surface. A garage floor works, but a sturdy table is easier on your back.
- Screens are usually held in by spring clips, pull tabs, or plunger pins. If yours has any odd hardware, snap a quick photo before you pop it out so reinstalling is painless.
- Check the frame for bent corners, cracks, or loose corner keys.
- Make sure the frame sits flat and square. If it rocks, the finished screen will be harder to tension evenly.
If the frame is badly bent, it may be smarter to replace the whole screen assembly, but minor tweaks can often be straightened by hand.
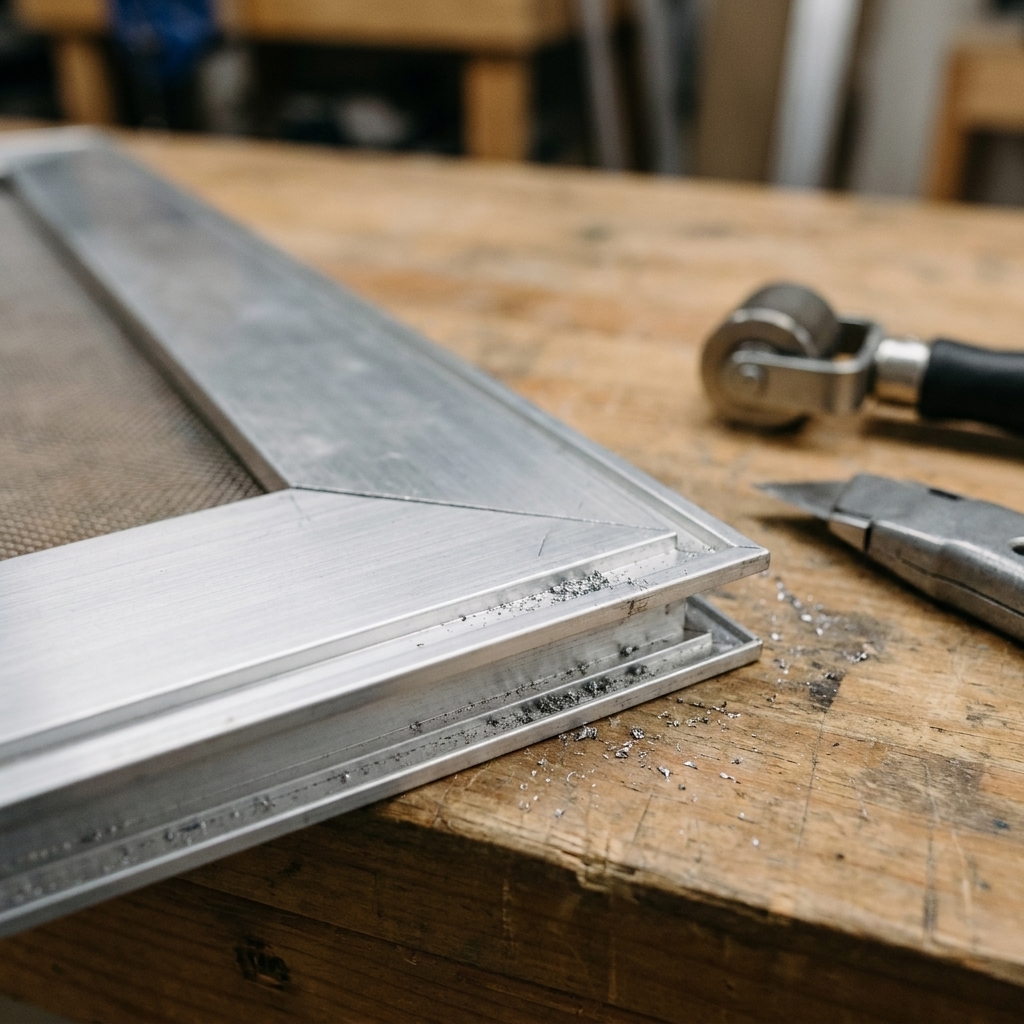
Step 2: Remove the old spline and mesh
Find the end of the spline in the groove. It is usually tucked into a corner.
- Use a flathead screwdriver or pick to lift the spline end.
- Pull it out slowly, working your way around the frame.
- Remove the old mesh and discard it.
Quick cleanup: Brush out the spline groove. If it is gritty, wipe it with a damp rag and let it dry. Dirt in the groove makes the spline fight you.
Step 3: Buy spline that fits
Spline diameter is the whole game. Too small and the screen loosens. Too big and you will feel like you are wrestling a tire into a bicycle rim.
The easy method: Take a short piece of the old spline to the store and match it by thickness.
If your old spline is stretched or flattened: Buy two close sizes. Use the one that seats firmly with steady pressure from your roller, not brute force.
Many common aluminum screen frames use spline in the 0.125 to 0.175 inch neighborhood, and you will often see sizes sold as 0.125, 0.140, 0.160, and 0.175. But frames vary, so match what your frame wants, not what a label suggests.
Step 4: Cut the new mesh oversized
Roll the new mesh over the frame so it overlaps all sides.
- Cut it so you have at least 1 to 2 inches of extra mesh beyond the frame on every side.
- If using aluminum mesh, wear gloves. The cut edges can be sharp.
- Do not fold aluminum mesh hard on itself. Creases turn into kinks, and kinks do not come out.
Oversized mesh is easier to keep straight and tight. You trim the excess at the end.
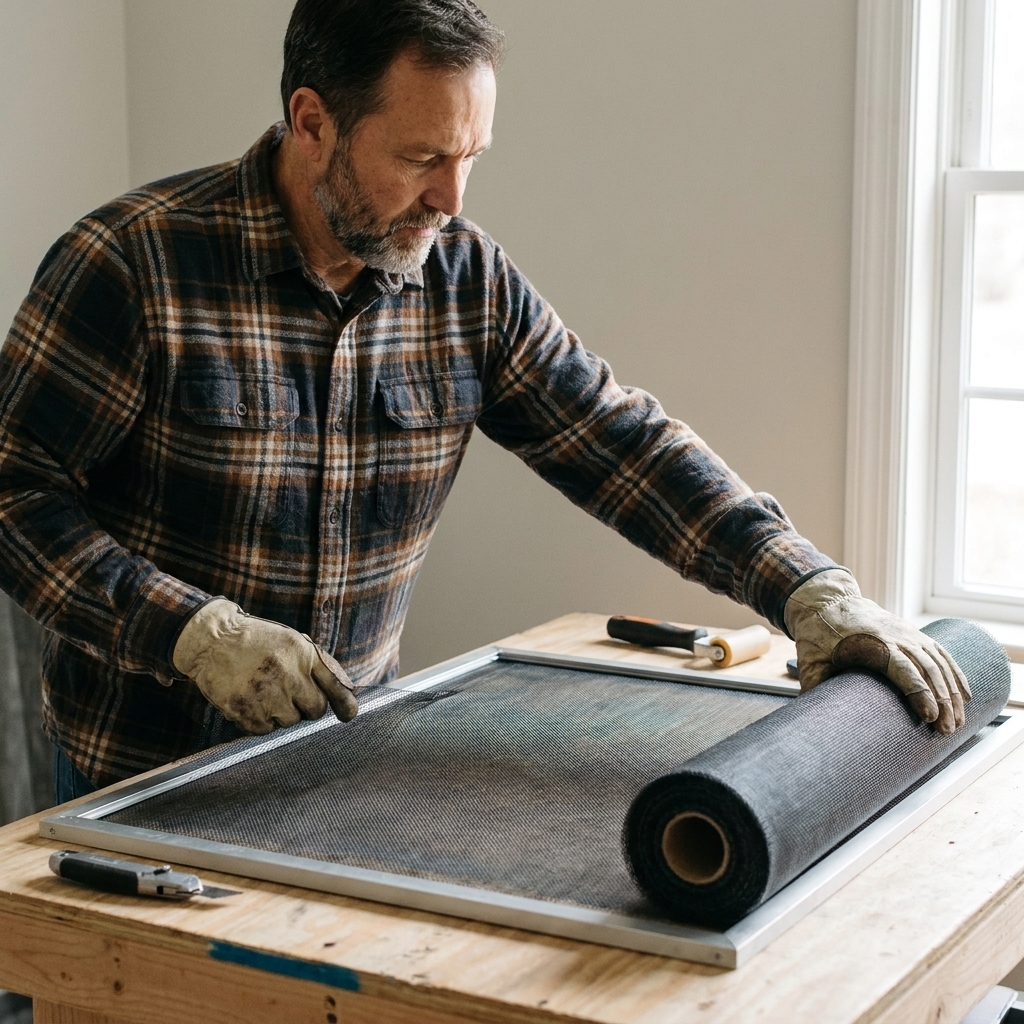
Step 5: Roll in the spline in two passes
This is the part that decides whether your screen looks crisp or wavy. The trick is to start by setting the mesh, then tensioning as you go.
Know your roller wheels
Most spline rollers have two wheels:
- Concave (grooved) wheel: Usually used to press the round spline into the groove without slipping.
- Convex (rounded) wheel: Often used to gently press the mesh into the groove first, especially helpful with stiffer mesh.
Tools vary, so I like to test both wheels on a 3 inch section. Use the wheel that stays centered and seats the spline cleanly.
Pass A: Set the first side
- Center the mesh over the frame, keeping the weave straight.
- Starting near a corner, press the spline into the groove with your fingers for a few inches.
- Use the concave wheel to roll the spline into the groove along that first side.
Pass B: Tension across and lock the opposite side
- Move to the opposite side.
- Pull the mesh gently taut across the frame. Think “smooth drum,” not “stretchy trampoline.”
- Roll the spline into the groove on that opposite side, maintaining even tension.
Finish the last two sides
Repeat for the remaining sides, pulling the mesh just enough to remove slack. Keep your hands close to where you are rolling, so you do not accidentally create a diagonal wrinkle.
Corner tip: Corners are where bunching happens. Slow down and guide the mesh with your fingertips so it stays flat as the spline turns the corner.
Spline end tip: When you come back around to your starting point, cut the spline so the ends butt together snugly. Do not overlap, and do not stretch it tight like a rubber band.
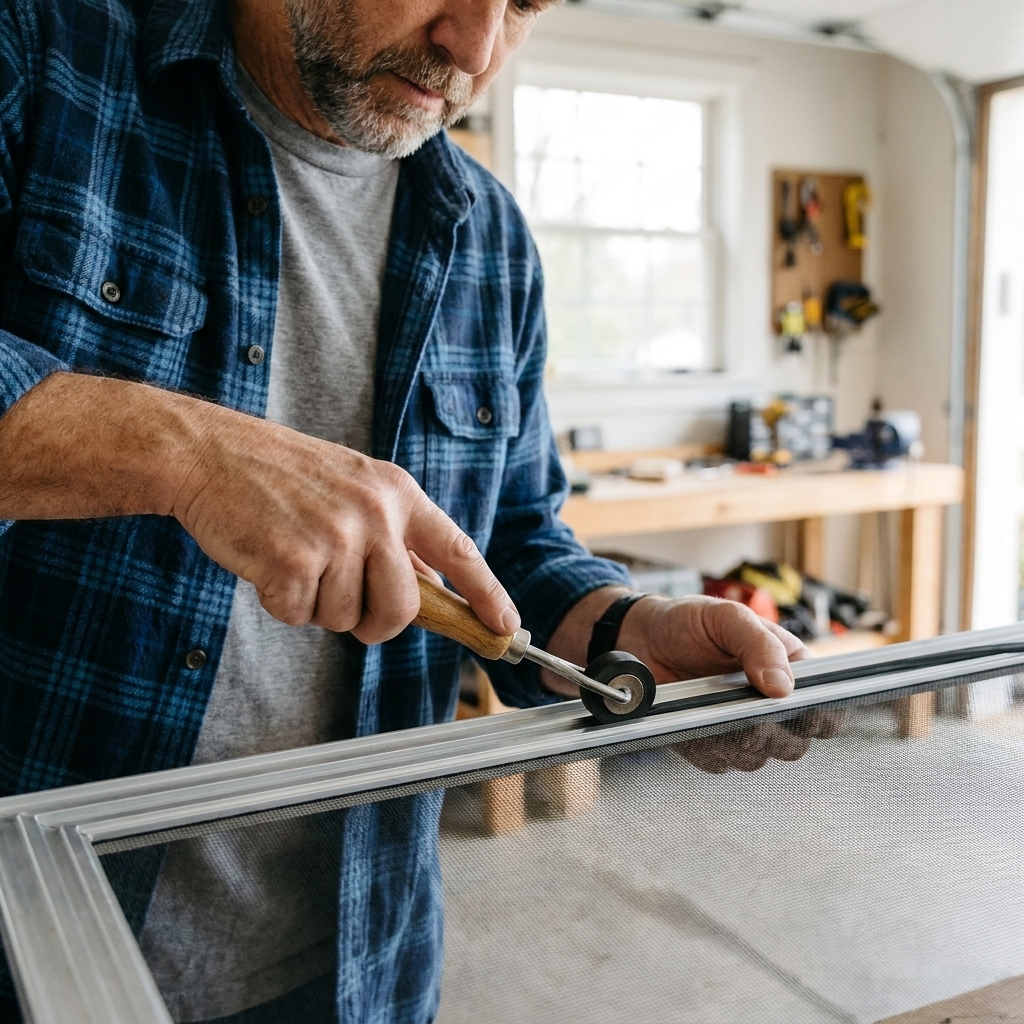
Step 6: Trim the excess mesh
Once the spline is fully seated all the way around:
- Hold the utility knife at a shallow angle.
- Run the blade along the outside edge of the spline, trimming the excess mesh flush with the frame.
- Keep the blade riding against the frame edge, not angled inward toward the mesh under the spline.
- Go slow and keep steady pressure so you do not nick the new mesh.
If you do accidentally cut too close in one small spot, you can sometimes save it by reseating that section with a slightly thicker spline. But if the cut runs under the spline for an inch or more, it is usually faster to redo the mesh.
Fast quality check
- Tension: Tap the center. It should feel tight and flat, with no obvious waves.
- Spline depth: The spline should sit fully in the groove, not bulging up.
- Frame square: If it looks like a diamond instead of a rectangle, fix the frame before reinstalling.
- Trim: No mesh “whiskers” sticking out. Those catch on the window track.
Common problems and quick fixes
The mesh looks wavy
- Cause: Uneven tension or you locked all four sides without pulling consistently.
- Fix: Pull the spline out on one wavy side and redo that side plus the opposite side. You rarely need to redo the entire screen.
The spline keeps popping out
- Cause: Spline is too small or the groove is dirty.
- Fix: Clean the groove and use the next size up in spline diameter.
I keep slicing the mesh while trimming
- Cause: Dull blade or cutting at too steep of an angle.
- Fix: New blade, shallow angle, and cut in short controlled strokes.
Aluminum mesh is kinking
- Cause: Pulling too hard, or letting it crease at the corners.
- Fix: Use gentler tension and guide the mesh carefully at corners. If it is badly kinked, swap to a fresh piece. Kinks are forever.
Keep your new screen cleaner longer
Screens do not just collect dust, they collect sticky pollen and oily grime. A gentle wash once or twice a year helps them last.
If you need a thorough method for higher windows or exterior glass while you are already in maintenance mode, see our guide: How to Clean Second-Story Exterior Windows Safely and Streak-Free.
When rescreening is not the real fix
If bugs still sneak in after a perfect rescreen, the issue is usually around the window, not the screen.
- Worn weatherstripping can leave gaps around sashes.
- Old caulk can shrink and crack around exterior trim.
That is a different repair, but it is worth doing. Here is my breakdown: Weatherstripping vs. Caulking for Drafty Windows.
30-minute timeline
- 3 minutes: Pull screen, inspect frame, set up tools
- 5 minutes: Remove old spline and mesh, clean groove
- 4 minutes: Cut new mesh oversized
- 12 minutes: Roll spline in, keep tension even
- 4 minutes: Trim mesh
- 2 minutes: Final check and reinstall
This is my realistic breakdown on a straight frame with a cooperative groove. If the frame is bent, the old spline is brittle, or the channel is packed with grime, the same job can take longer.
If it is your first time, give yourself a little grace. The second screen goes about twice as fast, and by the third you will be the person your neighbors ask for help.