

The first time I had replacement windows installed in my own 1970s split-level, I thought, "It’s fine. They’ll just pop the old ones out and slide the new ones in." What I did not picture was furniture shuffling, dust, trim pieces leaning against walls, and a crew needing a clear path to move big, awkward glass safely.
The good news is that a little prep on your side makes the whole day smoother. It helps the installers work faster, reduces the chances of scuffed floors or dinged corners, and keeps your home livable while the work is going on.
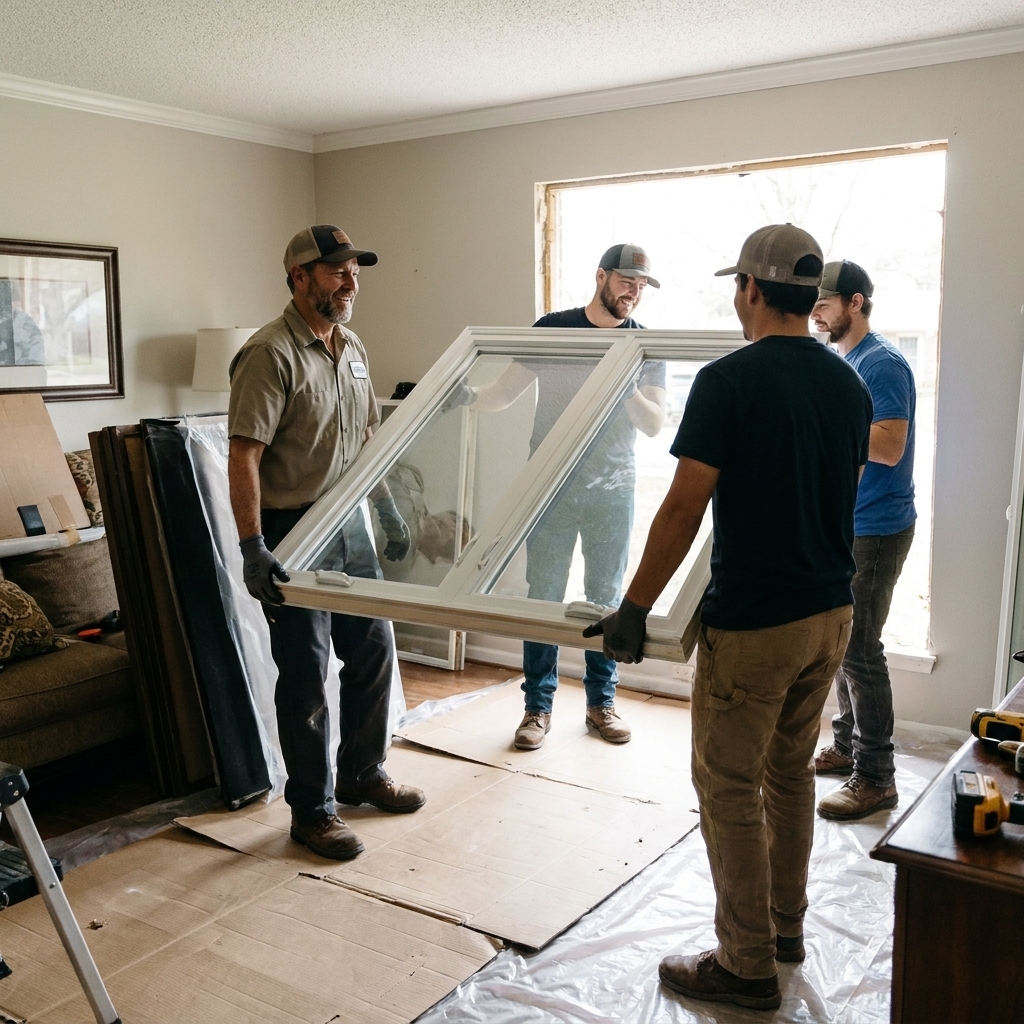
Know what kind of install you’re getting
Preparation depends on whether your project is a full-frame replacement (more disruption, more debris) or an insert or pocket replacement (often less invasive). Your installer should tell you, but if you are unsure, ask ahead of time.
- Full-frame replacement: More likely to involve removing interior trim, exterior trim, and possibly touching siding or drywall around the opening. Expect more dust and a bigger work zone.
- Insert or pocket replacement: Usually keeps the existing frame. There is still dust and some noise, but the footprint is often smaller.
If you’re still deciding whether replacement is the right move, I’d start with 7 Signs It’s Time to Replace Your Home’s Windows and then browse the Window Replacement guide for planning basics.
Lock in the scope first
Before you move a single chair, make sure you and the installer are picturing the same job. A quick confirmation in writing can prevent day-of surprises.
- Exactly which windows: Count them, label them, and confirm any odd sizes or specialty units.
- Interior and exterior trim: Are they reusing existing trim, replacing it, or leaving it for you to handle later?
- Disposal: Are old windows and debris hauled away, or stacked somewhere for pickup?
- Finish work: Who handles paint, stain, and touch-ups, and when?
- Older-home precautions: If your home was built before 1978, ask what precautions they use for lead-safe work practices. Even if your place is newer, it is still worth asking how they plan to contain dust.
Your 48-hour checklist
Two days out is the sweet spot. You have time to order supplies, move furniture without rushing, and handle the small stuff that always seems to pop up.
1) Clear access to every window, inside and out
- Inside: Move furniture back several feet if you can. I aim for about 4 to 6 feet as a rule of thumb, but use common sense based on window size and room layout. If you cannot move something far, plan to cover it completely.
- Outside: Move patio furniture, planters, grills, hoses, and décor away from the work areas. Trim back shrubs if they block access.
- Walkways: Create a wide, obstacle-free route from the entry door to the windows being replaced. Crews carry bulky frames and glass at awkward angles.
2) Take down window treatments and nearby wall items
Remove curtains, blinds, shades, and any hardware that could get in the way. Also take down anything fragile near the window: picture frames, mirrors, shelves, and wall décor. Vibration from drilling and old trim removal can rattle more than you’d expect.
If you are planning new curtains after the install, you’ll get cleaner results if you measure once the new windows are in. Here’s my step-by-step: Measure for Curtains Before You Shop.
3) Plan dust control (and keep it realistic)
Even careful crews make dust. Old wood fibers, drywall crumbs, bits of caulk, and insulation can travel farther than the room where the work happens.
- Close interior doors to rooms not being worked on.
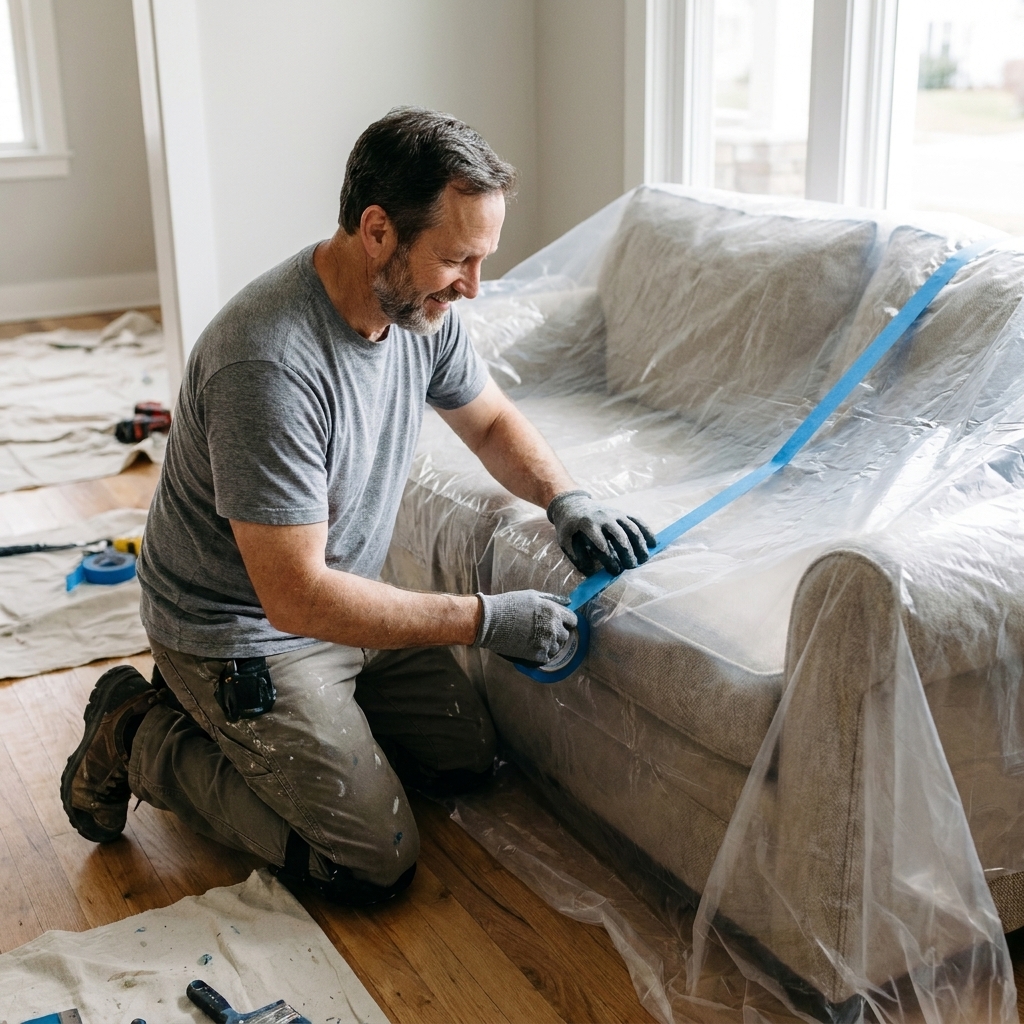
- Cover nearby furniture with plastic sheeting or clean drop cloths.
- Protect floors with heavy canvas drop cloths or contractor paper. Tape edges where foot traffic will pull things loose.
- HVAC: If dust is going to get heavy, set your system to “off” during the messiest parts so you are not pulling debris through the house. If there is a return vent right in the work area, ask the crew about temporarily covering it and plan to change your filter afterward.
Quick garage tip: I keep a roll of painter’s tape and a pack of cheap plastic sheeting on a shelf labeled “messy jobs.” Window day counts.
Night-before prep that saves time
Stage a small installer zone by the entry
Installers typically bring in tools, new units, and trim materials. Give them a spot that is out of the main traffic lane but close to the door. A cleared corner of a living room or dining room is perfect.
- Move shoes, coats, and baskets away from the entry route.
- Clear a small area for tool bags and parts. Roughly 3 by 6 feet works in many homes, but scale it up if you have large units or tight hallways.
- If it’s raining or snowing, have a spot where boots can be wiped without tracking grit everywhere.
Confirm parking and a clear carry route
If you have a tight driveway, HOA rules, or street parking restrictions, handle it before installation day. The fewer trips the crew has to make from truck to window, the better for both speed and your door jambs.
Protect the stuff people forget
- Rugs: Roll up area rugs near the route from door to windows. Grit under shoes acts like sandpaper.
- Plants: Move houseplants away from windows. Temperature swings and accidental knocks are common.
- Electronics: If a TV console sits under a window, unplug it and cover it. Dust loves vents.
Installation-day game plan
You do not need to shadow the crew, but it helps to be available for quick decisions. These are the moments that tend to come up:
Do a 2-minute walkthrough at the start
Show the crew:
- Which bathroom they may use, if you are comfortable with that
- Where the thermostat is, if you want HVAC adjusted during work
- Any windows with special quirks: an alarm sensor, a sticky sash, fragile plaster, or a rotted sill you already know about
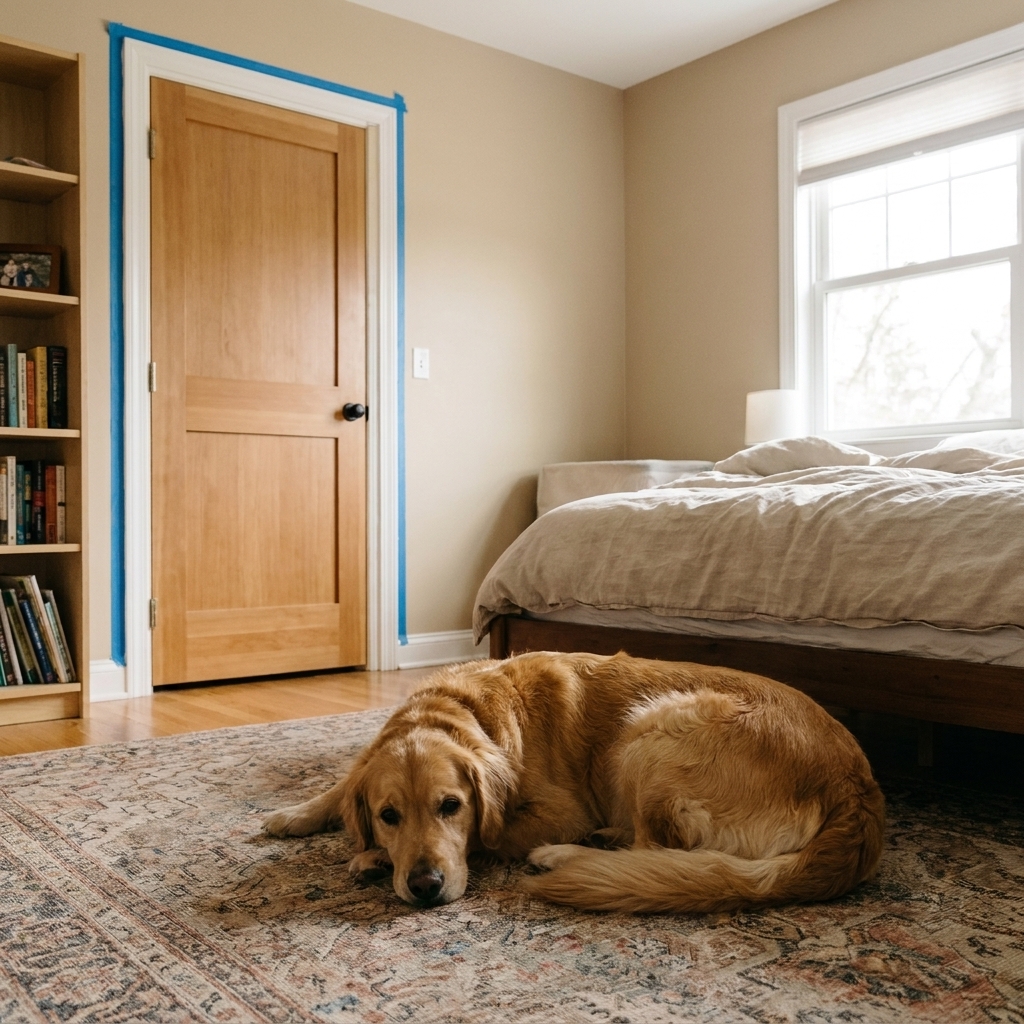
Keep kids and pets safely out of the work zone
Replacement windows involve open holes in the wall, nails, glass, loud tools, and doors opening and closing constantly.
- Dogs: Plan for a closed room, a crate, or a friend’s house. I love dogs, but a curious nose near a pry bar is a hard no.
- Cats: Double-check that they cannot slip outside during frequent door openings.
- Kids: Set a clear boundary. The work area is not a spectator sport.
Expect noise and short open-window moments
For a brief period, each opening can be wide open. That means outside air, outside noise, and sometimes a little wind-blown debris. If you have allergies, keep windows and doors in other rooms closed during the heaviest work.
Point out tricky walls and trim early
If your house has plaster walls, older brick, or delicate trim you want to preserve, mention it before prying begins. It is much easier to protect details up front than to repair them later.
Protect floors, furniture, and landscaping
Floors: cover the route, not just the room
I see homeowners protect the room where windows are being replaced, but leave the hallway bare. The hallway is where the traffic is.
- Hardwood: Use contractor paper or a clean drop cloth along the route and tape seams with painter’s tape. Test tape in an inconspicuous spot first, especially on newer or delicate finishes, since some tapes and papers can react.
- Carpet: Use adhesive carpet film along the route and drop cloths where the crew will kneel.
- Stairs: Cover treads if the crew will carry units up or down. One slip can be costly in more ways than one.
Furniture: cover or move, then stop fiddling
Once furniture is covered and out of the way, leave it. Constantly shifting a couch “just a bit more” on install morning is how table legs gouge floors and walls get scraped.
Landscaping: make room for ladders and debris
Outside work may involve ladders, staging, and setting old units down temporarily.
- Pull planters and breakables away from walls.
- Trim shrubs that press against the window area.
- Mark sprinkler heads or low landscape lights so nobody steps on them.
Power, alarms, and smart-home gear
Power access
Crews often use corded tools or battery chargers. Make sure at least one outlet is accessible, and keep that circuit free of high-load items if possible.
Security sensors and window alarms
If you have alarm contacts on windows, call your security company in advance to understand how sensors will be handled and whether the system should be put into test mode during the work. If the sensors are hardwired, tell the crew before removal begins.
Smart blinds, cameras, and Wi-Fi gear
Window-adjacent devices sometimes get unplugged or moved. Take a quick photo of wiring before the day starts so you can put things back without guessing.
Privacy and valuables
Install day can mean doors opening constantly, windows temporarily uncovered, and people moving through bedrooms and offices.
- Secure small valuables (cash, jewelry, small electronics) and keep sensitive documents out of sight.
- Plan for privacy in bathrooms and bedrooms. A towel over a doorway or a temporary curtain can help if a window will be open for a while.
After: treatments, film, and quick checks
If you removed treatments yourself, set the hardware aside in labeled bags. Once the install is complete, wait until the crew confirms the windows are operating correctly before rehanging anything.
- If you plan to add privacy film, do it only after the glass has been cleaned and any manufacturer guidance is followed. This guide walks through it: Installing Frosted Window Privacy Film.
- If you feel drafts after replacement, it is often an installation detail, but it can also be adjustment-related (locks not pulling the sash tight, weatherstripping not seated) or, more rarely, a product issue. Either way, flag it early while the project is fresh. It also helps to understand the difference between sealing methods: Weatherstripping vs. Caulking for Drafty Windows.
Over the next week, open and close each window a few times and pay attention to anything that changes: sticking, rubbing, or new condensation patterns. If winter condensation is a concern in your home, this is a helpful primer: Why Windows Sweat in Winter and How to Stop It.
Final walkthrough: a 10-minute check
This is where you protect yourself. Walk each replaced window with the lead installer.
- Operation: Open, close, lock, and unlock. For double-hung windows, check both sashes and tilt functions.
- Alignment: Look for even gaps and smooth movement.
- Glass and frame condition: Check for cracks, chips, deep scratches, or bent cladding.
- Trim and caulk: Look for consistent caulk lines and tight trim. Small touch-ups are normal, but gaps should be addressed.
- Cleanup: Confirm old windows, nails, and debris are removed from inside and outside. Ask where they want you to place any leftover materials.
If the crew applied fresh caulk or other paintable materials, ask about cure times, when it is okay to paint, and when it is safe to wash the windows or reinstall treatments.
FAQ
Do I need to be home for window installation?
Ideally, yes, at least for the start and the final walkthrough. Decisions come up quickly, especially if the crew finds hidden rot or an out-of-square opening.
Should I move furniture myself or will the crew do it?
Some crews will help, but I recommend moving items yourself when possible. You know what is fragile, and it keeps the crew focused on installation, not room rearranging.
Will there be a lot of dust?
There is almost always some dust, and full-frame installs create more. Plastic sheeting, floor protection, and a cleared route make a big difference.
How long does each window take?
It varies based on window type, access, and surprises in the opening, but the work tends to move faster when the area is cleared and the crew can work without obstacles.
If you want one simple rule
Give the crew space, give them a clear route, and protect anything you would be annoyed to see scratched. Window day is one of those projects where preparation is not busywork. It is part of the install.
And if you’re building a bigger plan around your project, the Window Replacement guide is a solid next stop.